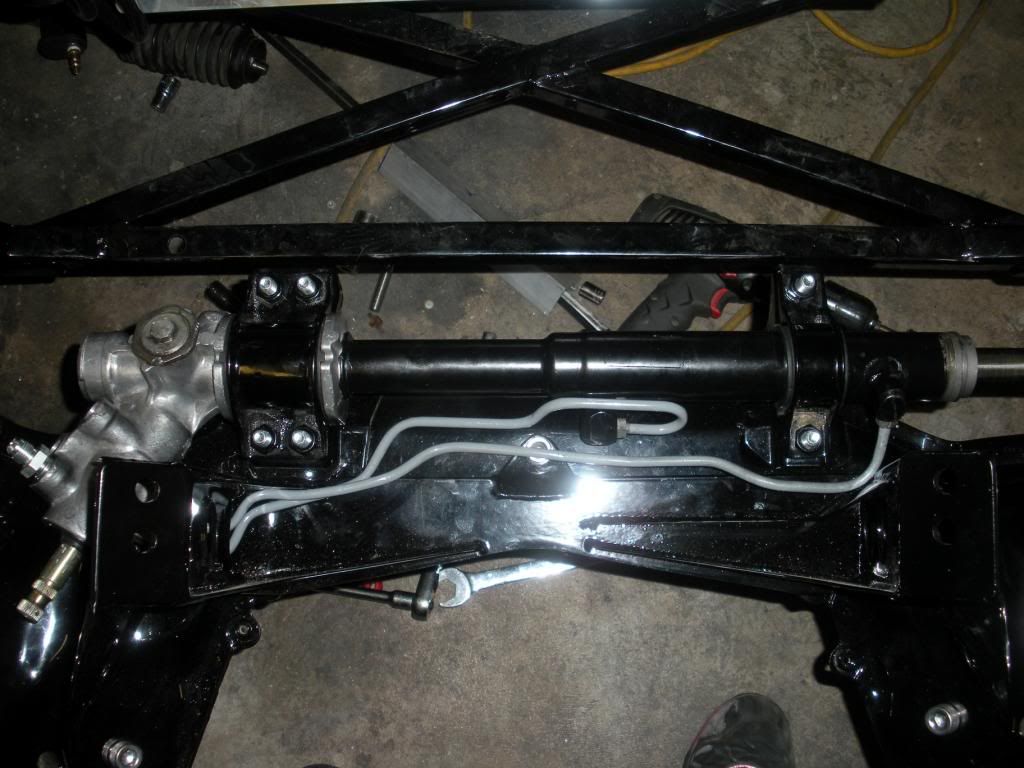
Next i installed the new rack and pinion bushings.
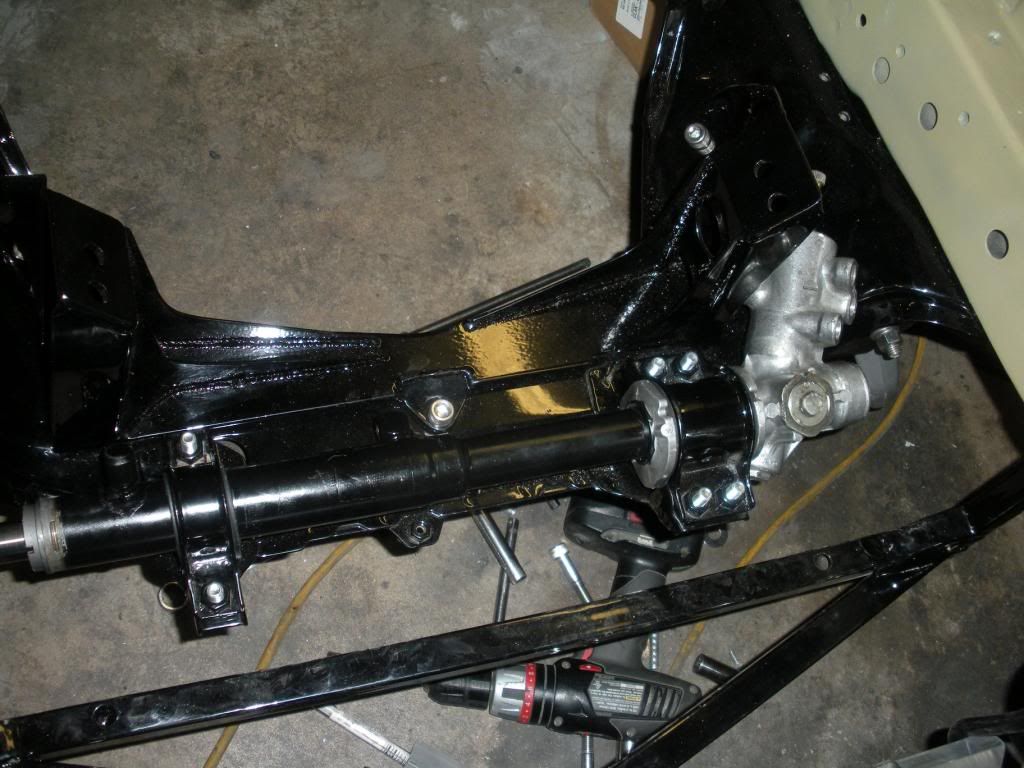
Set the rack in place
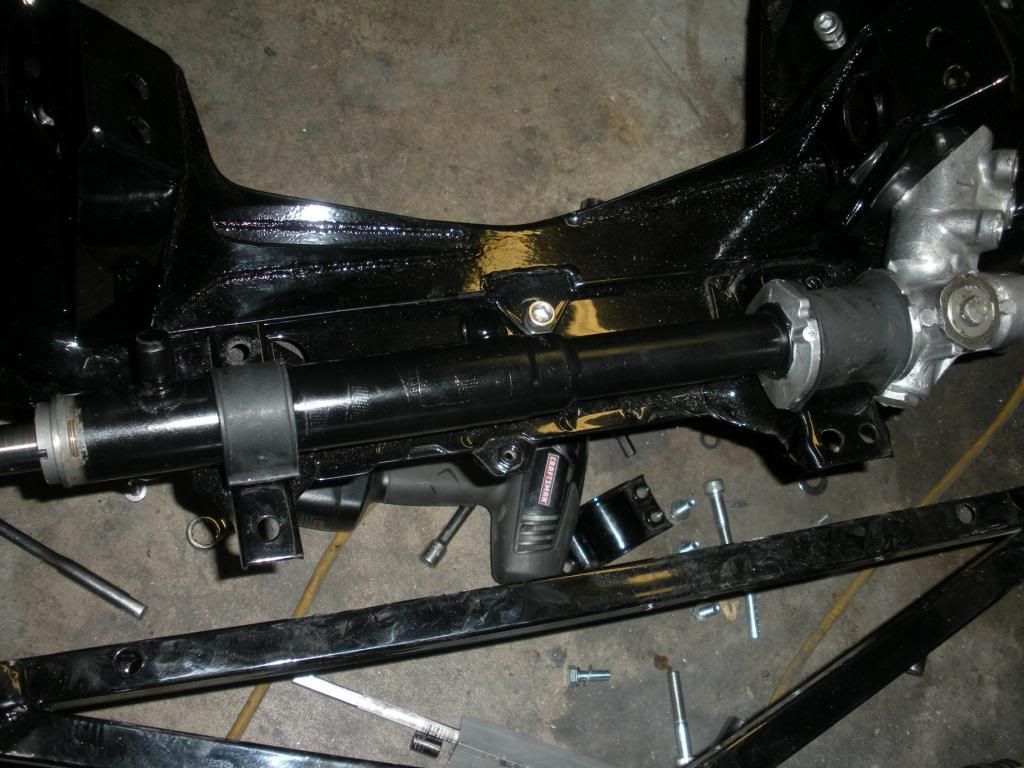
Started all the hardware by hand before tightening and of the clamps down on the tube. Then snugged them up.
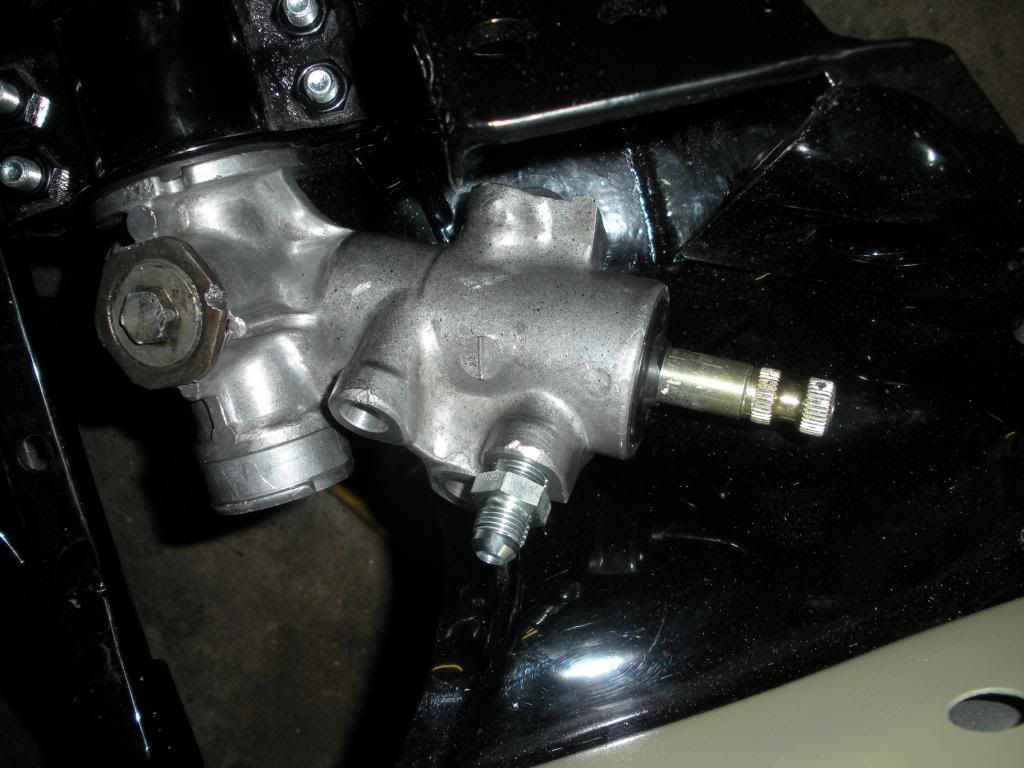
Here's Aeroquip's part number for the rack output if you want to make it into a -6AN jam like I needed.
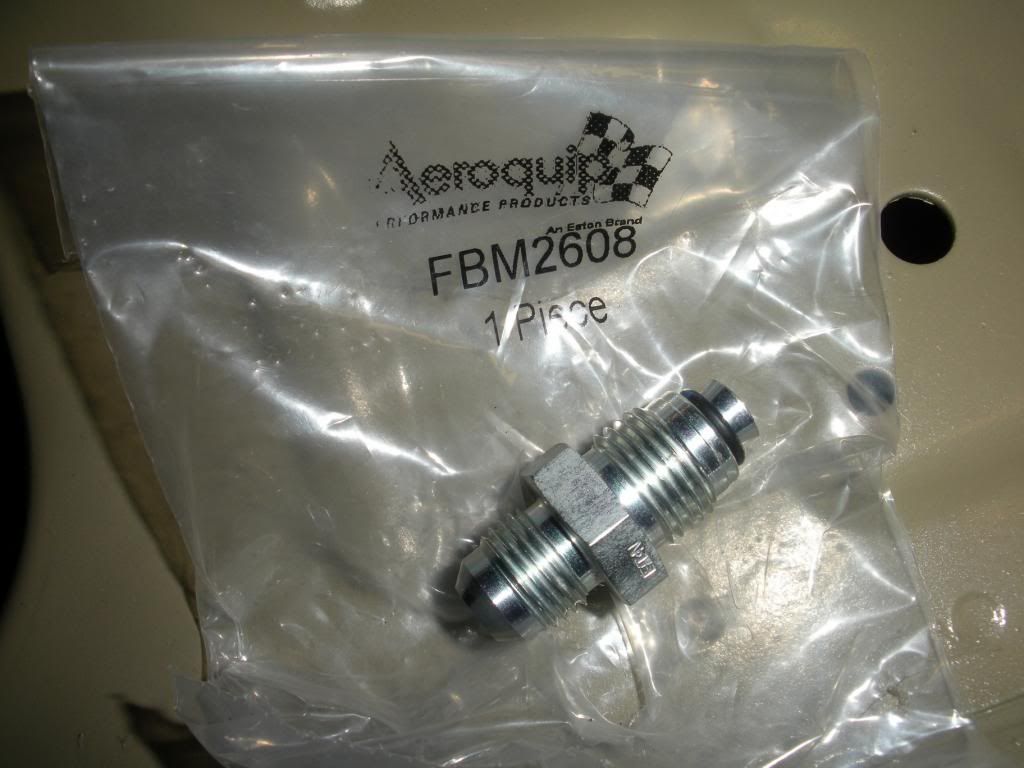
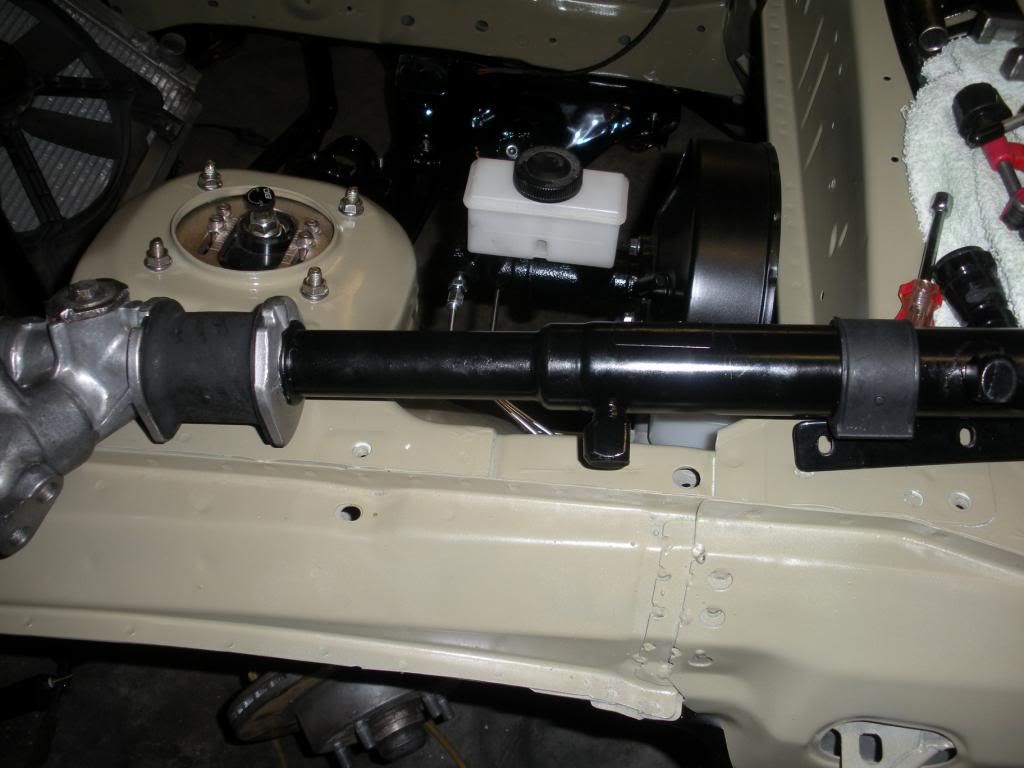
That's what it looks like installed. in case it matters :/
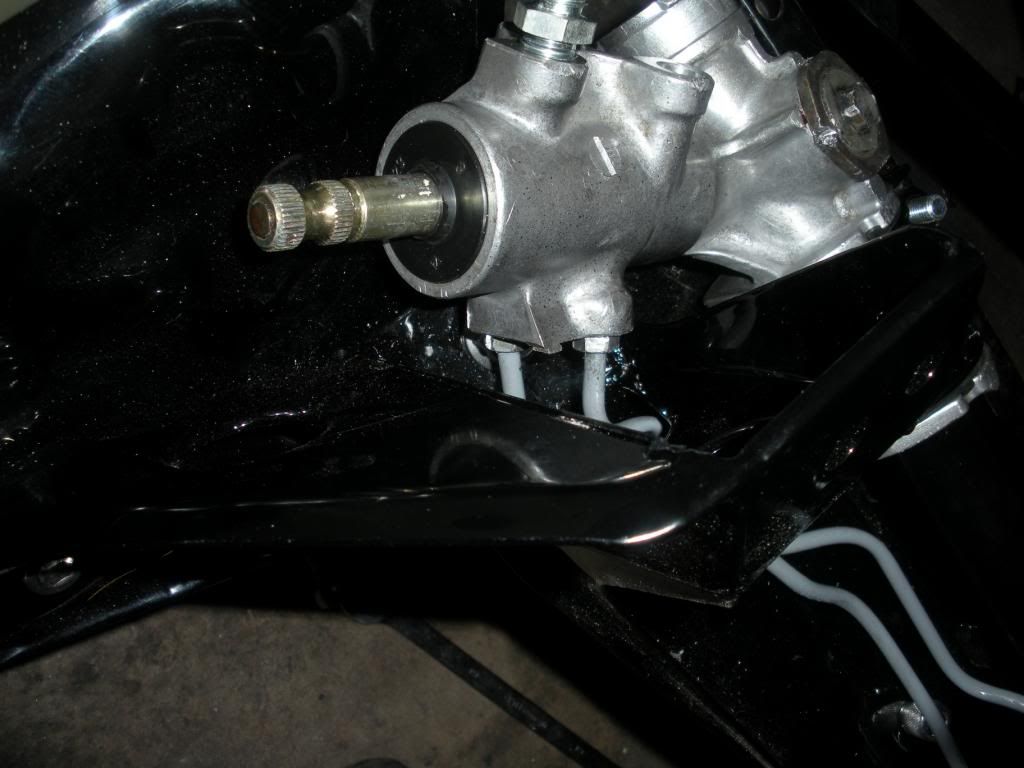
Remember the four tiny O-rings in the kit? They go on the factory hardlines. Don't forget to lube them with a bit of power steering fluid.
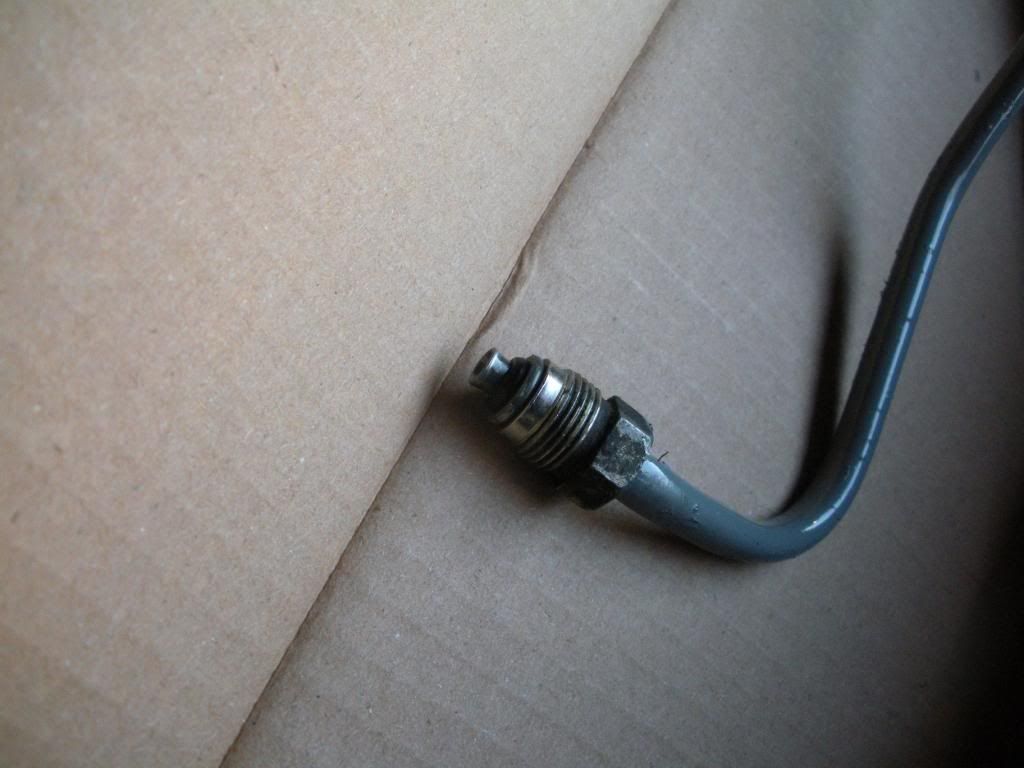
What it looks like installed.
In my case I have a Small block chevy swap engine cradle, which makes installing the hardlines a challenge to say the least.
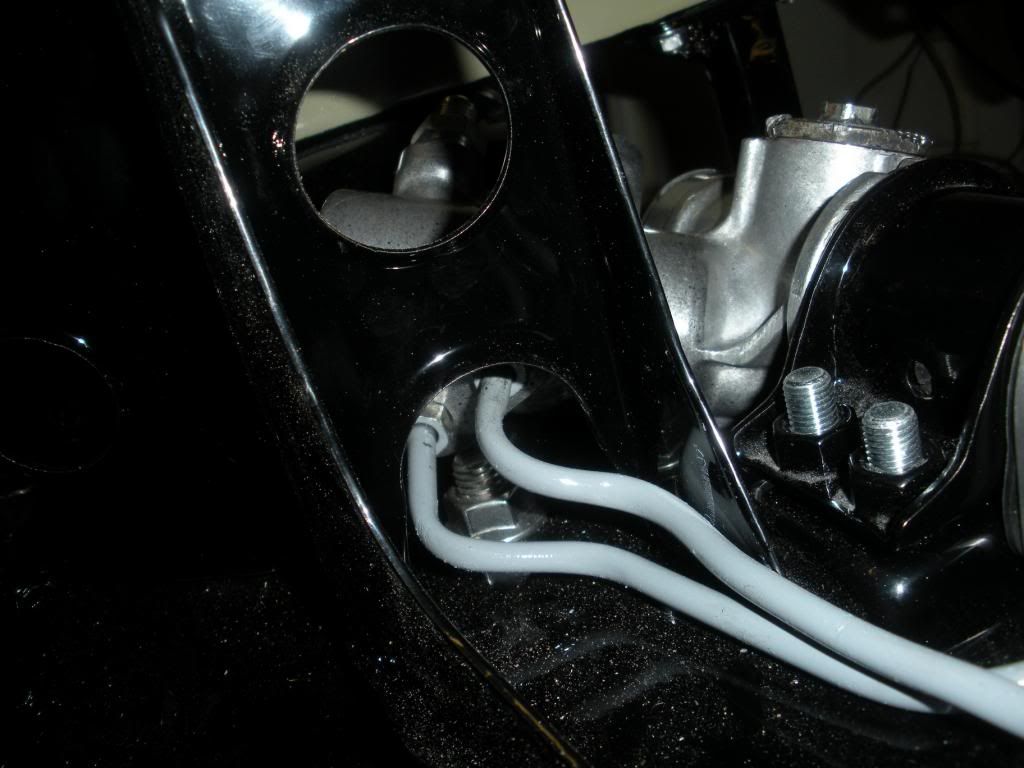
Those were fun to tighten lol
Here's my rack input hose thing I had made out of the end of the factory hose. i cut off the hose behind the crimp fitting and ordered a weld on steel -6AN fitting. Needs to be cleaned up still but you get the idea. That threads into the middle hole on the rack. The bottom hole on my unit is plugged (Forgot to get a pic of that). It's super simple I measured the depth of the hole, then cut a bolt at that hieght, just the threaded part and threw the top away. Then I cut a groove across it with a band saw so it can be driven with a screwdriver. Coated the threads in red loctite and screwed it in. Sits flush with the rack. Simple solution. I just use the input and output and ignore the "feedback" hole or whatever it is.
My build thread is in the BAD GUY section
 http://www.rotarycarclub.com/rotary_...ad.php?t=16630
THE END.