So HOLY CRAP! Today has felt like a very long day with the FD..
My day started out at about 6:30 with a text from one of the guys who works for me, asking about whether we're working today or not (due to the snow). 7:30 rolls around and, after bouncing back and forth on base opening/closing information it's finally determined that today will NOT, in fact, be a work day.
I go back to bed, happy to have a bit more sleep and looking forward to spending the day getting my FD all back together again and heat cycling. This weekend I *will* be taking the car up to Speed1 for it's break-in tune, and NOTHING is going to keep me from being totally ready!
Unfortunately my morning was consumed by work related items concerning the people I supervise, and errands with my wife. We went out to hit up some appointments she had for the day (mind you, most of the area is shut down due to a random snow storm) without her actually calling to confirm that they were still happening before we left... That was an easy 2-3 hours wasted, not a happy camper. Oh well..
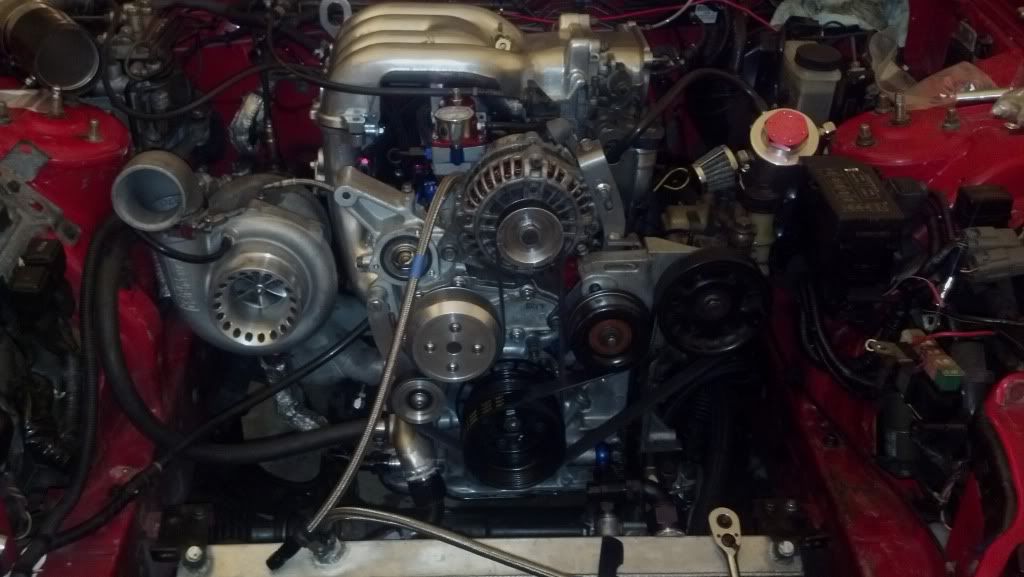
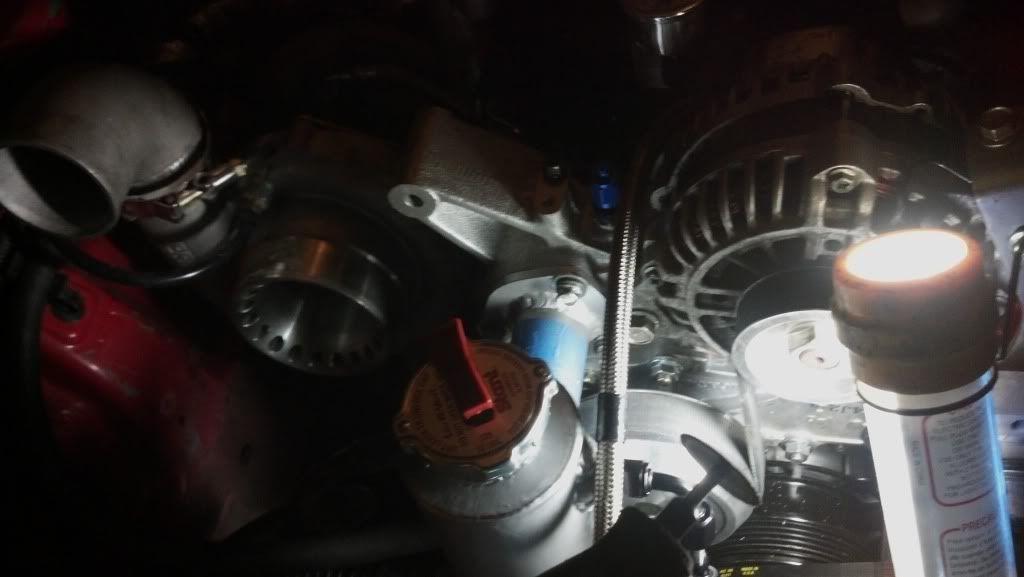
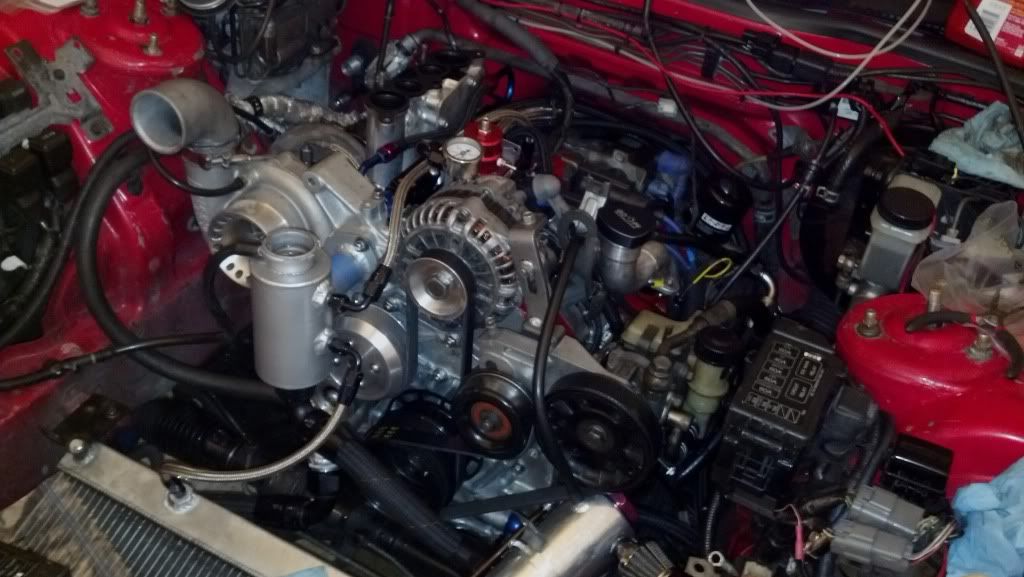
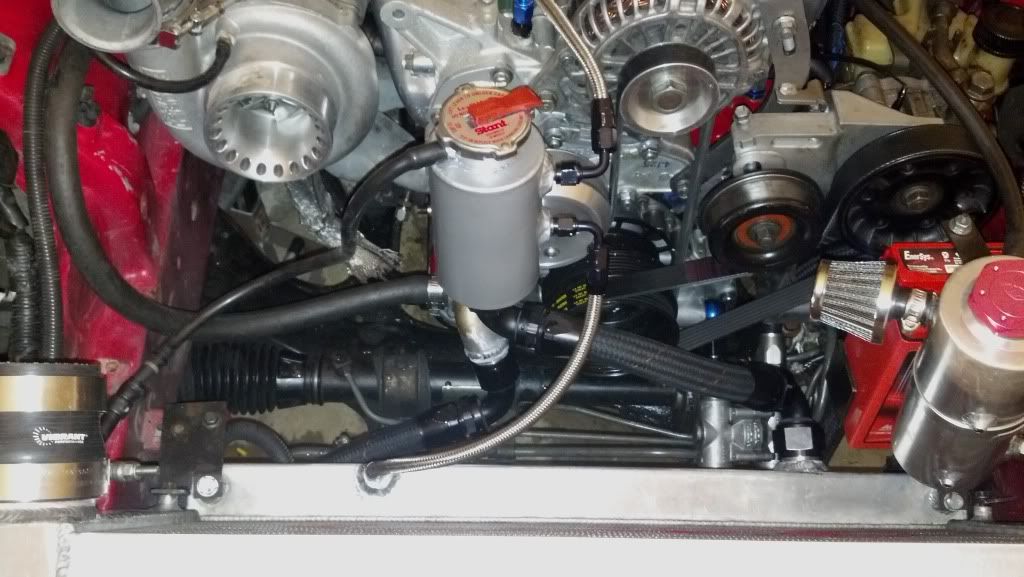
I finally was able to start working on the FD around 3pm. Here's how she looked when I started:
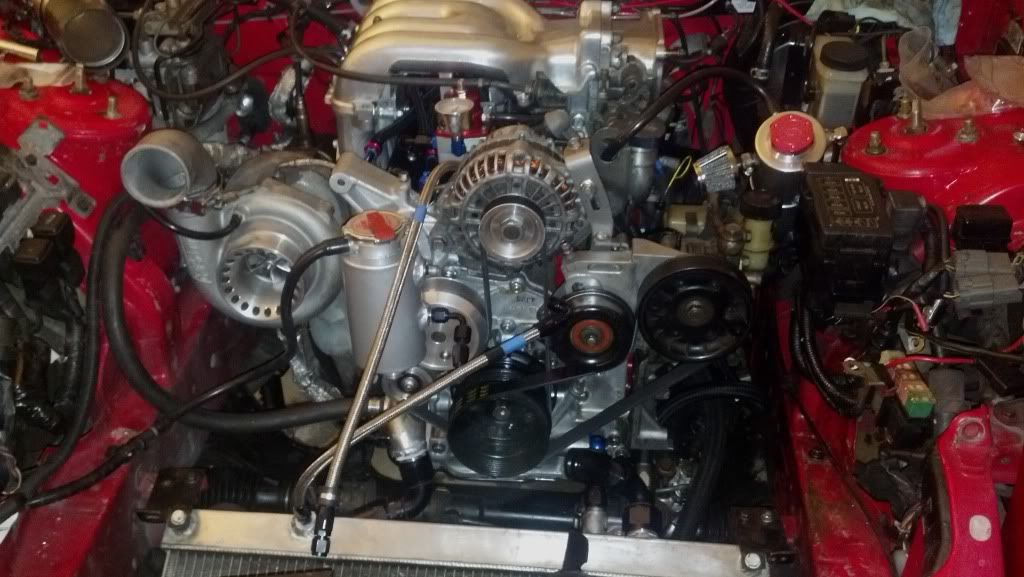
The engine bay was pretty much ready to finish getting put together, all it needed was for me to finish cutting the upper Rad hose, trim down the two AST feed lines, then mount the AST/IC/Battery.
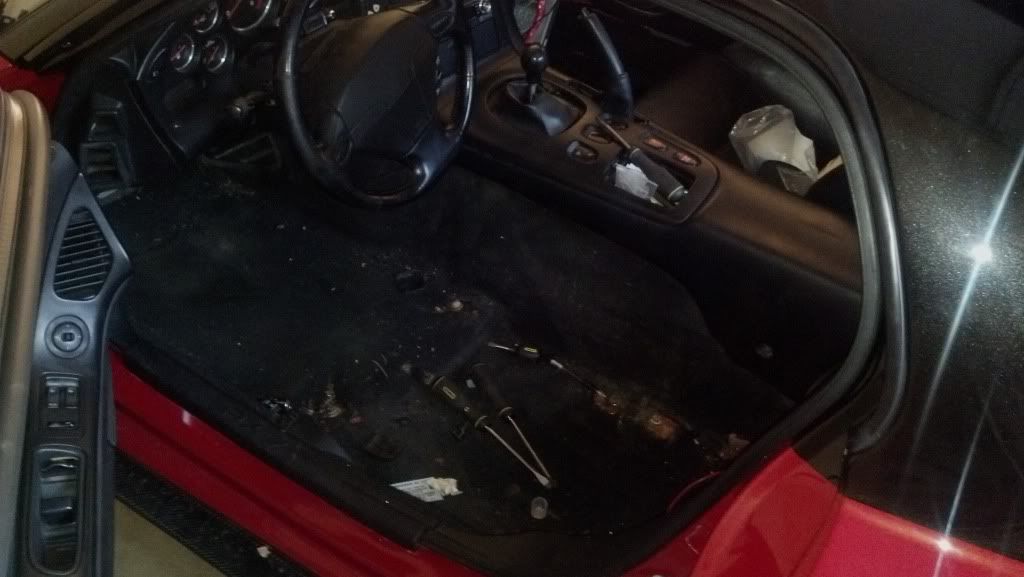
I found some long lost spare change under the drivers seat:
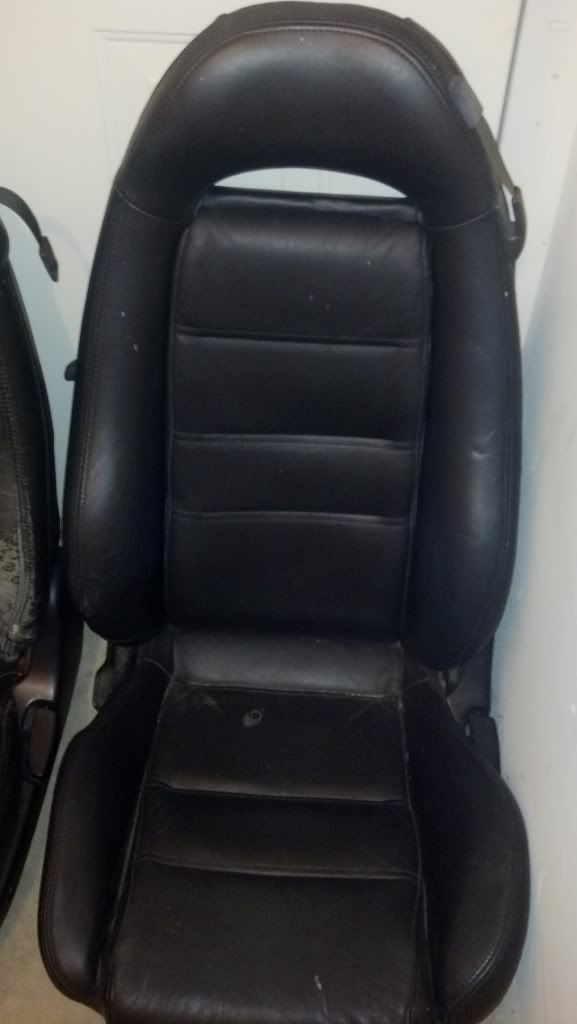
Here's a side-by-side of what WAS in there, with what WILL be in there:
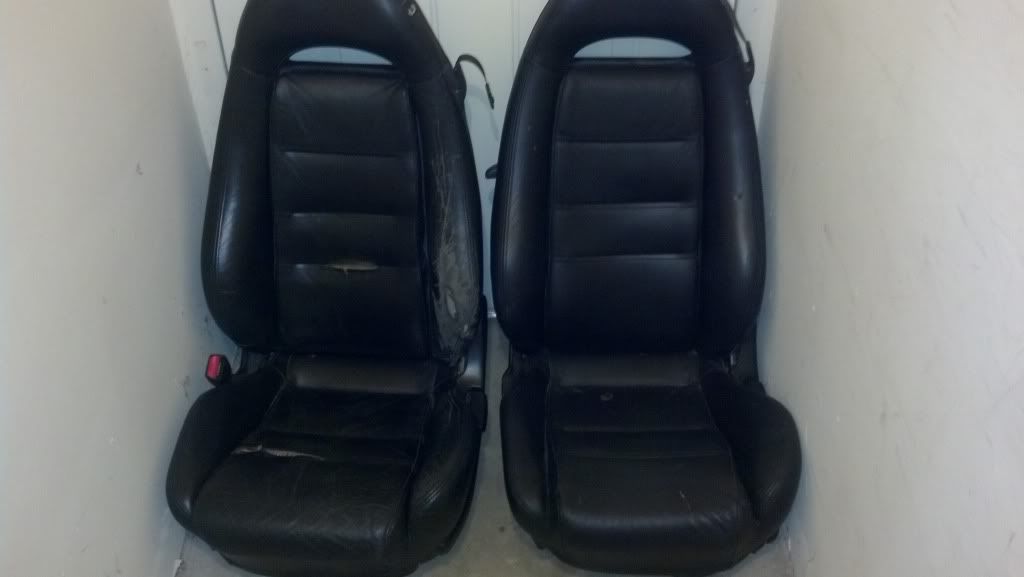
The left is my original, 1994, leather seat. The right is a "passenger" seat that I purchased while living in England about 4 years ago. Since the UK "passenger" seat is our driver seat I think it should work out perfectly

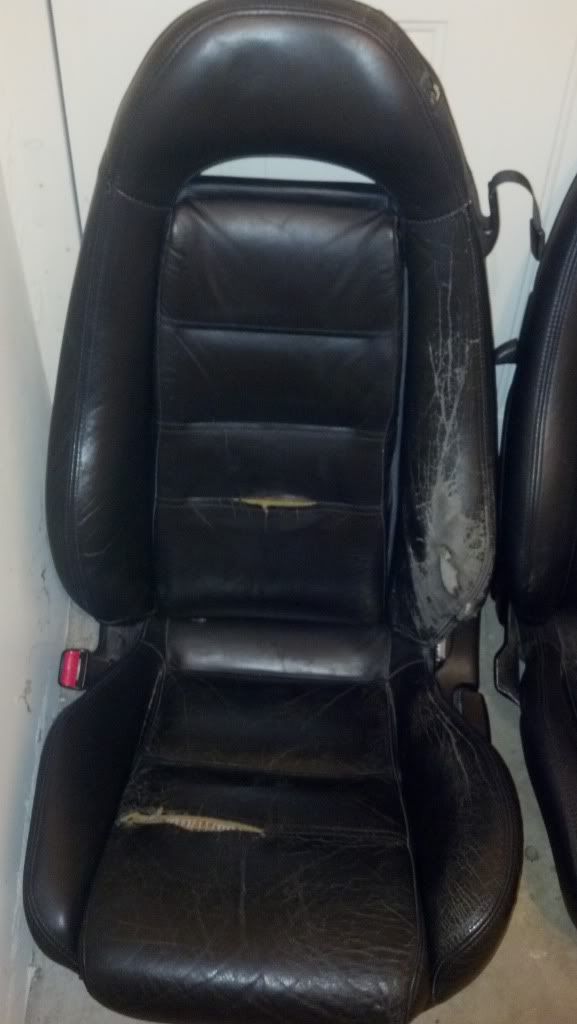
Here's a bit closer of a look.
Out with the old:
In with the new:
With that done it was time to attack the engine bay.
I mounted the AST up one last time to confirm how long the upper radiator hose needed to be cut.
Then made that shit happen
Next it was time to get those AST hoses sorted. Too easy right? Should only take about 5 min with the dremel to cut the hose down, then it's just fitting the hose ends on and we're moving on!!
The bottom hose got the memo, went smooth as you could want

The upper one though... that fucker had other plans!

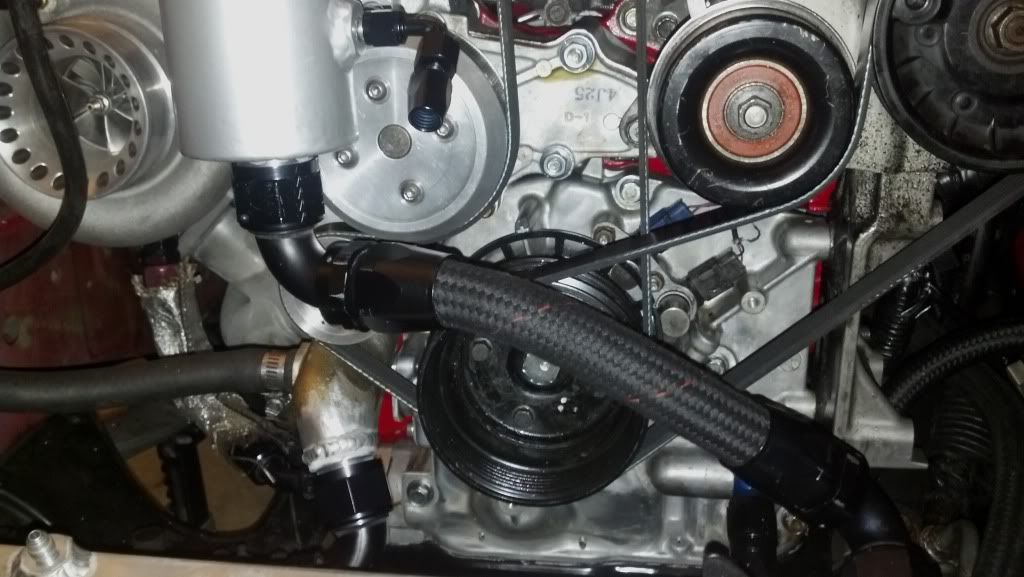
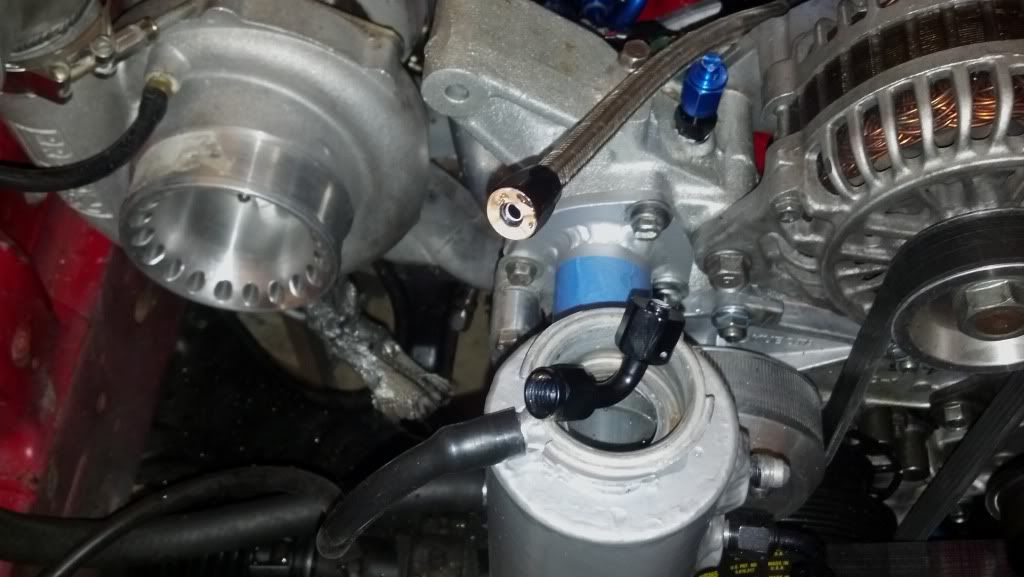
The upper one is/was attached to the rear iron at the port that (used to be) is normally used for the coolant bypass in the Throttle Body. That is the highest coolant point in the keg and should (naturally) be used to feed the AST since any air bubbles in the engine will rest there.
I decided, for the sake of saving time, that I would just cut that hose while still attached to the car. I didn't really feel like removing the UIM and digging through my fuel lines/engine harness to reach where it was mounted.
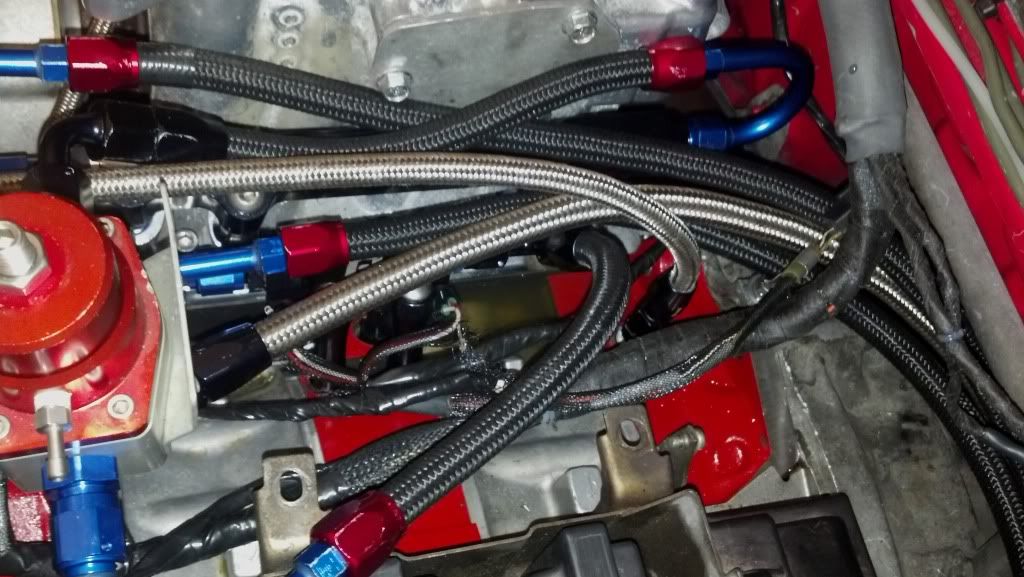
The cutting went fine, bu while I was threading the second 90 degree -4 fitting disaster struck!
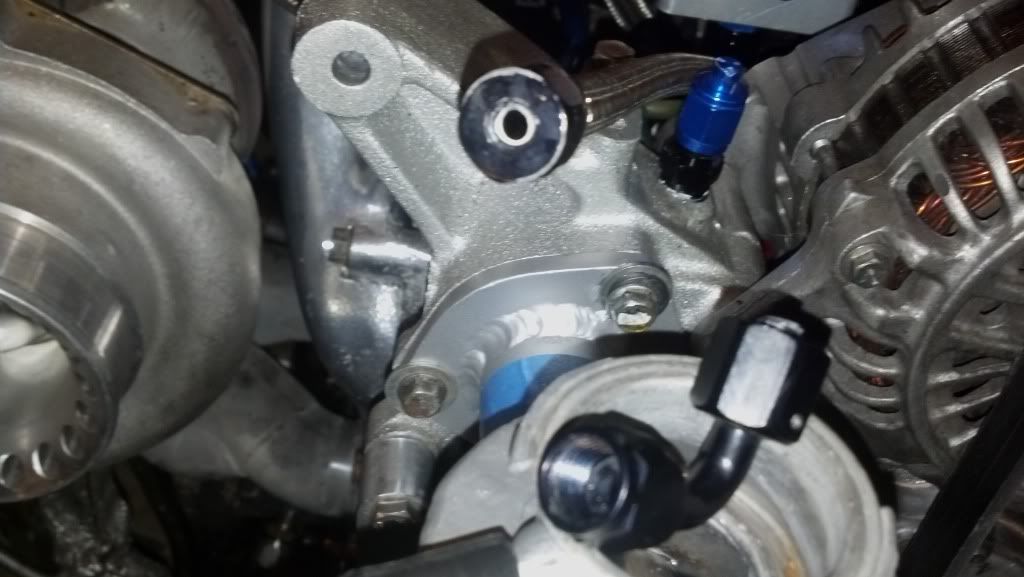
Right as I was tightening the fitting down it broke

The damned insert just sheared right in two!!! I had a hardcore rage-face moment because that was my only remaining -4 90 degree hose end, and a straight fitting would NOT work!
You can see the broken fitting, and the piece stuck inside the hose here.
At this point I damn near called it for the night. A text was sent out to a couple of the guys who have helped out lot with this so far, that basically consisted of the above picture and the word "fuck" used in a manner that had it fit every part of speech. Think Boondock Saints..
I had a beer and, like any good Enlisted Sailor, hatched up a solution while throwing one back to sooth my nerves.
I had an idea, and only one chance to get this right.. I had one straight -4 hose end left, the 90 degree fitting currently attached to the hose, and just barely enough left over hose that I would be able to fashion a replacement line.
So off came the UIM and the existing AST hose, it was time for a swap.
Here's the hose that WAS on (on the bottom) and my last bit of -4 hosing that would either save, or ruin, my day.
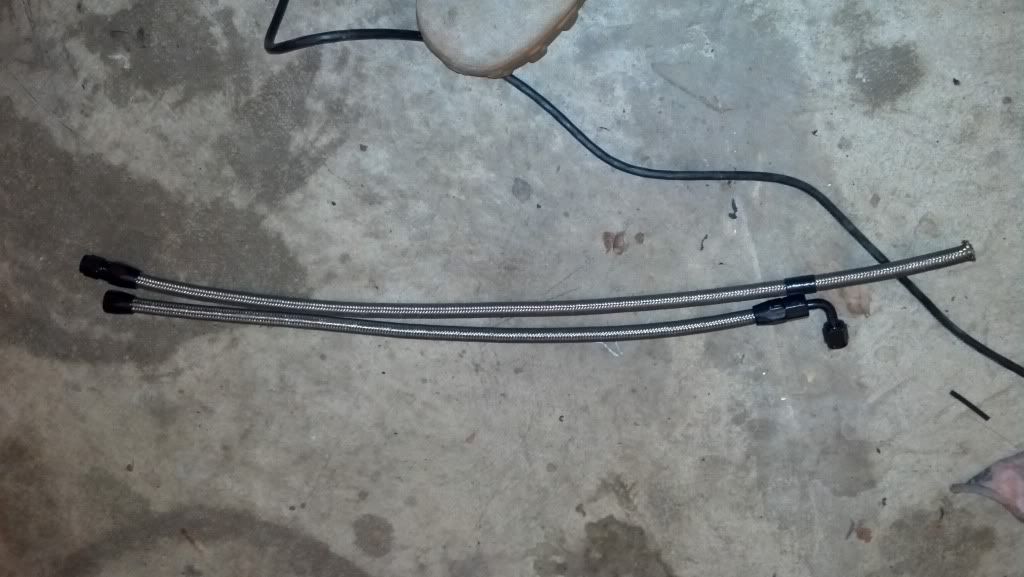
Thankfully my idea worked perfectly!!
So at that point it was about 9pm and I was back on track (however I was also in the dog house, as dinner was ready at 8pm, and I ignored the woman for the car.)
Everything after this point went pretty smoothly...
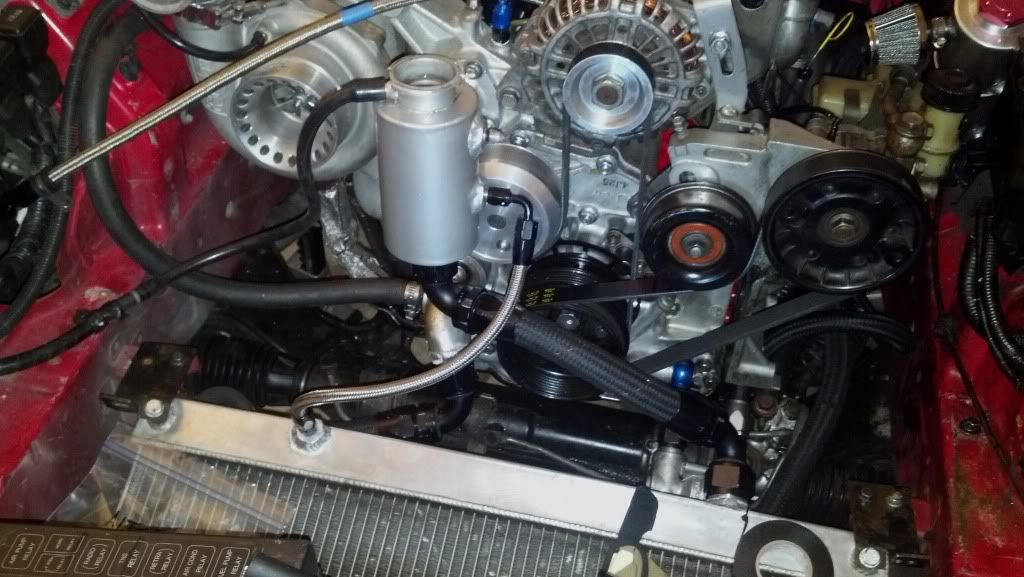
The UIM went back on
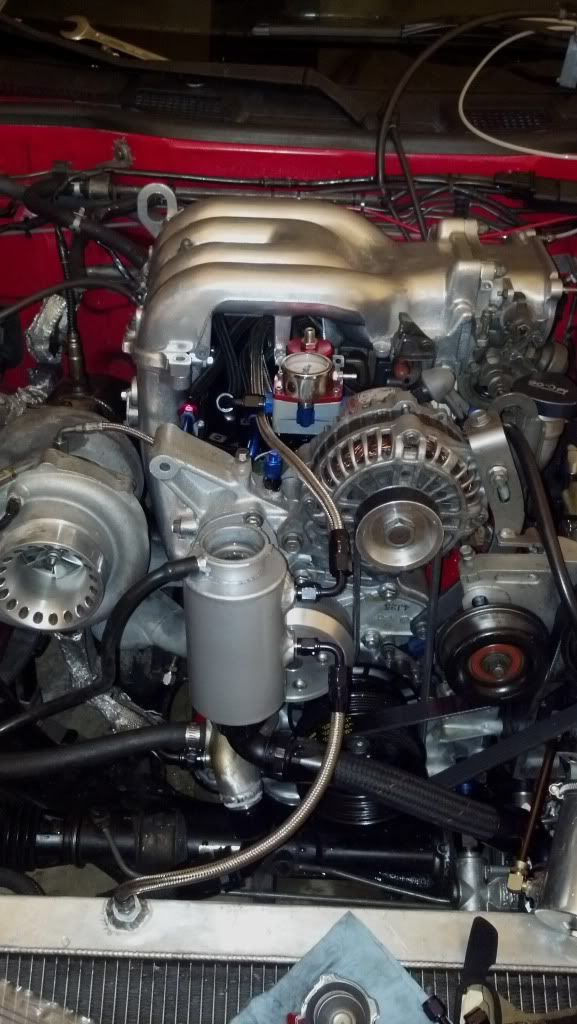
Then the IC went in (finally)

The battery went in and here's how she looked at the end of the night:
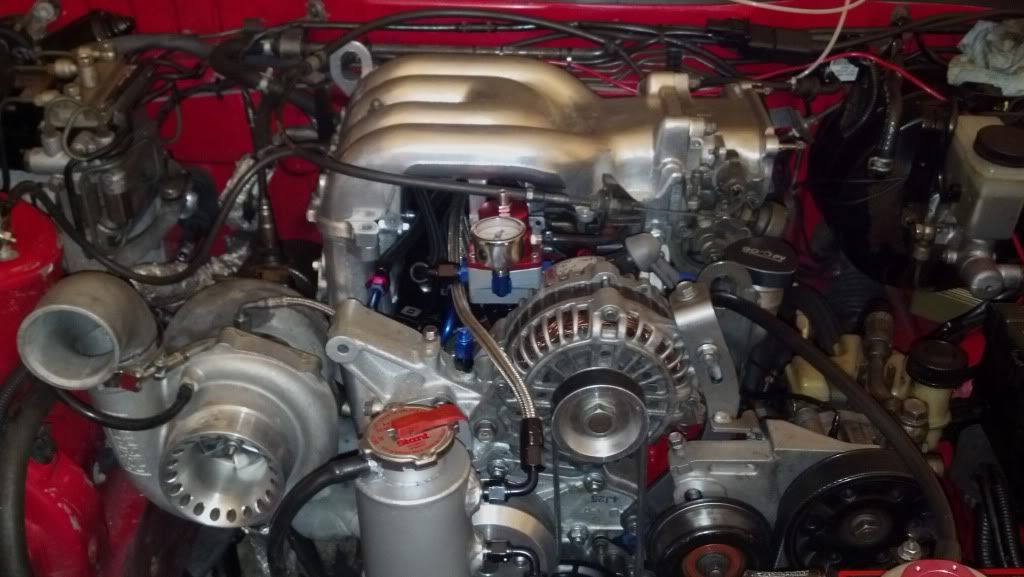
I closed up at about 10pm, all I have left to do tomorrow (hopefully) is hook up the IC piping, install my new drivers seat, and start those heat cycles!!
