I am going to document how I got the muffler mounted in the tight space I have to work with. This may seem like piddley details to some, but if you've ever had to mount an exhaust and muffler into a tight space (where you could not have a lot of movement) you will know that it is important. Get it wrong and it will cause you no end of headaches.
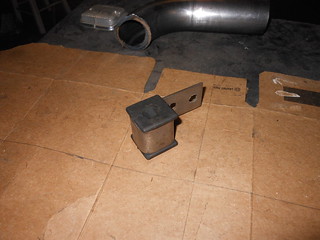
The mounts that I am using are a common mount you can get from most muffler shops. It is a fully captured rubber mount. This makes it possible to isolate movement in all directions (with the use of jams nuts on the center mounting rod), but still maintain rubber isolation between the exhaust system and the body of the car. There is still some movement so that I "hopefully" don't break anything, but not enough for it to contact any of the surrounding metal when I hit bumps.
 exhaust mounts
 by
Kevin Frank, on Flickr
I used 1/2" threaded dowel to make the hangers so that I could adjust the position of the mounting point and secure it down with jam nuts on either side of the rubber block. I used three mounting points so that it stayed secured in all directions and could be moved into the optimum position. The inlet side has two mounts, top and bottom, the outlet side has only one mount up top. Mount on inlet side:
 muffler mounts - inlet side
 by
Kevin Frank, on Flickr
Mount on outlet side:
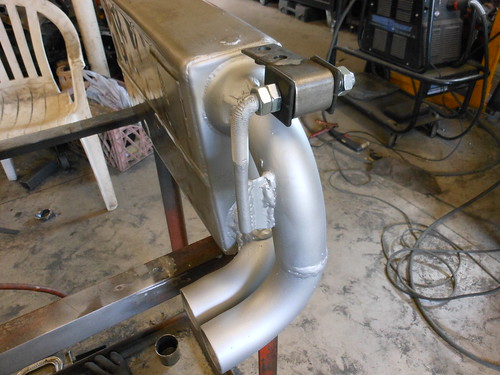 muffler mount - exit side
 by
Kevin Frank, on Flickr
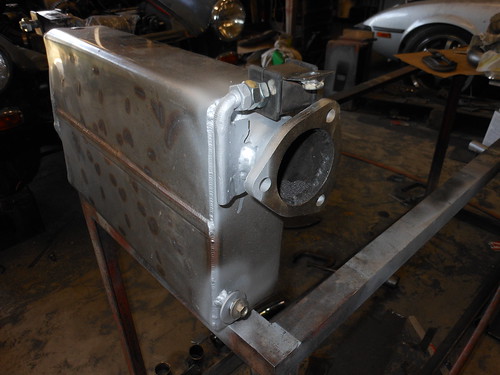
These are the pictures of how I mounted it in the box. It doesn't look like it in the pictures, but there is at least one inch of air space all around the muffler. The box sides act as a heat shield to minimize heat transfer to the fuel tank and the body.
 muffler - mounted 1
 by
Kevin Frank, on Flickr
 muffler - mounted 2
 by
Kevin Frank, on Flickr
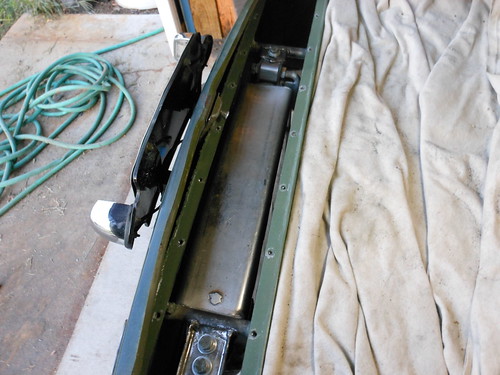
... and another picture of how the muffler and tailpipes actually ended up looking from the rear once mounted. I was pretty happy with it, as it came out just the way I wanted it to.
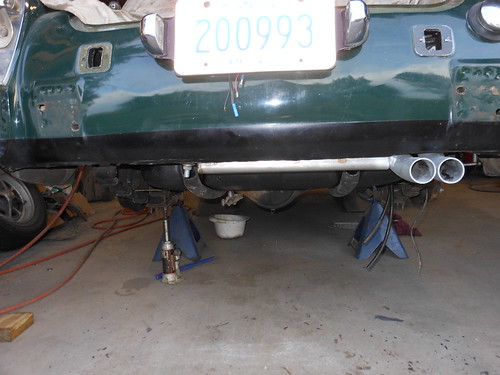 muffler - mounted bottom
 by
Kevin Frank, on Flickr