Having just completed installing the RE SPEED Big Brake kit i figured i could explain the run down on its installation.
For starters i would like to say, i love this kit. I might have too buy several of them just to make sure that in case of something happening, i will still have a few. Its simple to install if you have the right tools. I happened to have a torch which made it cake.
Required Tools:
12mm Socket
14mm Socket
17mm Socket
Brake Cleaner
Oven or good torches. Torches are best
Larger pliers to hold stupidly hot adapter piece
I wont go into details on removing the original parts since that is clearly explained in a variety of manuals or can be figured out rather easily. So i will start at the point of having just the spindle, cleaned and ready. But you can expect the lower caliper bolt to be located behind the bottom strut mount. So you will have to removed both bolts from this and the tie rod in order to get it moved out of the way. You'll see what i mean. The new kit will not have this issue.

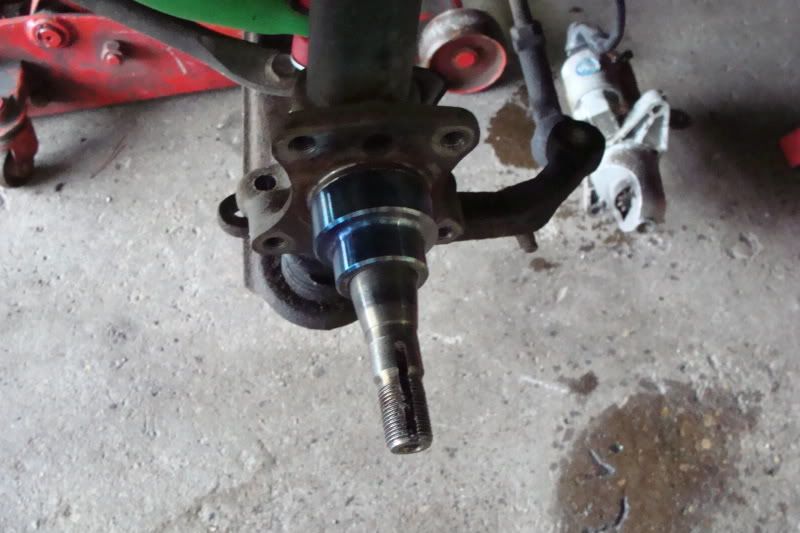
As you can see above, this is the 84-85 spindle. Bare of the rotor/hub assembly which are a single piece. The dust shield and caliper mount is also a single unit.
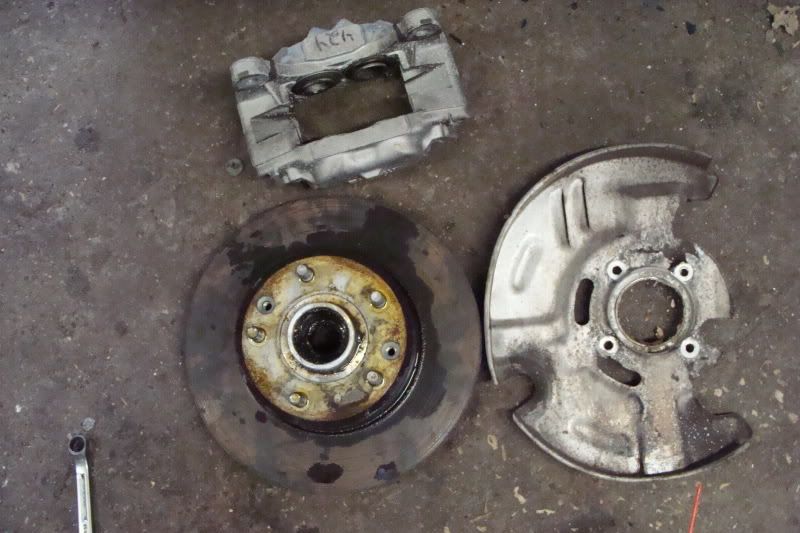
Everything removed can be seen in the photo below:
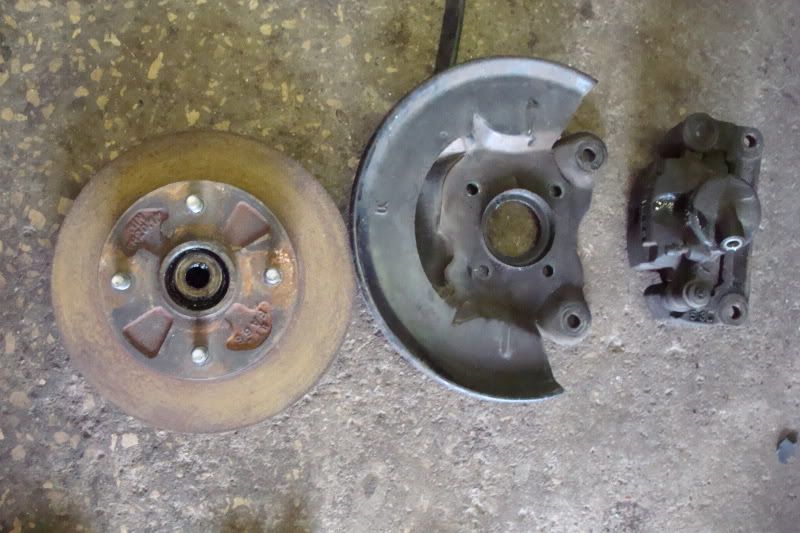
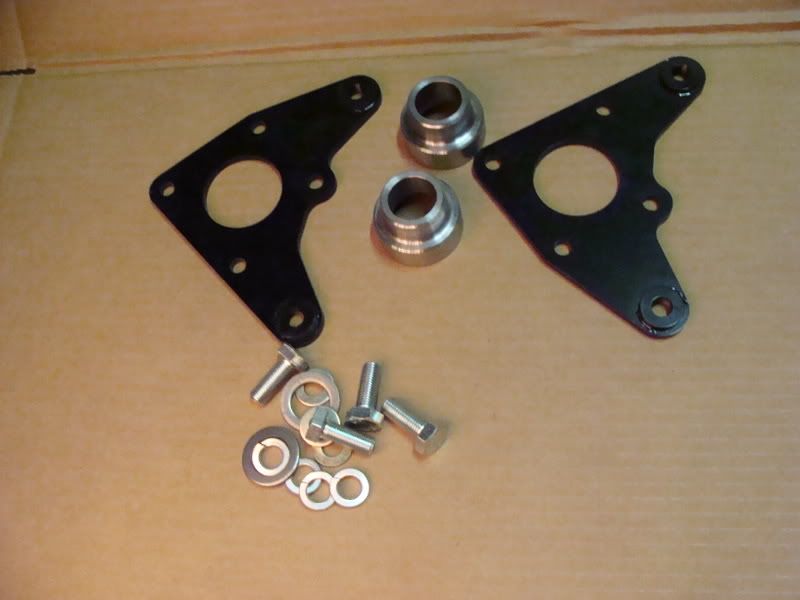
What you will need to complete the swap is essentially all of the FC parting parts. This includes the calipers, rotors, hubs and optionally, the dust shield. You will also need wheels what will clear. Stock FC wheels do not clear. They are nearly one inch off.
Now you are ready to start installation. First, make sure to clean the spindle off of grease with brake cleaner. Bearing grease is nasty so have several rags available. You will also want to completely clean off the two adapter pieces supplied in the kit.
First, follow the instructions regarding test fitting to see if the spindle is undersized. This is very important. Neither of mine were undersized.
The adapters are fitted at a very tight tolerance. Installation is done by heating them to expand the piece so that when it cools, it becomes one with the spindle. To do this i used a Oxy/Act. torch. I did one side at a time to ensure i gave full attention to everything. I heated up the pieces for only maybe a minute. Once the material starts turning blue, its far more than ready to go on. Don't go melting it or anything. Once heated up considerably, I use a larger pair of pliers and gently pick it up and slide it on. Lightly hold it in place for a few seconds to ensure it stays.