|
Piston Engine Conversion Have you replaced your rotary with a V8 or any other type of piston engine? Tell us about it! |
![]() |
|
Thread Tools | Display Modes |
|
![]() |
#1 |
Rotary Fan in Training
Join Date: Nov 2012
Posts: 58
Rep Power: 13 ![]() |
Here's the granny's kit.
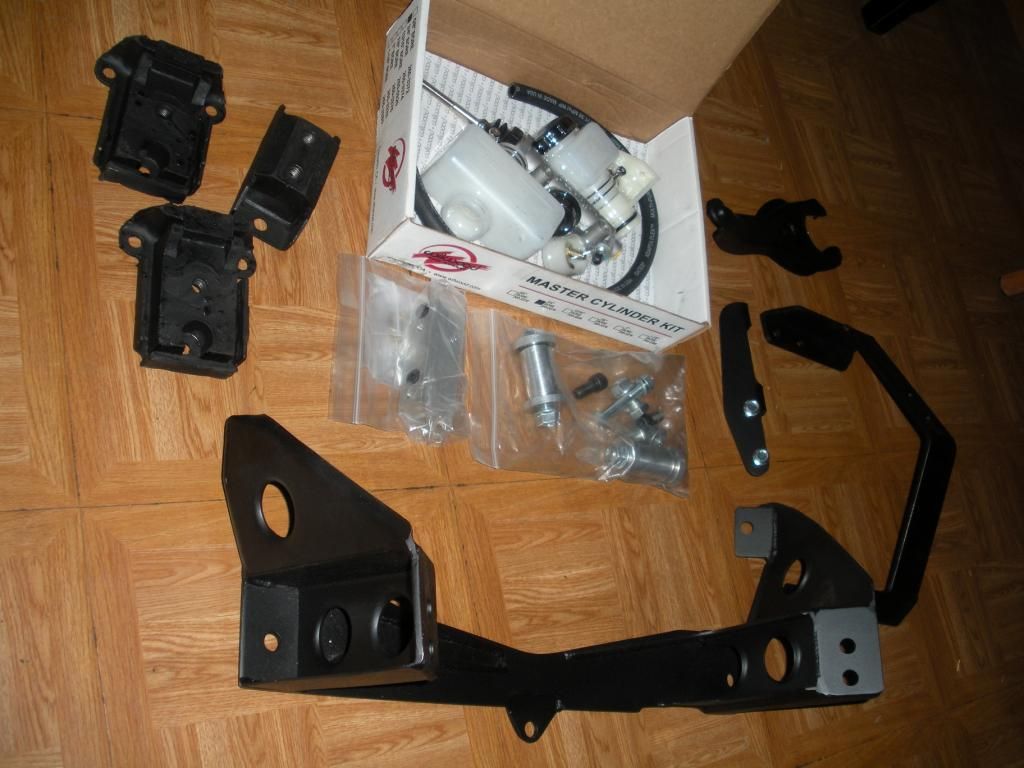
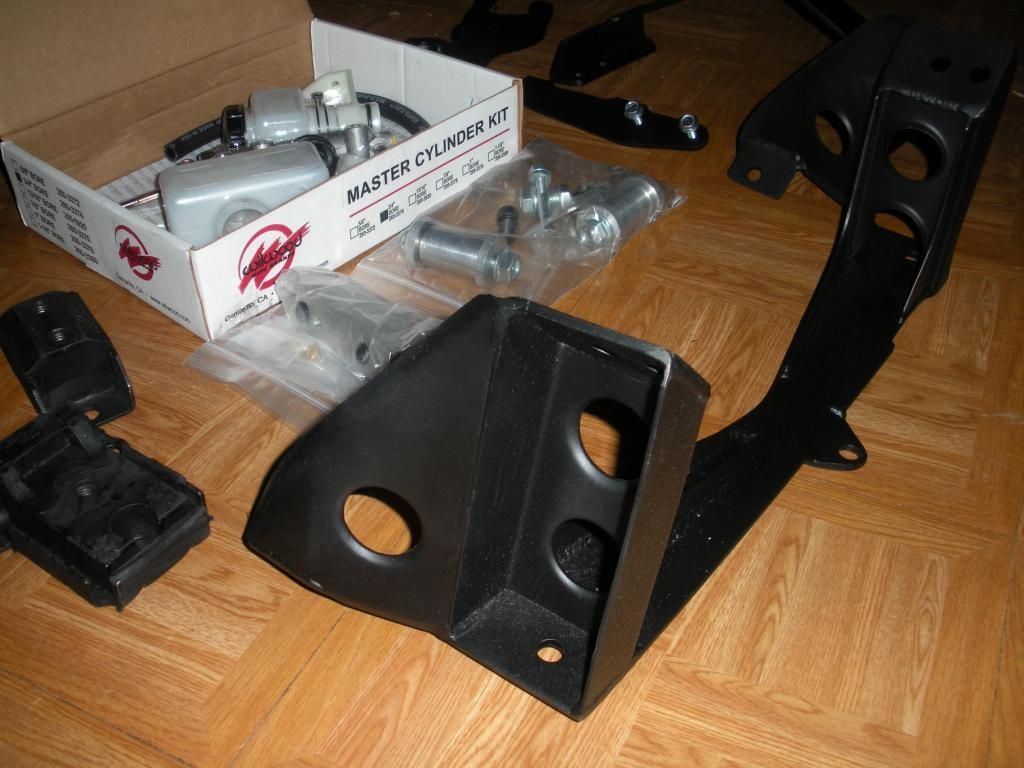
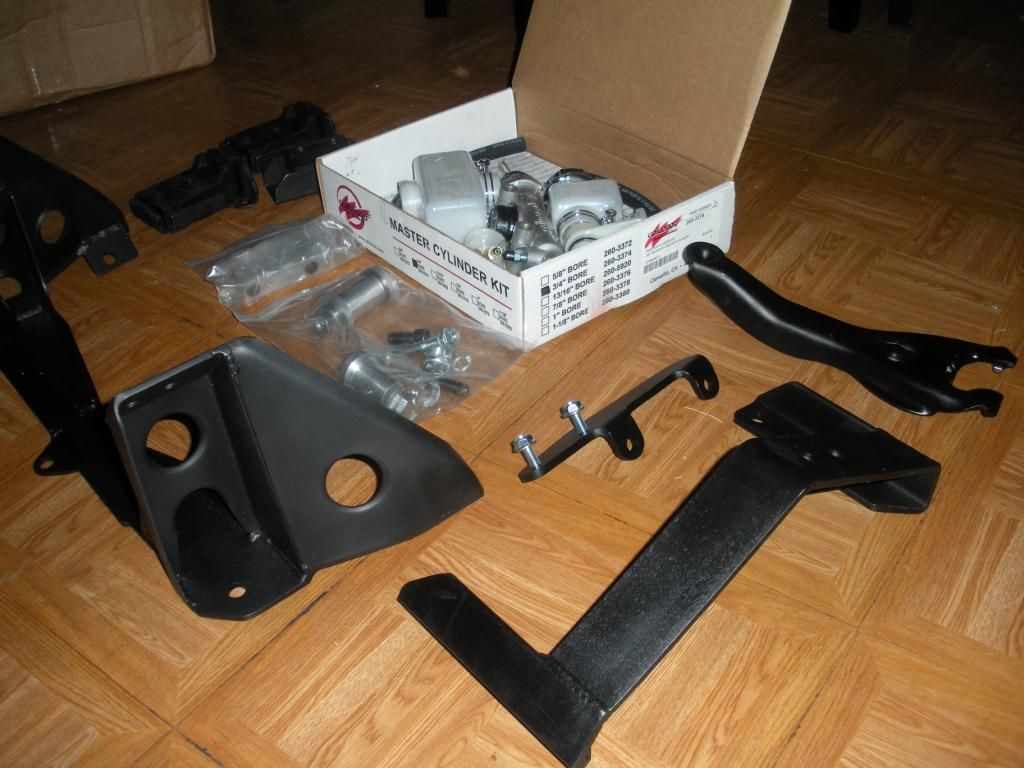
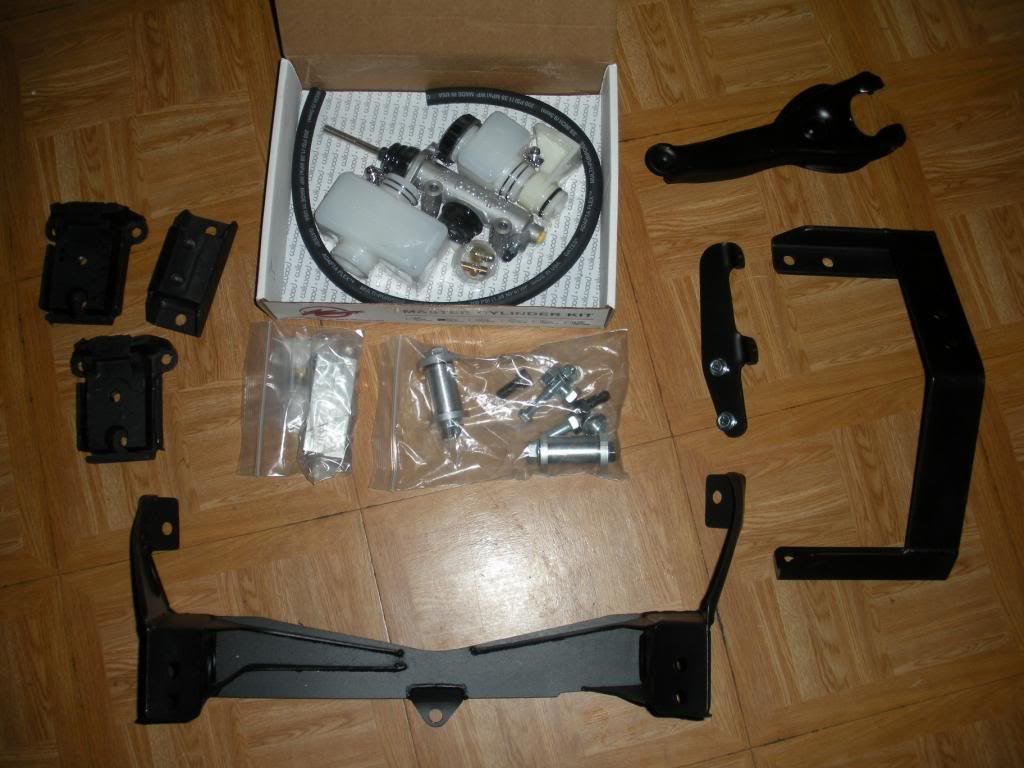
![]() ![]() ![]() ![]() I opted for the clutch slave cylinder mounting thing for a 4 speed transmission from an older Chevy (60-70s?). The older transmissions had mechanical linkage (Clutch cable I guess). Granny's makes a kit to bolt up a factory Mazda slave cylinder and gives you the clutch release fork and all that as well. The matching 3/4" bore Wilwood master cylinder to go with it was ordered as well. the only thing I'm lacking is the clutch hose. I'll just put AN fittings in the master and slave and get a stainless hose made. Simple stuff. I bought the bellhousing from a old guy in DFW that builds 60's era drag rails. Made a friend as well. I'm sure his knowledge will come in handy should I need advice. He's been building SBC and BBCs his whole life. Super nice guy as well. It showed up painted orange. It's aluminium so i will media blast it and leave it natural. Looks like this: a.k.a. pumpkin head. ![]() 
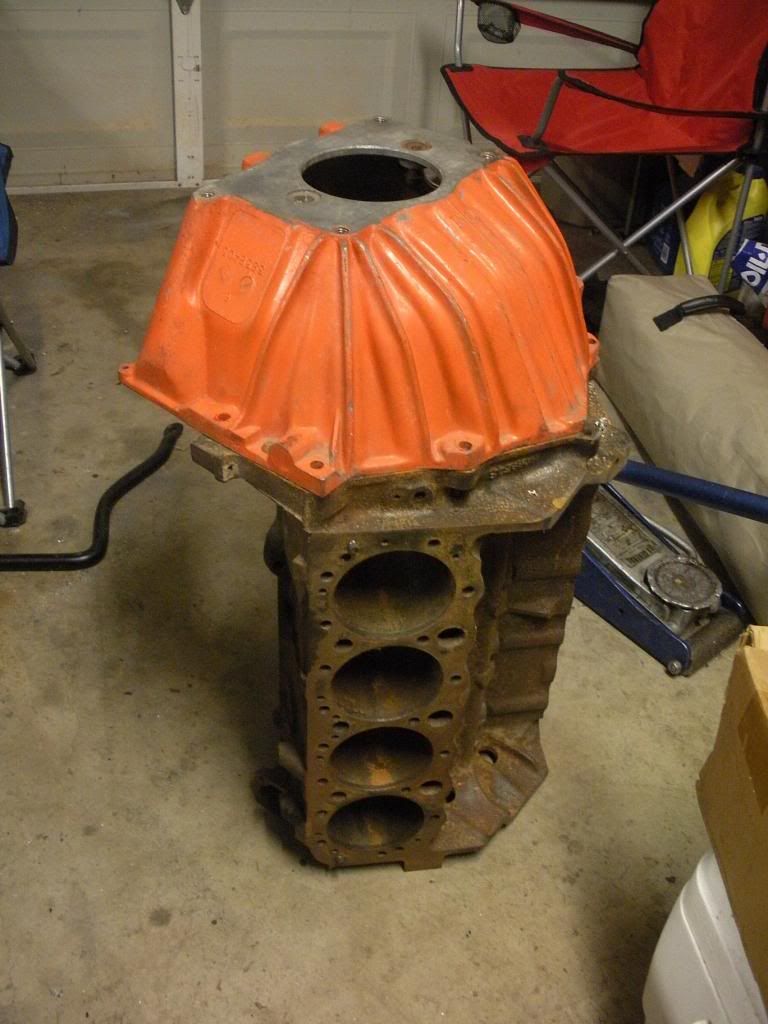
The granny's kit comes with new hardware and stuff, but I absolutely despise black oxide hardware, and I dislike zinc coated steel bolts. So I spent like $90 on a bunch of stainless hardware to replace it all, I got a few extra pieces of hardware as well for other stuff. Got to start out baller then crumble to peasant status as time goes on. It's not all in this one photo but you get the idea. Bolt Depot plug. ![]() 
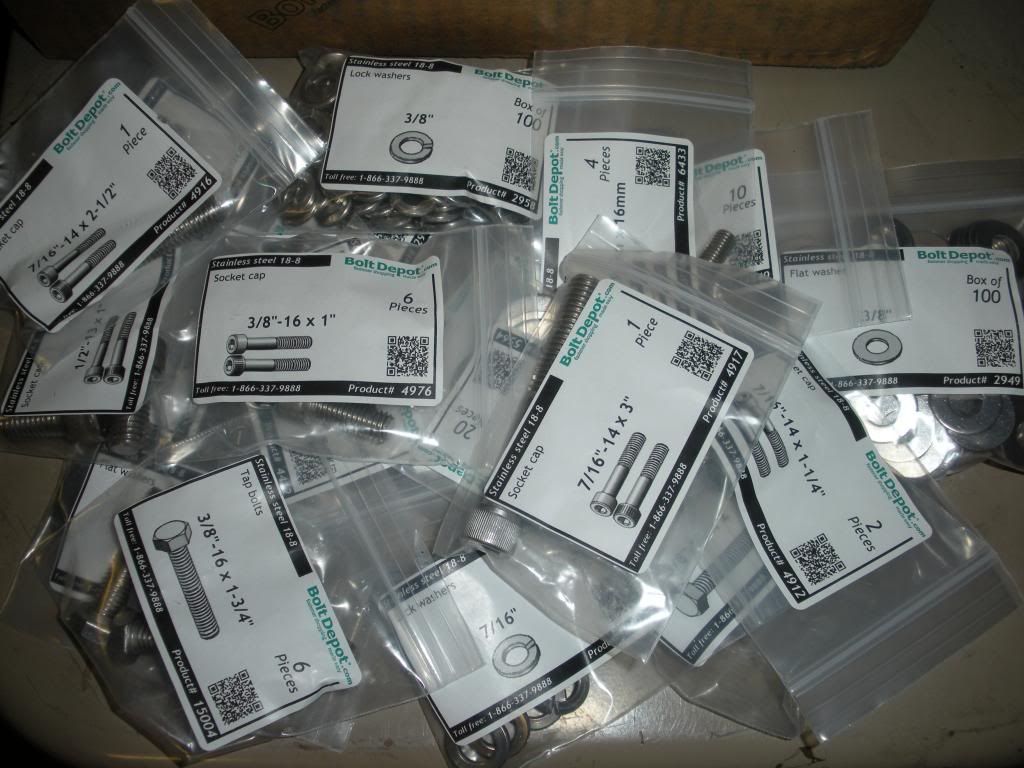
Some pics of the Granny's driveshaft. Grant does good work I like it more than I thought I would. I need to aquire the front yoke still from a Camaro or something similar. Not a big deal no hurry, I have yet to buy the gearbox anyways. ![]() ![]() ![]() 
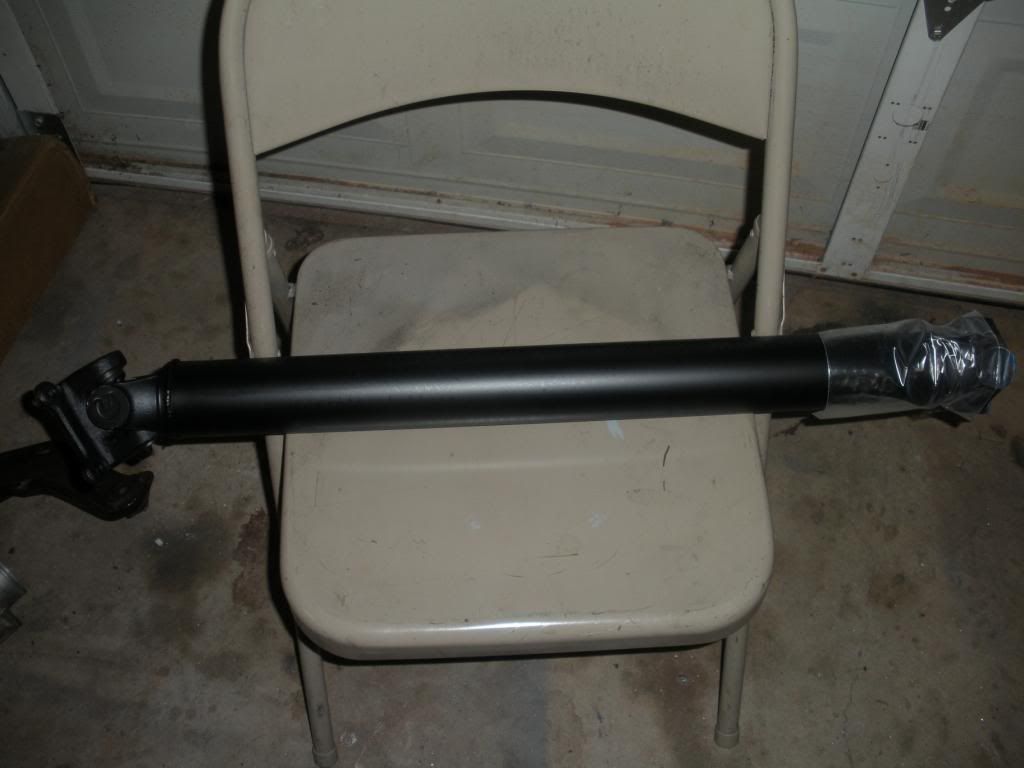
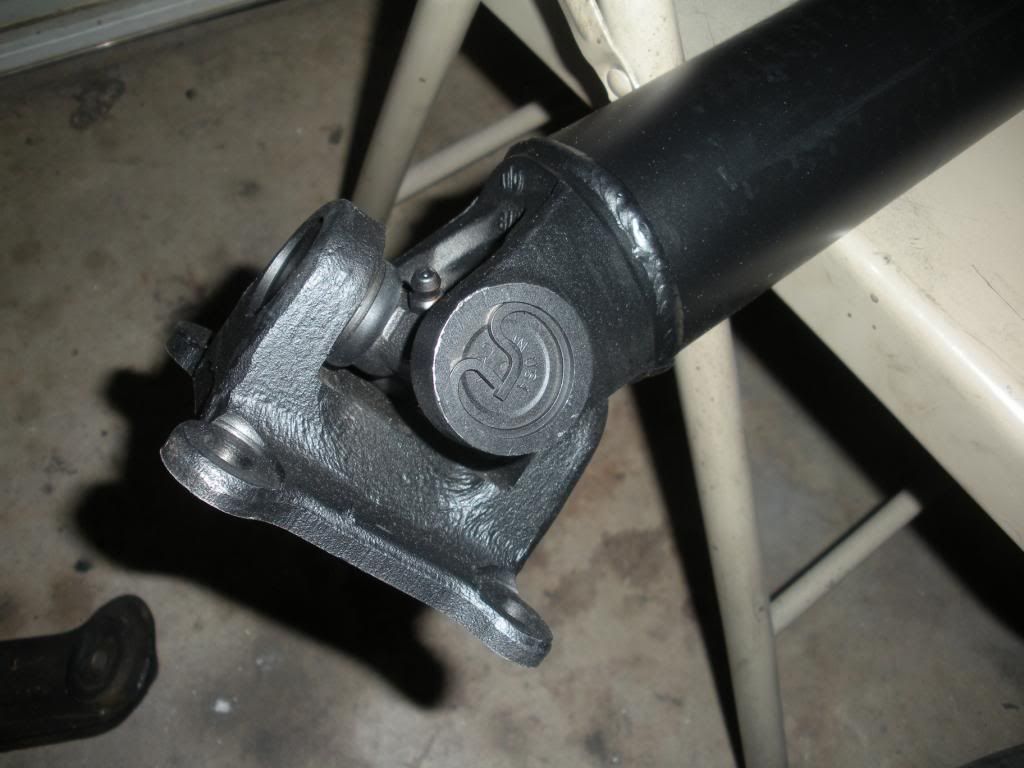
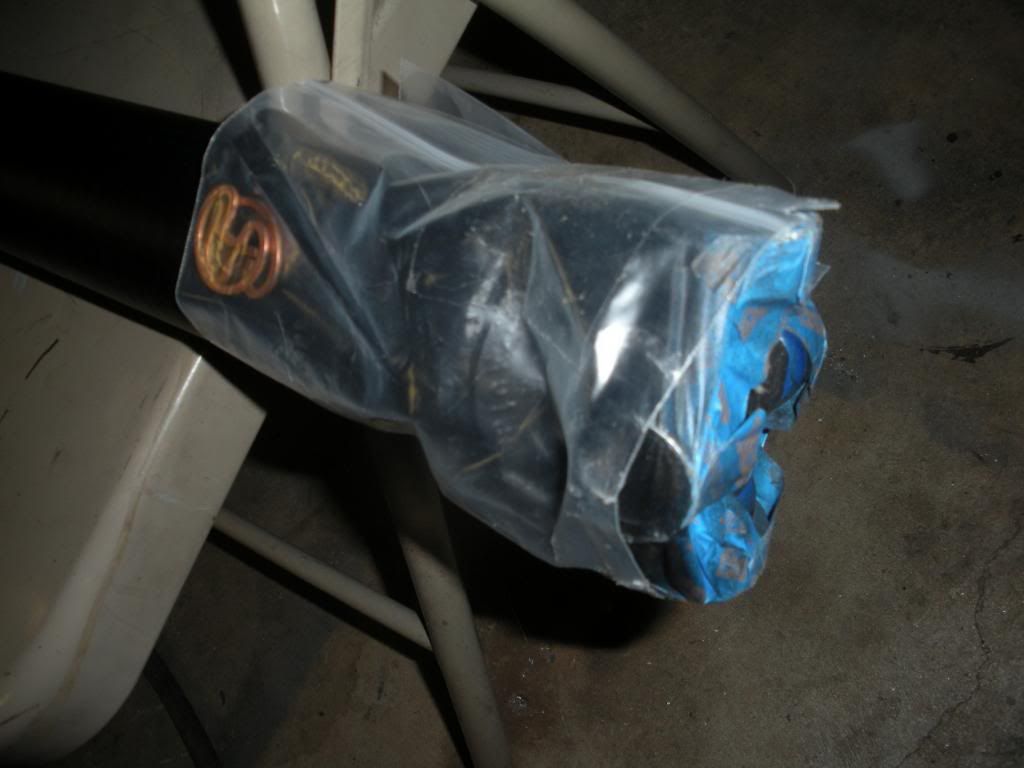
Last edited by StephenSheppard; 11-12-2012 at 06:13 AM. |
![]() |
![]() |
![]() |
#2 |
BOILED PEANUTS!!!
Join Date: Jun 2010
Location: Jacksonville, Fl
Posts: 257
Rep Power: 16 ![]() |
The fab work on that kit looks very good, looks like a pretty nice kit
__________________
![]() www.rotarycarclub.com "The way a Rotary engine makes power is ferocious, much like having a chainsaw under your right foot." |
![]() |
![]() |
![]() |
#3 |
Rotary Fan in Training
Join Date: Nov 2012
Posts: 58
Rep Power: 13 ![]() |
|
![]() |
![]() |
![]() |
#4 |
Rotary Fan in Training
Join Date: Nov 2012
Posts: 58
Rep Power: 13 ![]() |
Here's the radiator and fan setup from my 13B that I will recycle for the V8 swap. It holds the temps down on a 13B at 7000rpm+ on 105 degree days for hours on end.......it should be more than enough for the 350. It's one of the last ISC FB radiators modified to fit the FC chassis after I took it out of one of my FBs. Buick Century fan is a pretty serious fan. It cut the fan cycles in half or less (Temp controlled switch via a relay), in comparison to a regular 16" fan. Also the radiator is a double pass which gives the coolant some time to slow down and dissipate heat. I had no such luck with Koyos and stuff like most people run. Also a 22psi cap helps
![]() ![]() It's going to need to move forward in the chassis quite a bit judging by Josh my buddies car. Approx. 6-8" forward. It's too tall to stand up right. It would stick about 2-3 inches out of the bottom of the car. Here's what's hiding under the front bumper. An old repair from a collision with an immovable object while street drifting. That was dumb. I don't street drift anymore because of that lol. I threw this together to get the car drivable at the time. ![]() NOM NOM. That frame rail was way worse. I straightened it with a 12lb sledge hammer a bit lol. I use the term straightened very loosely. ![]() Just terrible. ![]() Out comes the sawzall and the cut off wheel. On a side note my old HF sawzall pulled itself apart and caught on fire while cutting the passenger side frame rail lol. It only made it about 1/2 way through and then destroyed itself. Pretty cool. ![]() ![]() ![]() ![]() Just a little bit of the bent part left. I can work with this now. ![]() ![]() What it should look like. ![]() |
![]() |
![]() |
![]() |
#5 |
Rotary Fan in Training
Join Date: Nov 2012
Posts: 58
Rep Power: 13 ![]() |
The other day I was sanding and cleaning and got bored with that. So I wandered off and started building this pass thru deal for the starter and alternator cables. It will mount on the inside of the firewall where the factory engine harness passes through the grommet hole. More on that later as the car progresses.
![]() ![]() ![]() Btw you can buy those at VTE Warehouse, just Google them. They have lots of useful stuff. Normally I wouldn't share that but like I said the company is closed so full disclosure. Also my website is purely informational now and has a ton of cool stuff on it. Still in progress as there is so much stuff to upload yet. If you need to know part numbers for factory connectors and stuff for some of the Fc stuff you can find them here at the bottom of the page, the links under parts lists. Then look through the PDFs for what you need. Some of the connectors don't have links to purchasing locations due to the volume needed to buy them, but the part numbers are provided so you can Google them should you be lucky enough to find a few loose items out there in the interwebz. http://www.rotaryrelated.com/FC%20Race%20harness.html |
![]() |
![]() |
![]() |
#6 |
Rotary Fan in Training
Join Date: Nov 2012
Posts: 58
Rep Power: 13 ![]() |
Also made this dude for the driver's side grommet hole where the front wiring harness will pass through. It's painted black now like the one for the other side just no picture, I think you get the idea though. It's for a Molex XRC connector set. Has the anti rotation jam built in. The hole was achieved with a printed paper template, a drill bit, and a die grinder. It's just aluminium so it took like 5 minutes to make. Bolts up to holes I put in the chassis already like the other side.
![]() You can find those at www.waytekwire.com and lots of other websites. The hole is cut for the 31 position connector. Which is more than adequate for the little amount of stuff I'm using. Scraped all the chaulking from the engine bay. I can't stand how it looks. I know I'm wierd and my car will probably rust in half because of it, whatever. ![]() The interior is a train wreck right now. So much stuff to change, build, fix. New gauge cluster, new electrics for the whole chassis, cleaning, etc. At some point a roll cage has to get in here. So I'll have to notch the dash for that as well. I'm not sure what will come first. Still trying to figure out who's going to build what on this thing. Pretty much everything in that picture goes in the trash lol. ![]() Last edited by StephenSheppard; 11-12-2012 at 07:23 AM. |
![]() |
![]() |
![]() |
#7 |
Rotary Fan in Training
Join Date: Nov 2012
Posts: 58
Rep Power: 13 ![]() |
So my old sunroof plug was leaking a bit. So I fixed it.
![]() ![]() ![]() ![]() ![]() ![]() ![]() ![]() ![]() ![]() ![]() ![]() ![]() ![]() ![]() ![]() ![]() ![]() Still need to trim off the excess silicon and finish painting the roof. The reason there's over spray on the windshield is because it's cracked and being replaced so there was no reason to care really. Last edited by StephenSheppard; 11-12-2012 at 07:57 AM. |
![]() |
![]() |
![]() |
#8 |
Rotary Fan in Training
Join Date: Nov 2012
Posts: 58
Rep Power: 13 ![]() |
I have a standard bore (4.00") small block 350 with rods, pistons, and crank I bought for $150.
I am still trying to decide how to approach the engine right now. I may build this one or I may end up buying a crate engine. It's pretty hard to decide honestly. there are so many awesome crate engines out there with basically any amount of power you can imagine. I'm trying to be realistic as far as money goes. I'm not rich I just play a rich guy on TV ![]() That being said I looked into the factory rod to stroke ratio, to get familiar with the engine. Turns out it's got a 5.7" rod with a 3.48" stroke which comes out to 1.64:1 RL/S ratio which isn't great. Also turns out that you can buy off the shelf 6" rods and pistons with a raised wrist pin to fix this issue. That gets you 1.72:1 RL/S ratio. Much closer to the 1.75:1 ideal. Actually endurance engines run way higher rod to stroke ratio numbers but I'm just talking about stuff that anyone can buy quite easily. That will lower the amount of wear on the cylinder walls and produce more torque. Not that it needs more torque ![]() Next was compression ratio. I looked up the casting number for my block and it's a 86 truck engine. 4 bolt main, 1 piece rear main, which is why I bought it. that and the fact it hadn't been bored over yet or had any machine work done to it. I'll be looking at probably 10:1 comp or a bit higher to get some efficiency out of this old monster of an engine. Or I could just buy a crate engine, but where's the fun in that? I don't know yet, the engine goes on the back burner for now. I need to get the chassis stuff all finished up and straightened out first. The engine is the easy part really. I could also buy a running engine that someone's selling. They don't cost a whole lot so it's not really a big deal. So with the 13B out of the way it was time to get to work on the engine bay which needed a ton of attention. I drilled as many of the holes and did as much of the prep work as possible that I knew would need to be done before repainting or any of that took place. What I started with after a year of rough housing around with this thing. BTW most of that damage was not me it came like that but I never repaired it. I just drove it a lot lol. ![]() ![]() ![]() |
![]() |
![]() |
![]() |
Bookmarks |
Thread Tools | |
Display Modes | |
|
|