|
|||||||


| Interior, Stereo, Body kits, etc... Place where you could talk about car care, body kits, painting your car, Carbon Fiber, Thumping Stereo, etc.. |
 |
|
|
Thread Tools | Display Modes |
|
|||||||
| Interior, Stereo, Body kits, etc... Place where you could talk about car care, body kits, painting your car, Carbon Fiber, Thumping Stereo, etc.. |
|
|
|
Thread Tools | Display Modes |
 07-19-2010, 09:04 PM
|
#16 | |
|
Can't.Make.Up.My.Mind.
Join Date: May 2009
Location: Murfreesboro, TN
Posts: 1,377
Rep Power: 18  |
Quote:
__________________
'90 GTUs Stay up to date with my photography '06 Toyota Highlander Hybrid '10 Toyota Prius "Initial Success or Total Failure" |
|

|

|
|
10-23-2010, 06:20 PM
|
#17 |
|
Home-brew Rotary

Join Date: Feb 2008
Location: GooseCreek SC
Posts: 552
Rep Power: 18 |
What I did with my Saturday afternoon!
I decided to fix the old paint on the passenger side fender.
Scraping old paint off. (I really need to get a power sander.) Done by hand again. 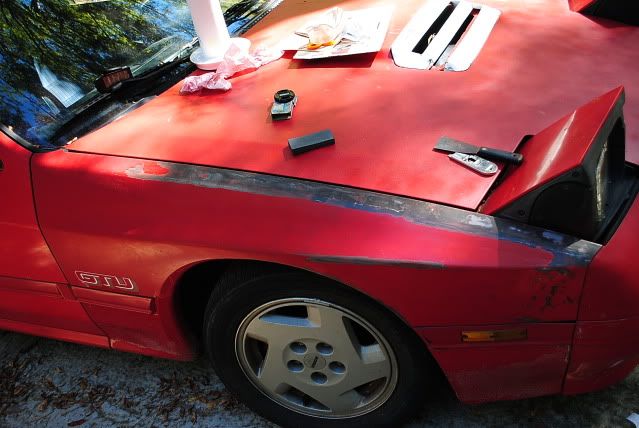 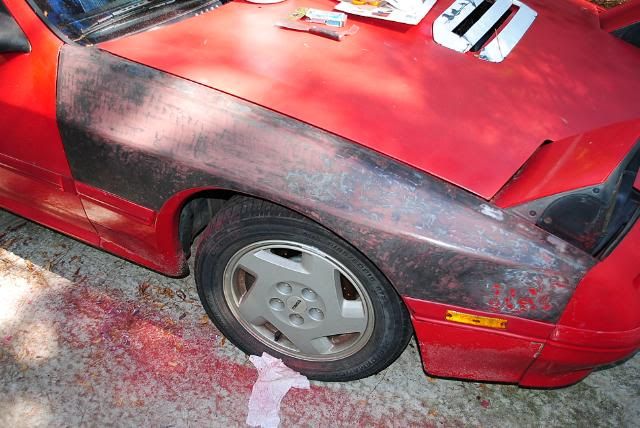 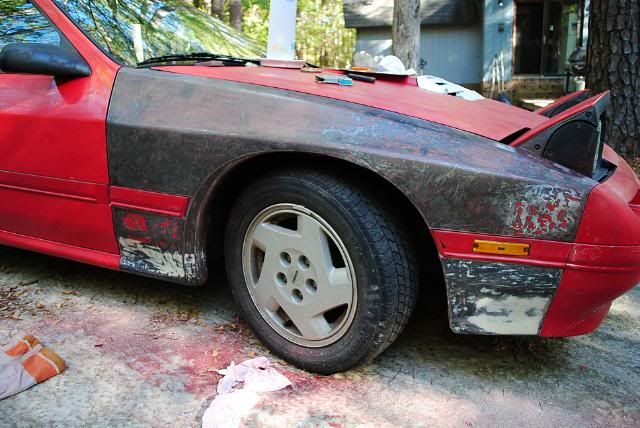 Sanded fender. Went with what I had, 150 grit, 220 grit. 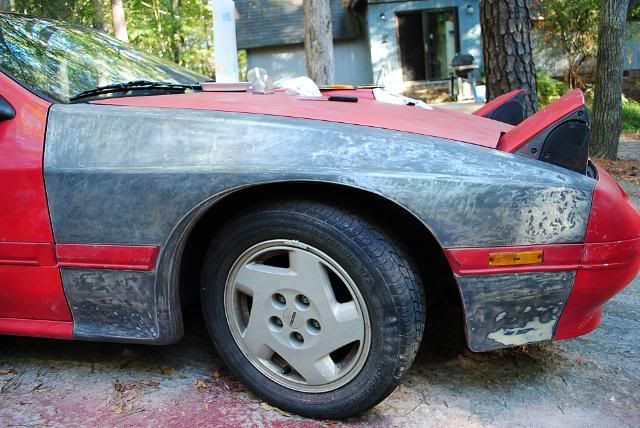 Washed, and ready for primer. 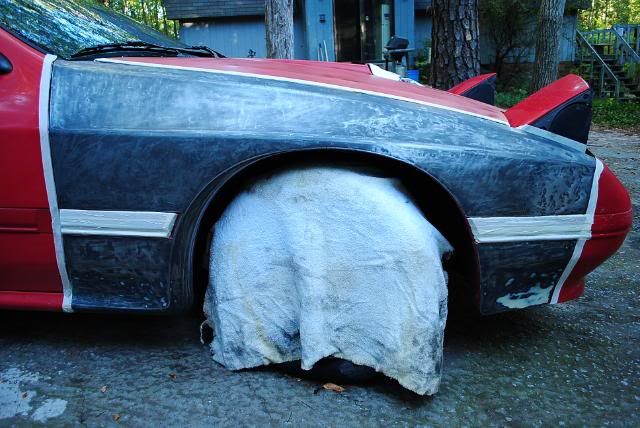 Primer. 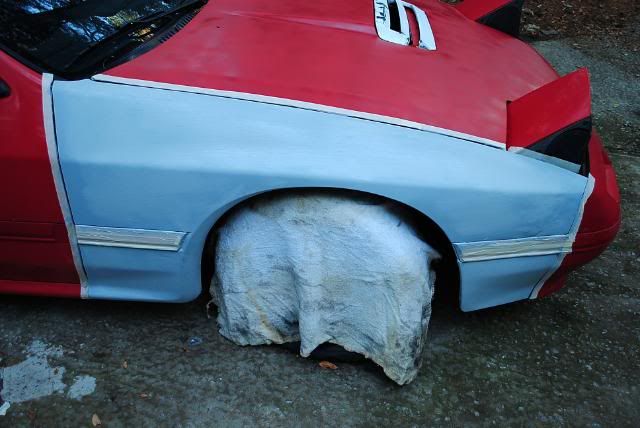
__________________
'89 RX7 GTU, half-Bridge-port S4/S5 NA, E6K, Full RB exhaust, weekend warrior. '83 RX7, The "this might take awhile" project. '87 RX7 GXL, Rest In Pieces. '98 Subaru Impreza Outback-sport, rx7 rescue vehicle, down for repair. '94 Ford Ranger, daily. |
|
|
|
|
10-25-2010, 08:03 AM
|
#18 |
|
Can't.Make.Up.My.Mind.
Join Date: May 2009
Location: Murfreesboro, TN
Posts: 1,377
Rep Power: 18 |
nice man!!!
__________________
'90 GTUs Stay up to date with my photography '06 Toyota Highlander Hybrid '10 Toyota Prius "Initial Success or Total Failure" |
|
|
|
|
10-26-2010, 09:51 AM
|
#19 |
|
Home-brew Rotary
Join Date: Feb 2008
Location: GooseCreek SC
Posts: 552
Rep Power: 18 |
So Sunday I put a second coat of primer on, but not before a quick sanding with 400 grit.
Yep I finally bought more and higher grit sandpaper. I also did something else to the car which Im not going to show until its finished.  So yesterday and today, Ive been going in an out because of the weather since its raining. Ive been sanding the primer smooth, since the primer I used was from a can and I used a brush to put it on. The one good thing about the rain is because the moister in the air, it helps with the sanding. But today, fate told me to quit until the weather clears up. (And among other reasons Ill post in my bridge-port thread.) So I decided to put the front end of the car under the lean-too, so I could work on it even if its drizzling a bit. As I drove into under the lean-too I almost broke my passenger side mirror again by hitting the post. But I got away with it very lucky, since it did not crack anywhere. After that I took the mirror off just in case. The first Time I broke a mirror OFF, was coming home one day and hit a tree while going around the driveway. This was when I had the original S5 mirrors, the ones with the holes through em. I did have half a mind as to take the fender and bumper off and finish them inside the house, but decided it would be extra work. I really hate rain. Its really annoying when you cant do car work because of the weather. |
|
|
|
|
12-09-2010, 02:48 PM
|
#20 |
|
Home-brew Rotary
Join Date: Feb 2008
Location: GooseCreek SC
Posts: 552
Rep Power: 18 |
Almost forgot to post up the finished fender.
Here it is. 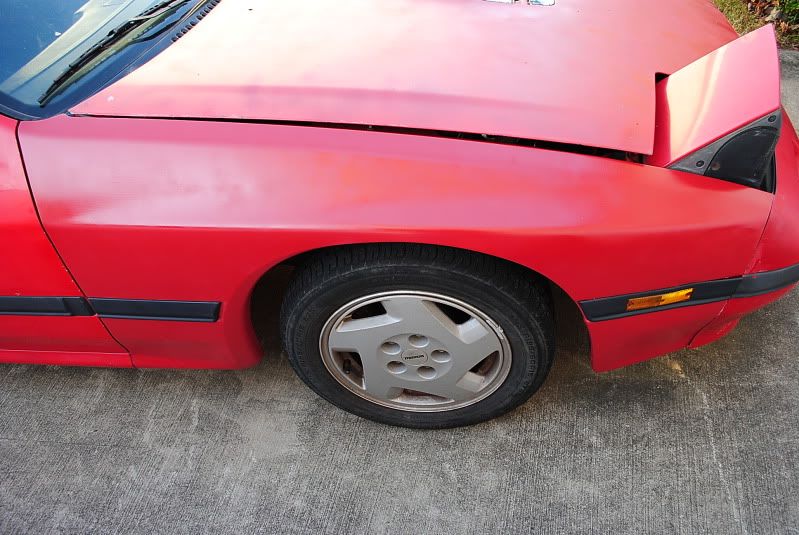 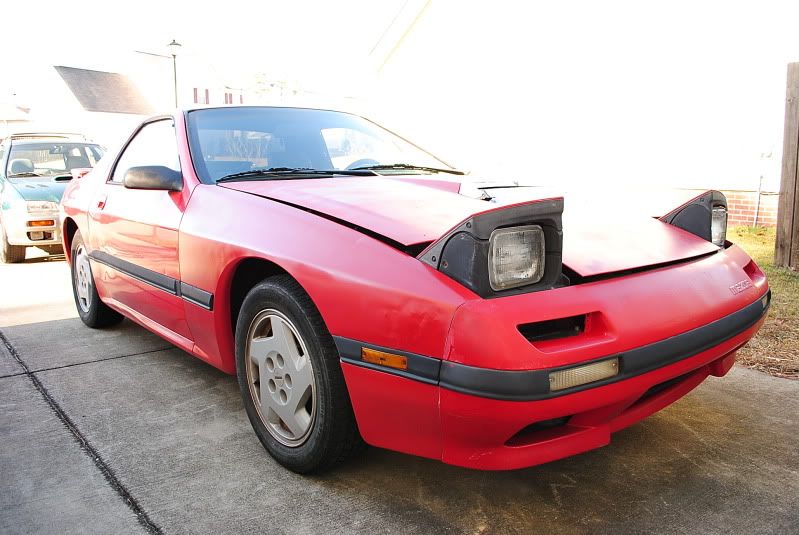 Like what I did with the trim.
__________________
'89 RX7 GTU, half-Bridge-port S4/S5 NA, E6K, Full RB exhaust, weekend warrior. '83 RX7, The "this might take awhile" project. '87 RX7 GXL, Rest In Pieces. '98 Subaru Impreza Outback-sport, rx7 rescue vehicle, down for repair. '94 Ford Ranger, daily. |
|
|
|
|
12-11-2010, 12:30 PM
|
#21 |
|
Can't.Make.Up.My.Mind.
Join Date: May 2009
Location: Murfreesboro, TN
Posts: 1,377
Rep Power: 18 |
Looks great man. I <3 DIY. Im also planning to do that w the trim on my car.
__________________
'90 GTUs Stay up to date with my photography '06 Toyota Highlander Hybrid '10 Toyota Prius "Initial Success or Total Failure" |
|
|
|
|
| Bookmarks |
|
|


 Linear Mode

