 12-28-2012, 06:23 PM
|
#31 |
|
Don Mega

Join Date: Dec 2008
Location: Utopia
Posts: 1,688
Rep Power: 18  |
You take the worst photos I have ever seen
 Just saying. LOL Just saying. LOLHow do they end up looking so shit? Can we all chip in and buy this kuuuuunt a decent camera and a gift voucher to an on-line photography class ?
__________________
www.riceracing.com.au Worlds best Apex Seals Coil on Plug Water Injection ECU Calibration |

|

|
|
01-10-2013, 03:00 AM
|
#32 |
|
Rotary Fanatic

Join Date: Jun 2012
Location: Edmonton, AB
Posts: 179
Rep Power: 14 |
LOL^
Rice, I'll leave some space below this so you don't have to look at the pics because they are TERRIBLE. I won't take any more pics until I get a better picture taking device. Which I have, I just like the convenience of using your phone. Quicker to take pics with, and uploads to photobucket super easy. But ill start using a camera and not a telephone to take pics with. Pics are of brakes though so you won't miss TOO much  Space as promised. And shitty picture time!!! front rotor: 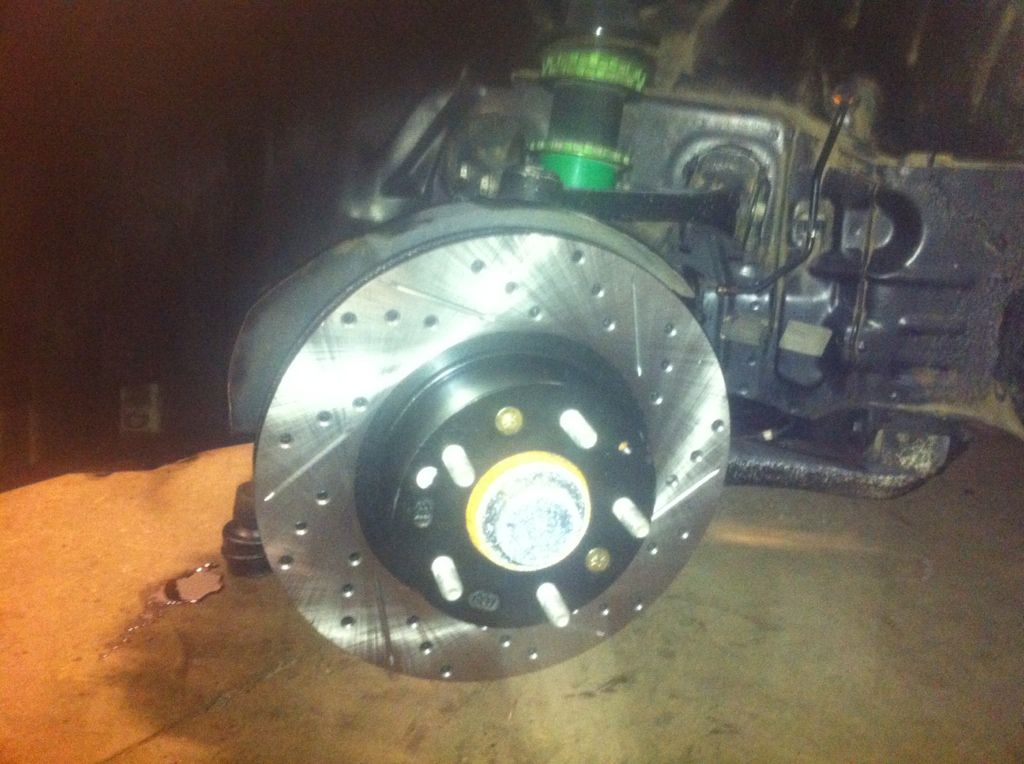 front caliper: 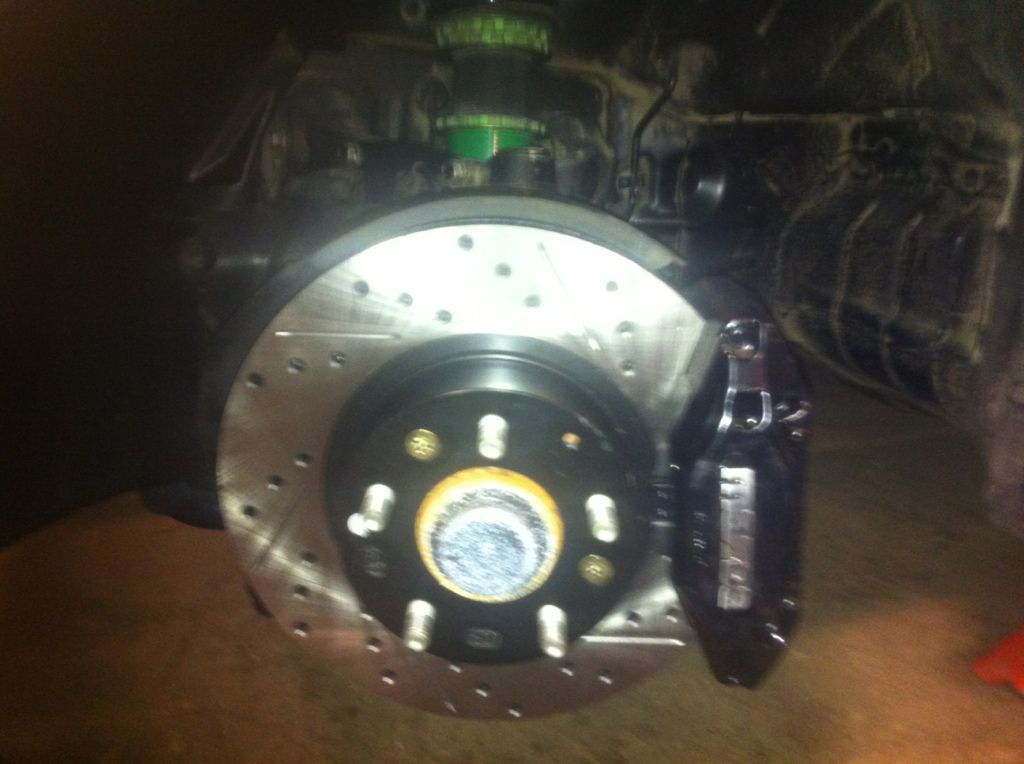 (lol, that one is particularily bad) rear line: 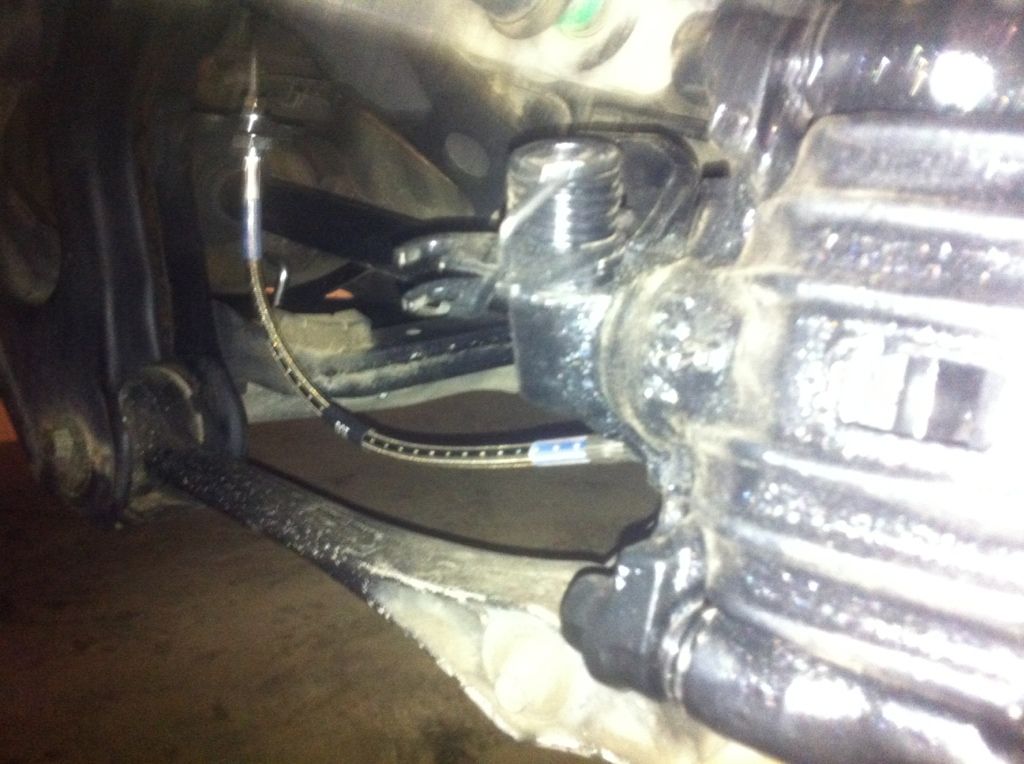 rear rotor: 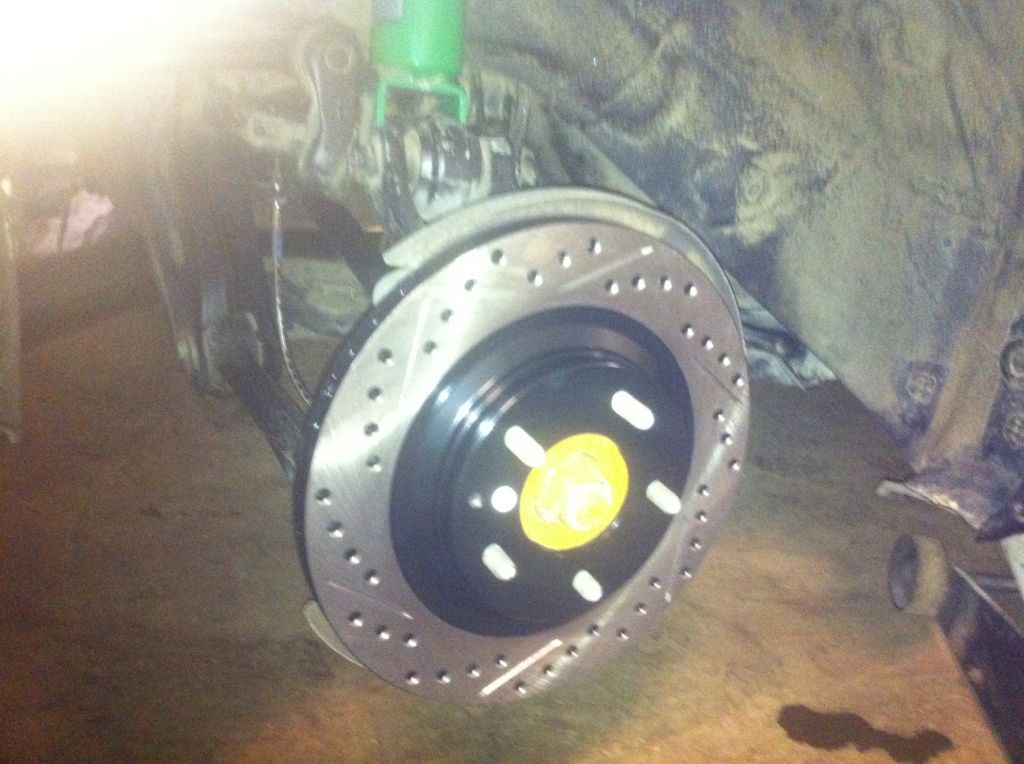 and the caliper: 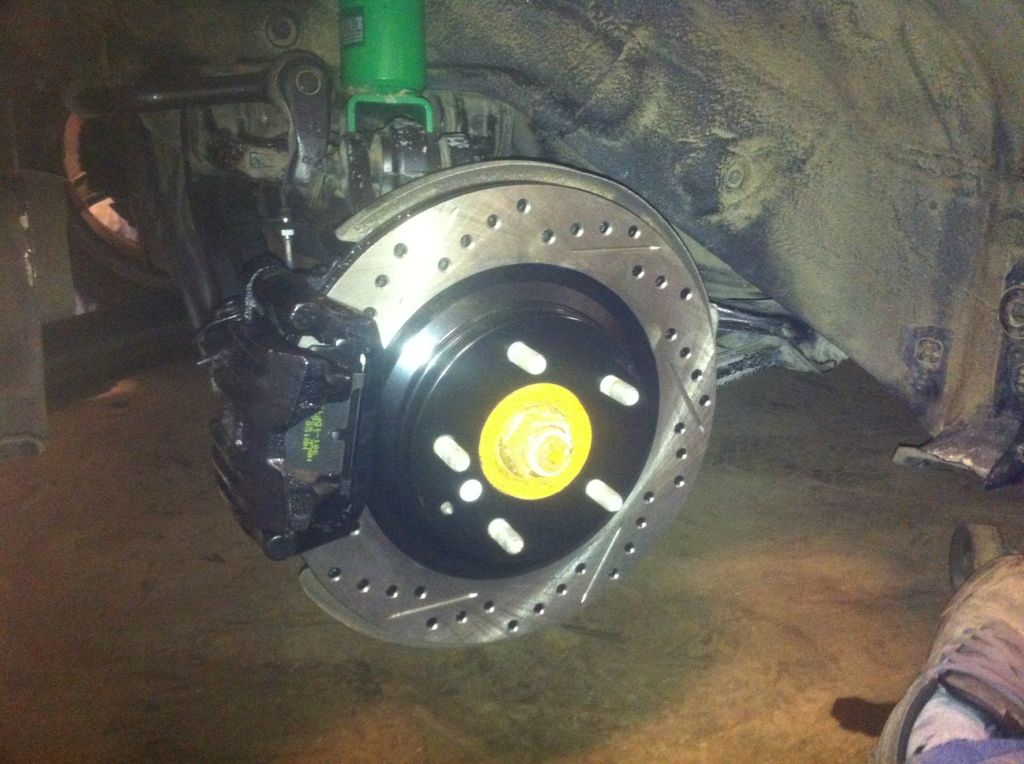 and the front brakes behind a wheel: 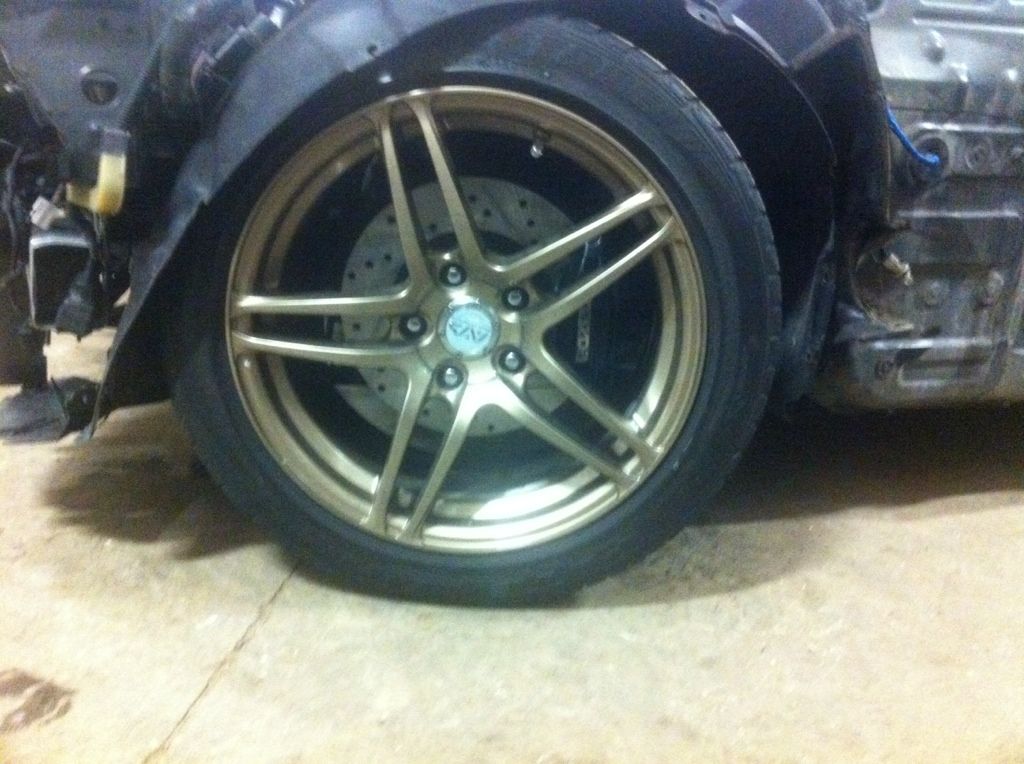 The abs delete is also done. I just have to actually mount one line to the firewall but the prop. valve is mounted and one line is secured. I didn't take a pic though. Might be a good thing though lolol. This is the first time i've ever really done brake work. The few times i've had my brakes done, I had a friend show me while i watched, but that was just pads. I did lines, rotors, different set of front calipers.. so basically everything. Feels good to do something! However, the store was closed before I was finished so i couldn't get fluid. But the ebrake works! Has its own stopping power for the first time in like 6 months. Stay tuned for better pics!
__________________

Last edited by Mitchocalypse; 01-10-2013 at 03:06 AM. |
|
|
|
|
02-15-2013, 10:50 PM
|
#33 |
|
Rotary Fanatic
Join Date: Jun 2012
Location: Edmonton, AB
Posts: 179
Rep Power: 14 |
Okay so i guess i need to figure out fuel system routing. I drew this up. Would this be better or should i not split the fuel line leading to the rails?
(Didn't have access to engineering software so i used the next best thing.. paint) 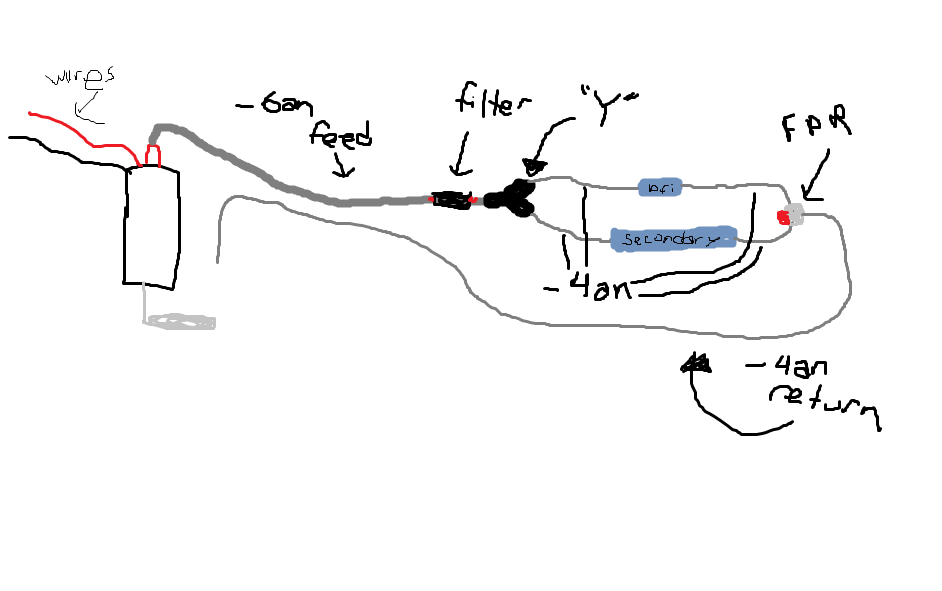
__________________
|
|
|
|
|
02-16-2013, 12:02 AM
|
#34 |
|
Rotary Fanatic
Join Date: Jun 2012
Location: Edmonton, AB
Posts: 179
Rep Power: 14 |
actually, all those -4s should be -6s as well
__________________
|
|
|
|
|
02-20-2013, 09:50 PM
|
#35 |
|
Rotary Fanatic
Join Date: Jun 2012
Location: Edmonton, AB
Posts: 179
Rep Power: 14 |
most of the fuel system is now built. Just need to run the long lines and mount the filter.
Lucky for me, a friend had his engine sitting on the shop bench so I easily mocked everything up. Here it is: Pump, filter and regulator: 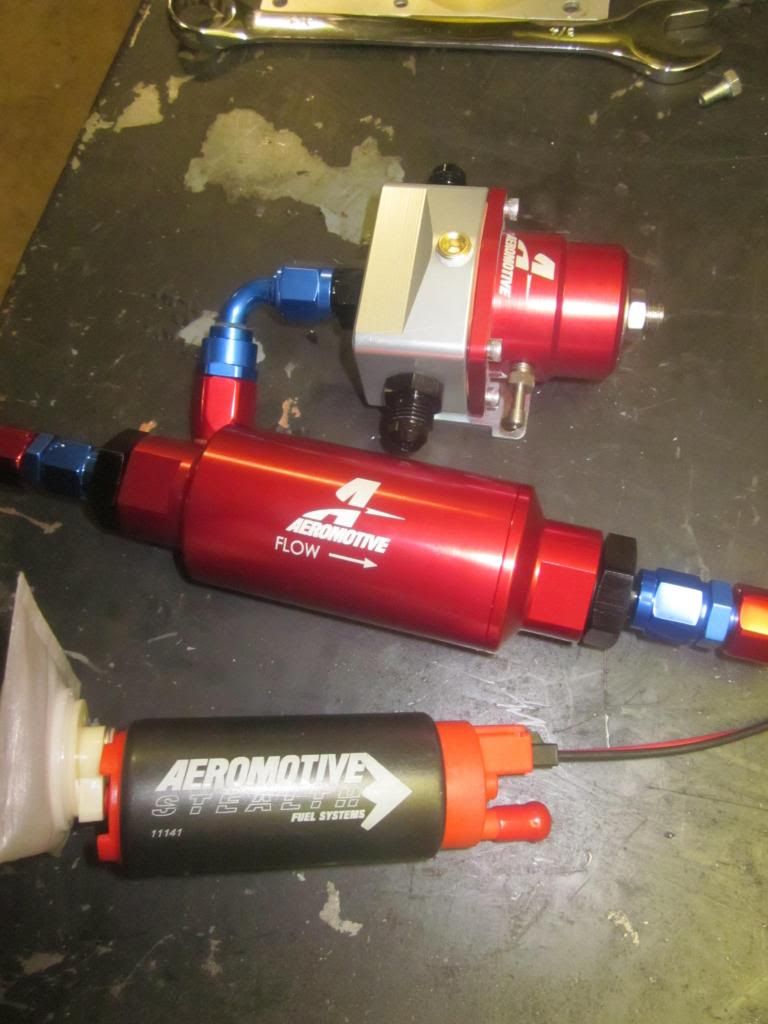 Here are the rails: 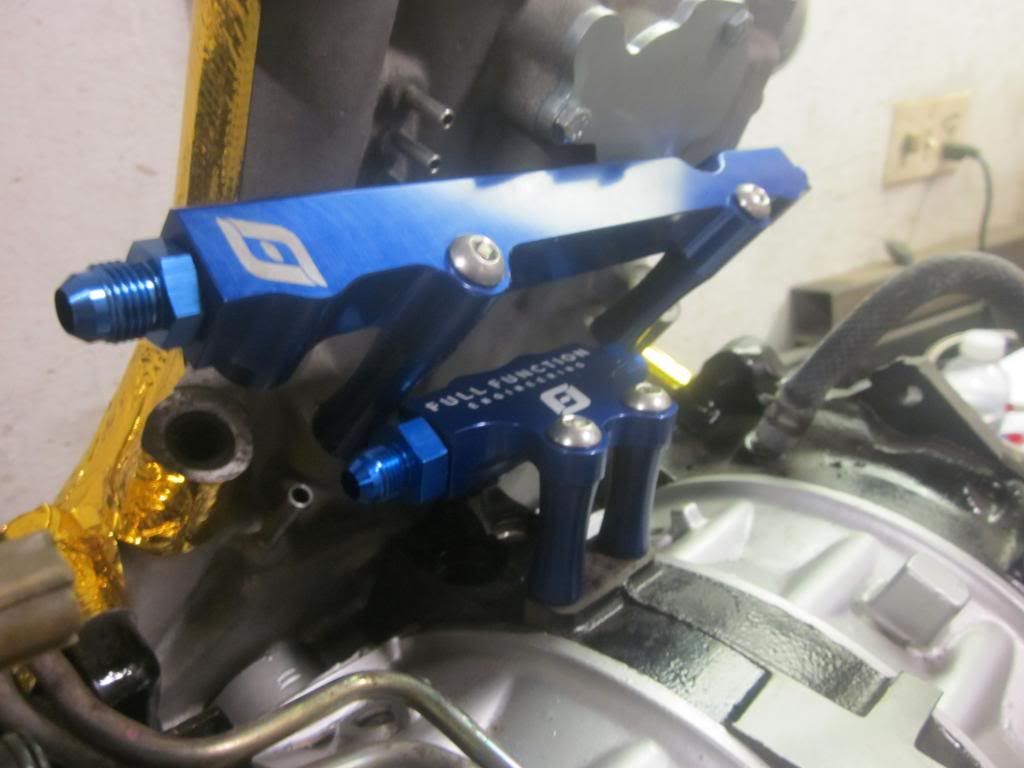 Here is the line feeding the rails. It Y's so the rails are run parallel which IMO is far far better than in series. Only problem with that was getting the return lines to where the regulator was sitting, so the lines had to be looped around: 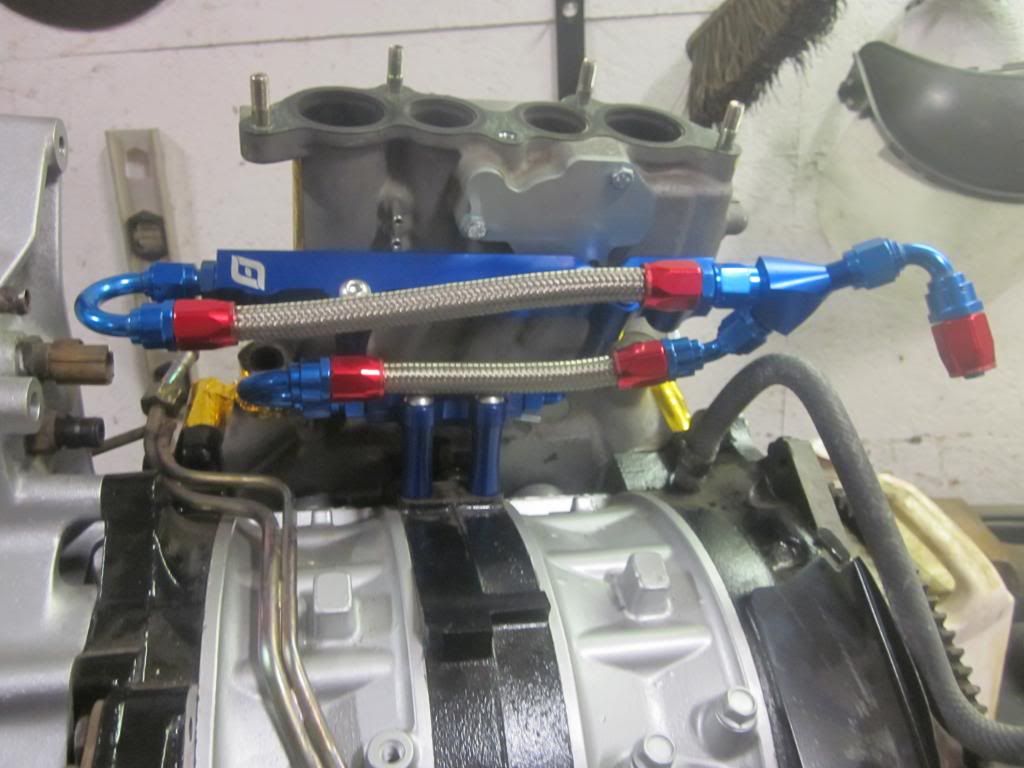 Here are the return lines / lines going to the regulator on: 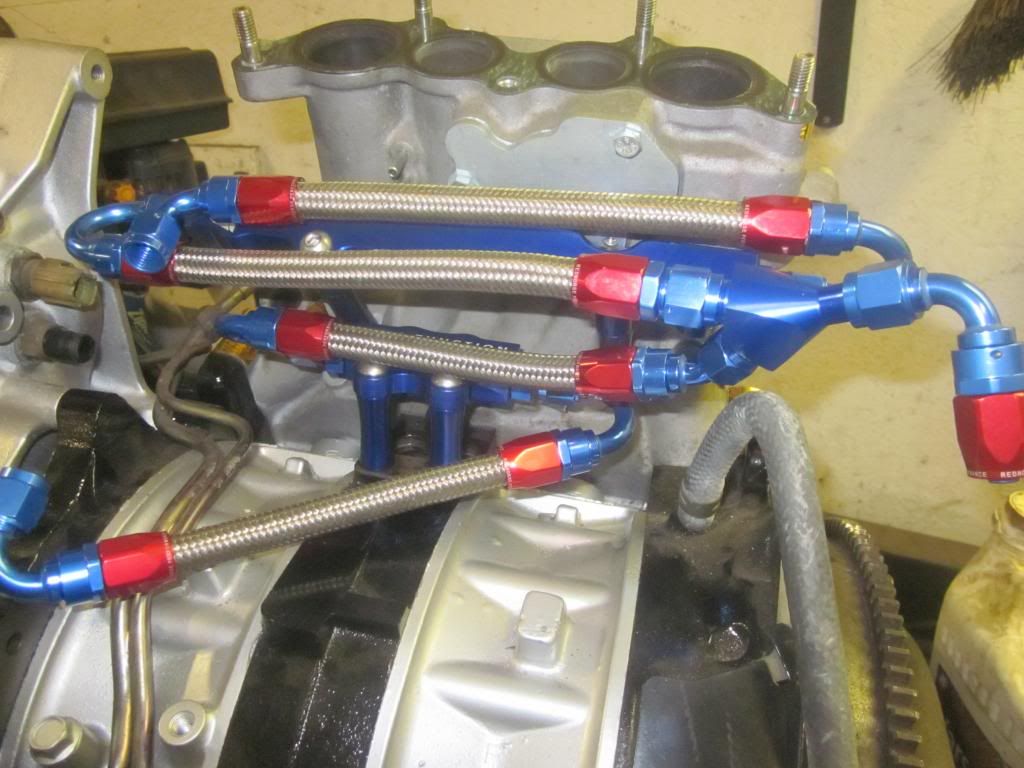 And the regulator on. This is from the front (and that bracket is being replaced.. found a nice piece of aluminum at home depot and it is more straight) 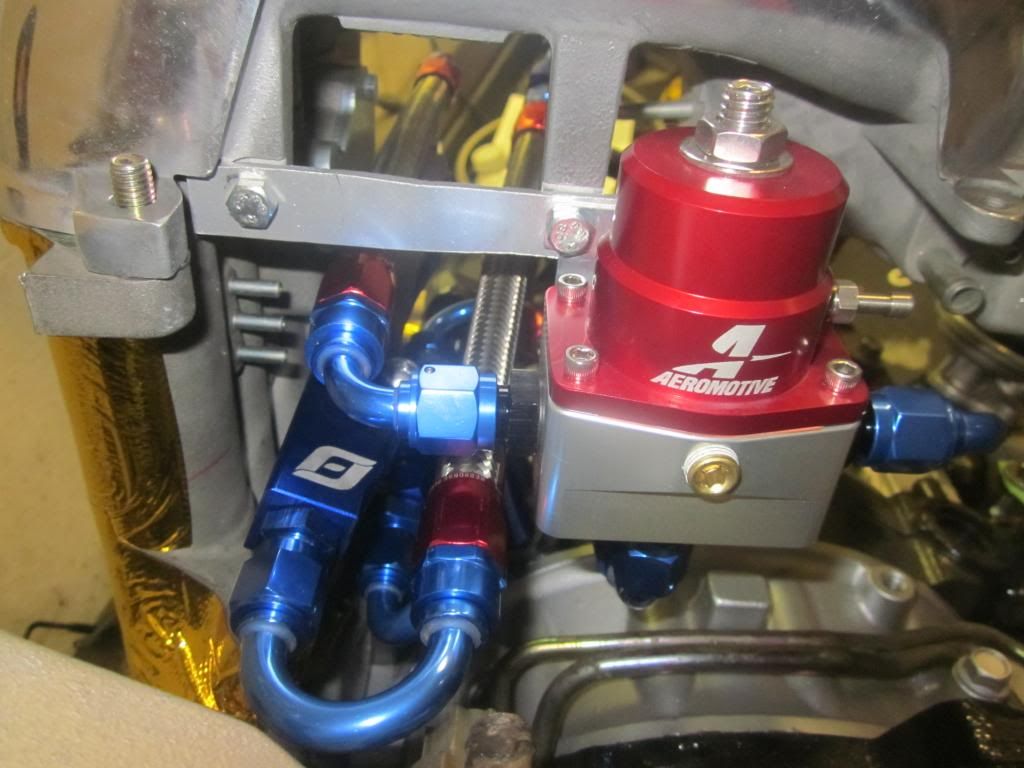 From the back side:  and here it is disassembled again: 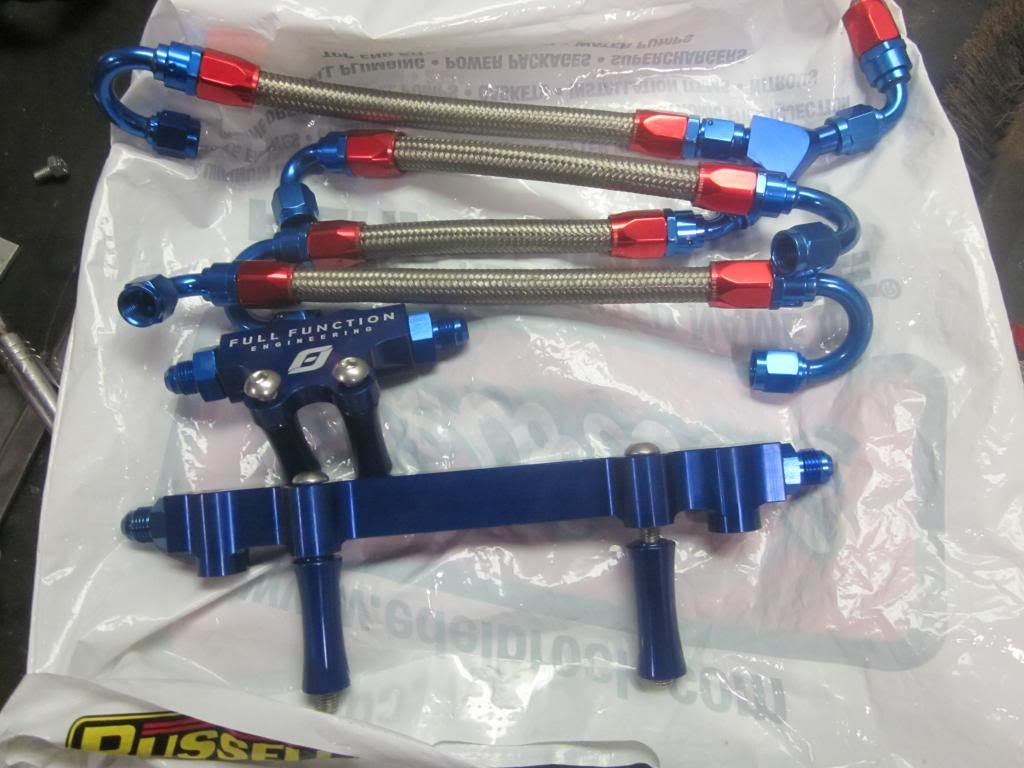 Then I modified the bulkhead to use -an fittings. These are the fitting: 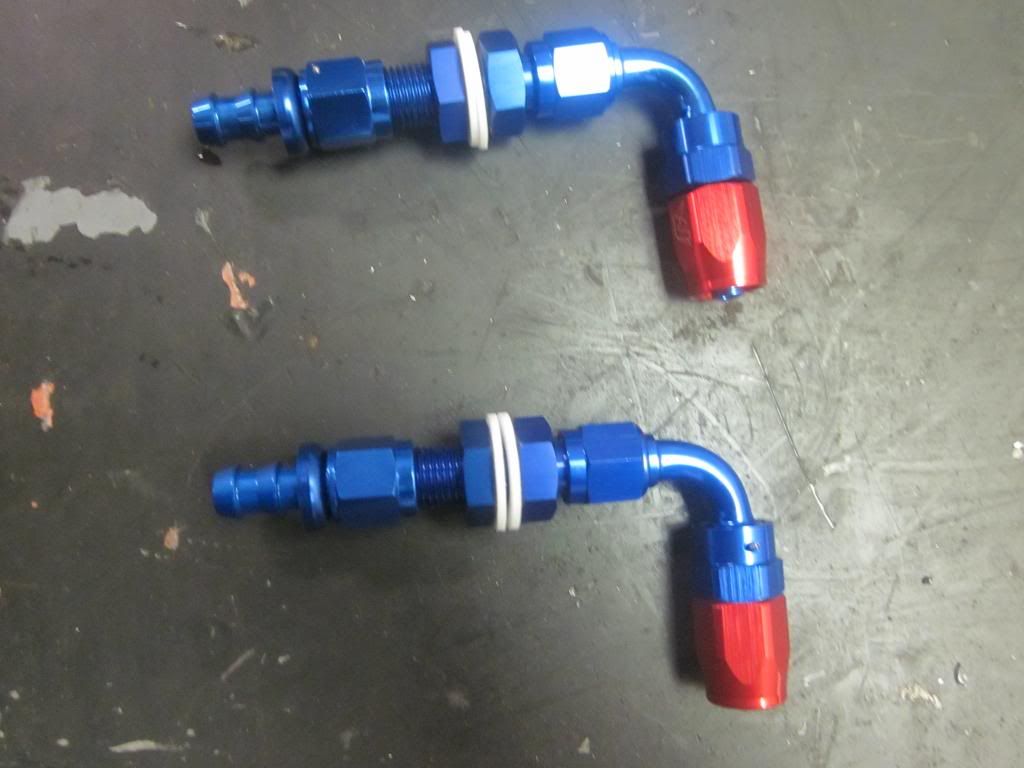 There were hard lines running down the bulkhead which hooked up to the pump and the return just went down. Those were drilled out to make room for new fittings, and also had to grind back a few brackets so the nylon washers would fit. This kind of shows that: Top side: 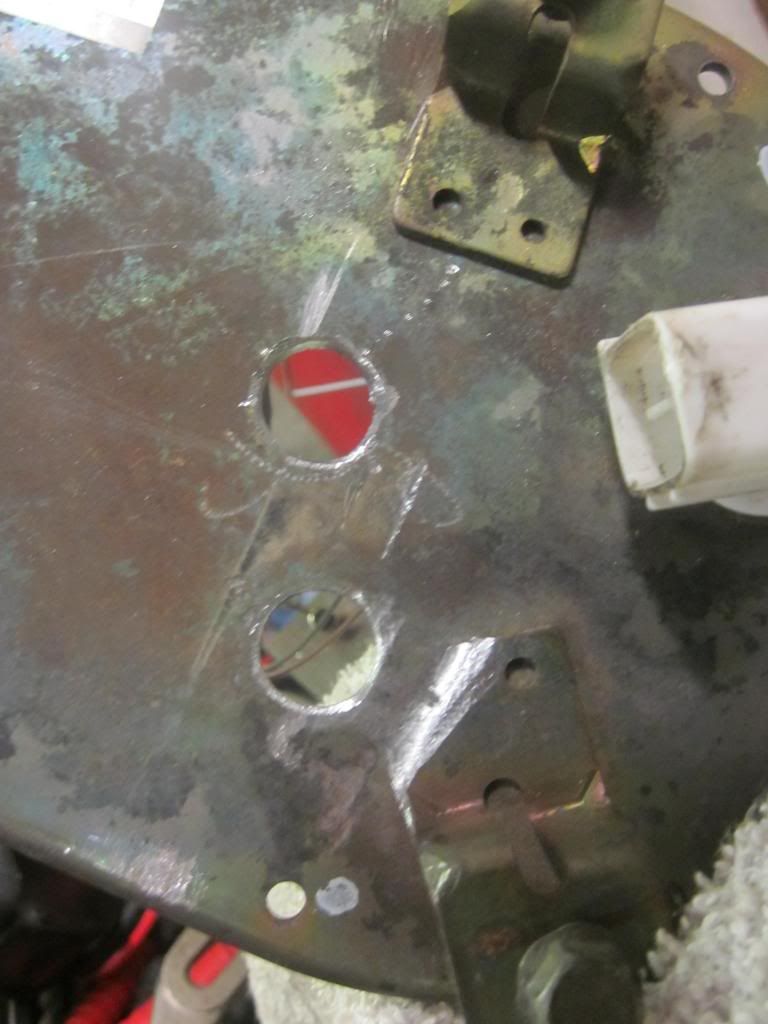 Bottom (in tank) side: 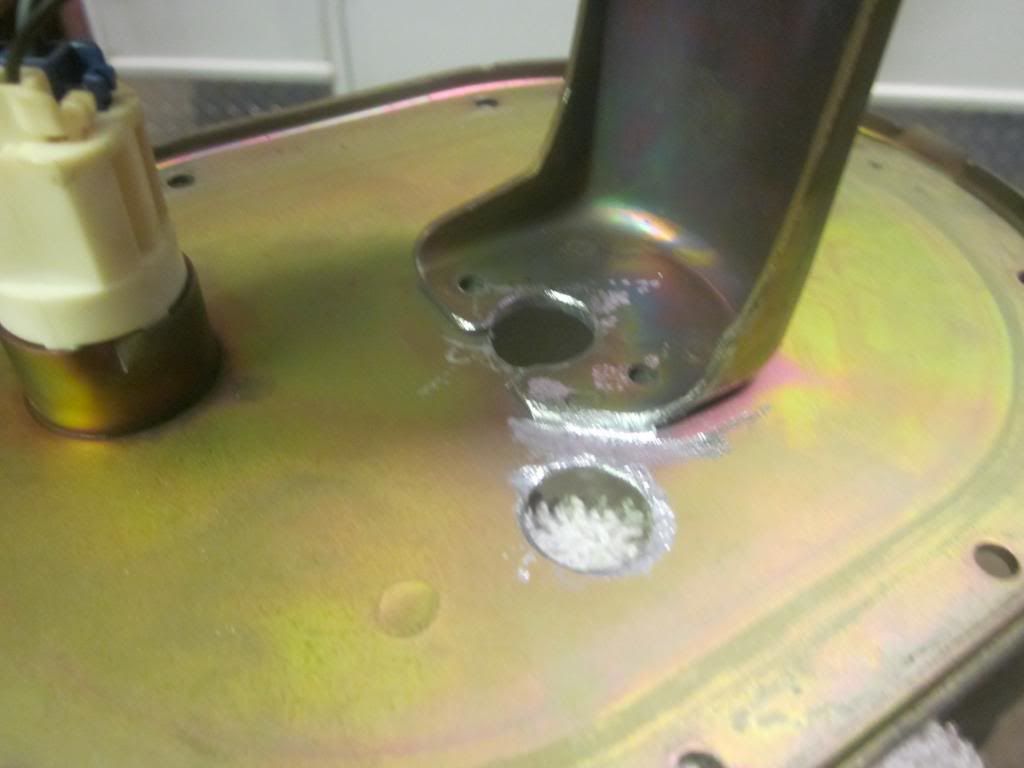 And everything worked easier than i thought it would 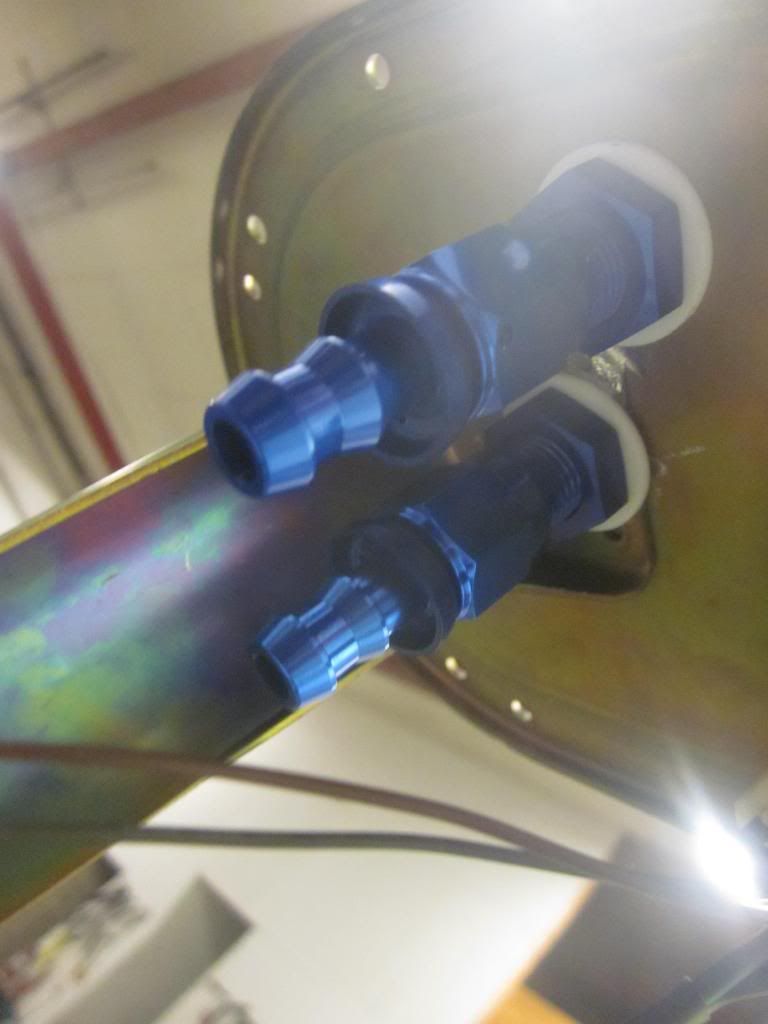 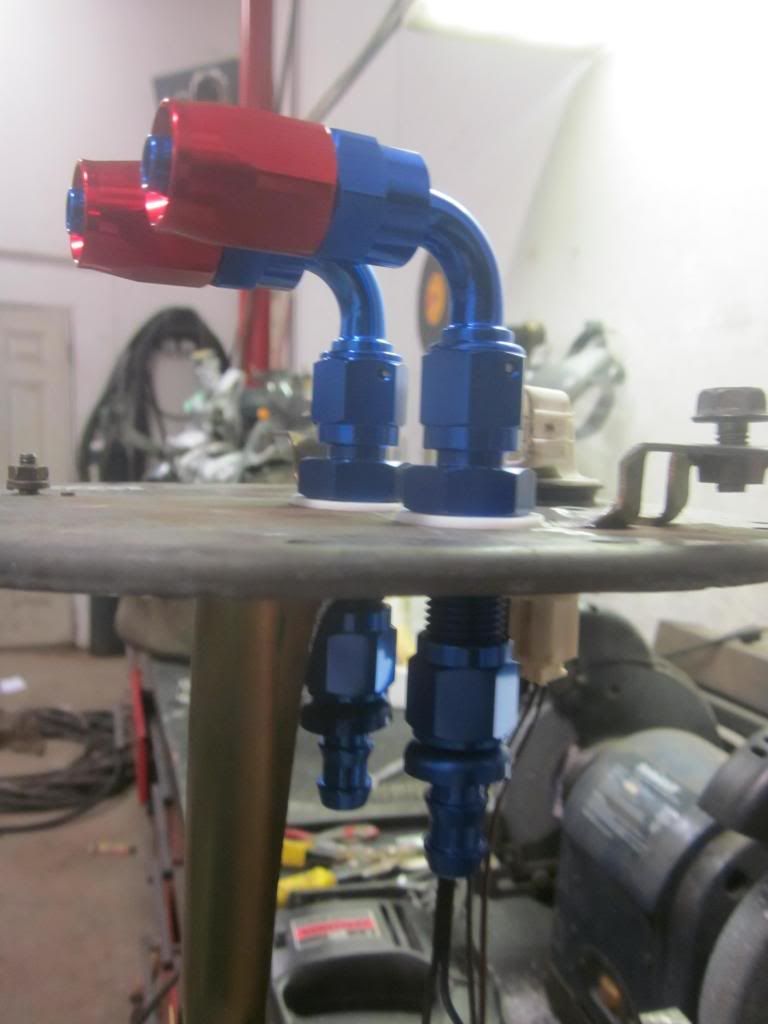 
__________________
|
|
|
|
|
02-26-2013, 03:45 AM
|
#36 |
|
Rotary Fanatic
Join Date: Jun 2012
Location: Edmonton, AB
Posts: 179
Rep Power: 14 |
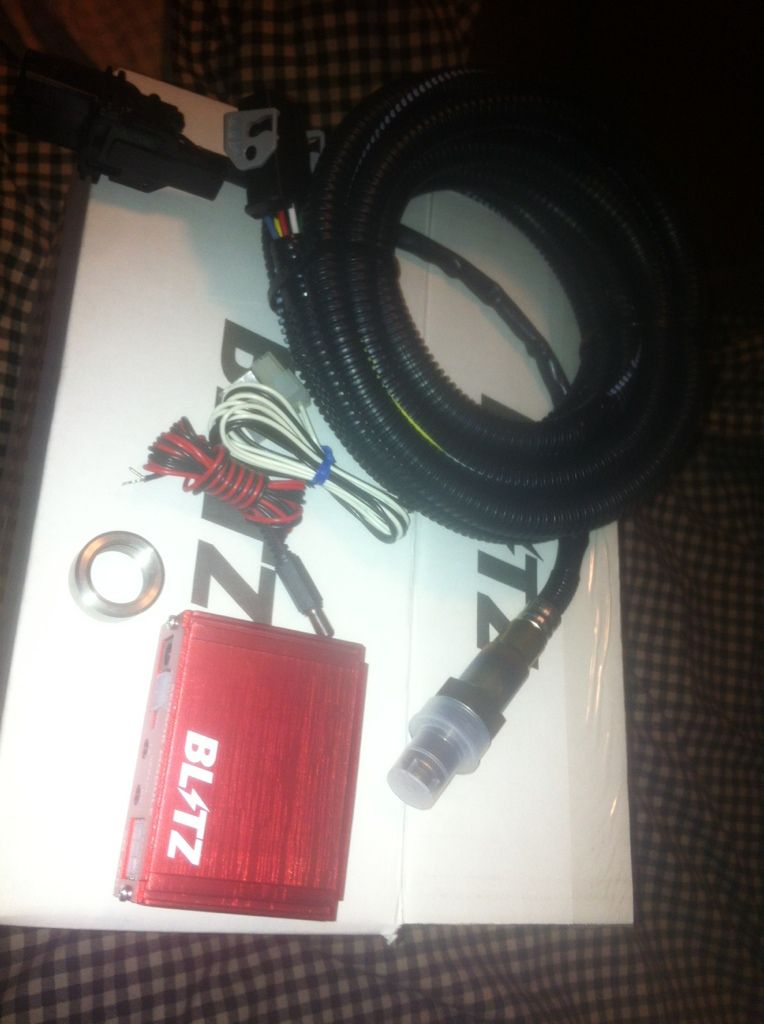
so i went ahead and got this.
__________________
|
|
|
|
|
03-01-2013, 02:21 AM
|
#37 |
|
RCC Loves Me Not You

Join Date: Mar 2008
Location: Colorado Springs, CO
Posts: 2,089
Rep Power: 20 |
Got any info on those bulkhead fittings, links to where you bought them, etc? It looks pretty simple and very effective, and I think I'd like to do mine the same at some point.
|
|
|
|
|
03-01-2013, 02:45 AM
|
#38 | |
|
Rotary Fanatic
Join Date: Jun 2012
Location: Edmonton, AB
Posts: 179
Rep Power: 14 |
Quote:
the top is a typical 90 hose end (don't have hose in mine yet obviously) 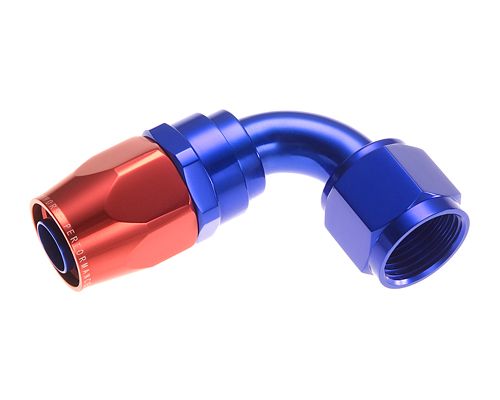 then the female end is on the short end of this bulkhead adaptor:  then i got one of these for each connector, there was one hex nut on each that came off and the 2 nylon washers.. took that stuff, trashed the actual fitting. (like i said, i'm sure theres a more cost effective way)  then the bottom is this:  You can guaranteed get all these pieces from summit racing but if you're ordering online, i'm sure theres a much cheaper way around it.. each unit cost me over 70 bucks.. which is robbery. Oh and i should add, if you're doing this, you might also consider getting some electrical bulkhead connectors like these ones that summit sells 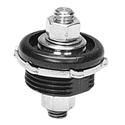 to do a nice clean fuel pump wire. Just got mine today!
__________________
Last edited by Mitchocalypse; 03-01-2013 at 02:57 AM. |
|
|
|
|
|
03-07-2013, 10:20 AM
|
#39 | ||||
|
Get off my lawn!!!
Join Date: Jun 2011
Location: At a USO near you!
Posts: 715
Rep Power: 15 |
Lookin' really good Mitch! Hopefully you can have her all buttoned up in time for driving season
Quote:
- -8 bulkhead fitting, 90deg Aeroquip Bulkhead Adapter Fittings FBM2794 $16.95 - -6 bulkhead fitting, 90deg Aeroquip Bulkhead Adapter Fittings FBM2793 $9.95 I believe the two above fittings are for AN hose ends on either side, not a fuel line connection, though.
__________________
'94 Touring - Cursed '96 NA Miata '14 Mazda3 Hatch '14 Aprilia RSV4 R Quote:
Quote:
Quote:
Last edited by Fendamonky; 03-07-2013 at 06:46 PM. Reason: linked in the info. |
||||
|
|
|
|
03-07-2013, 03:16 PM
|
#40 |
|
The Ancient One

Join Date: Mar 2008
Location: Eastern Pennsylvania
Posts: 144
Rep Power: 18 |
Mitch... Looking great.
Gordon
__________________
1993 Rx7 R1 20b NA 1994 Rx7 20b supercharged project 1991 BMW 850 6 speed 1991 BMW E30 M3 Evo II |
|
|
|
|
03-07-2013, 11:55 PM
|
#41 | ||
|
RCC Loves Me Not You
Join Date: Mar 2008
Location: Colorado Springs, CO
Posts: 2,089
Rep Power: 20 |
Quote:
Quote:
|
||
|
|
|
|
03-08-2013, 11:21 PM
|
#42 |
|
Rotary Fanatic
Join Date: Jun 2012
Location: Edmonton, AB
Posts: 179
Rep Power: 14 |
Body work is wrapping up.
Here are the parts painted off the car. The rest of the car goes in tomorrow. 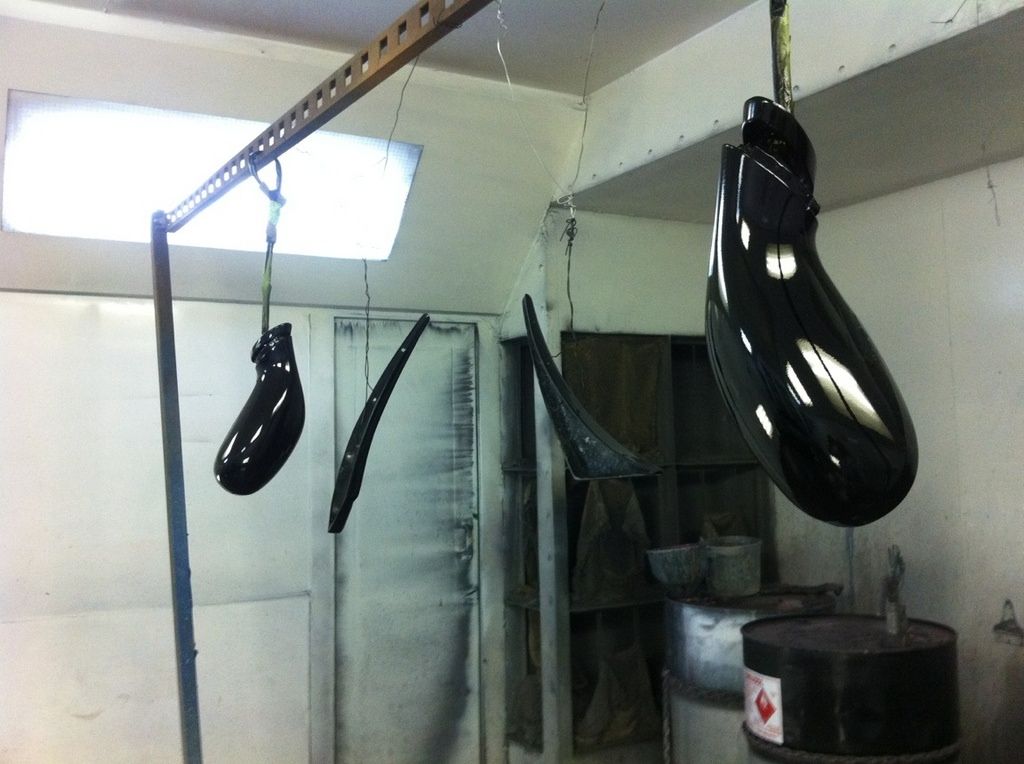 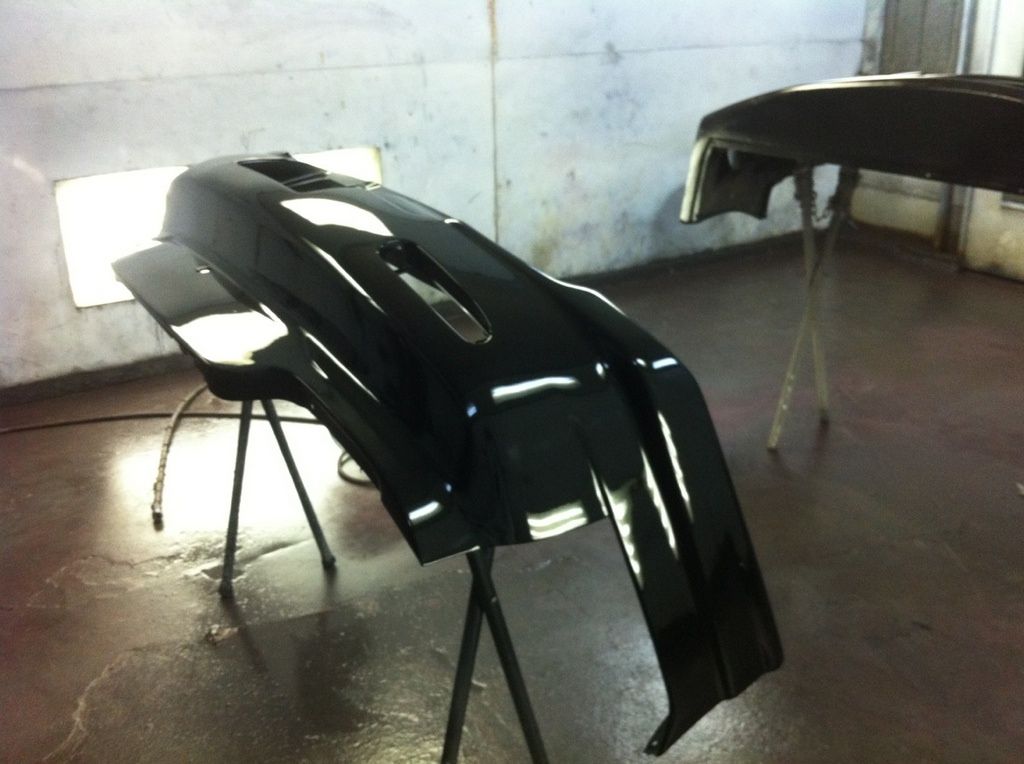 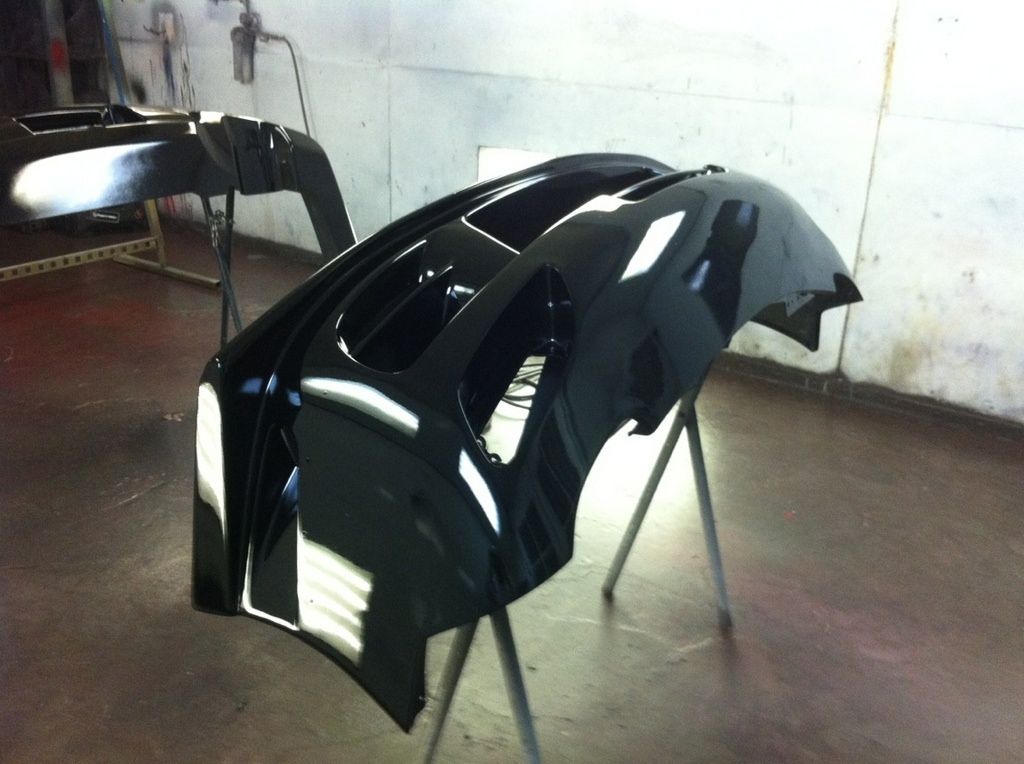
__________________
|
|
|
|
|
03-11-2013, 07:25 PM
|
#43 |
|
Rotary Fanatic
Join Date: Jun 2012
Location: Edmonton, AB
Posts: 179
Rep Power: 14 |
Welp.. the car is back home and looking better than ever
 Course it won't be all back together for a while.. 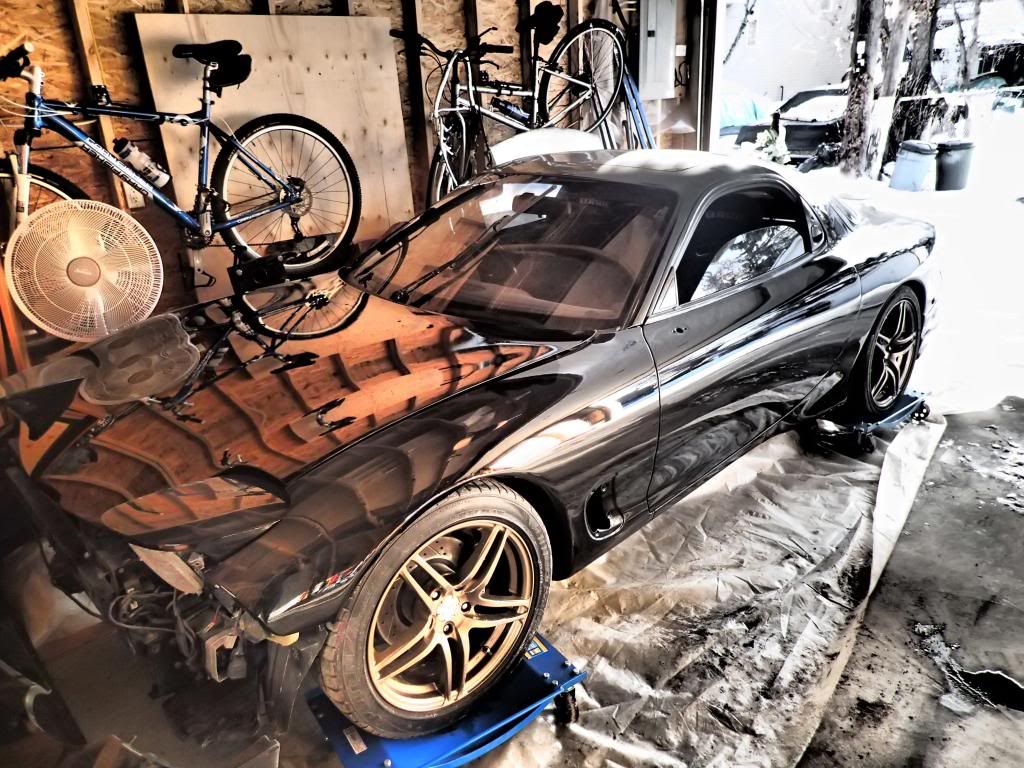 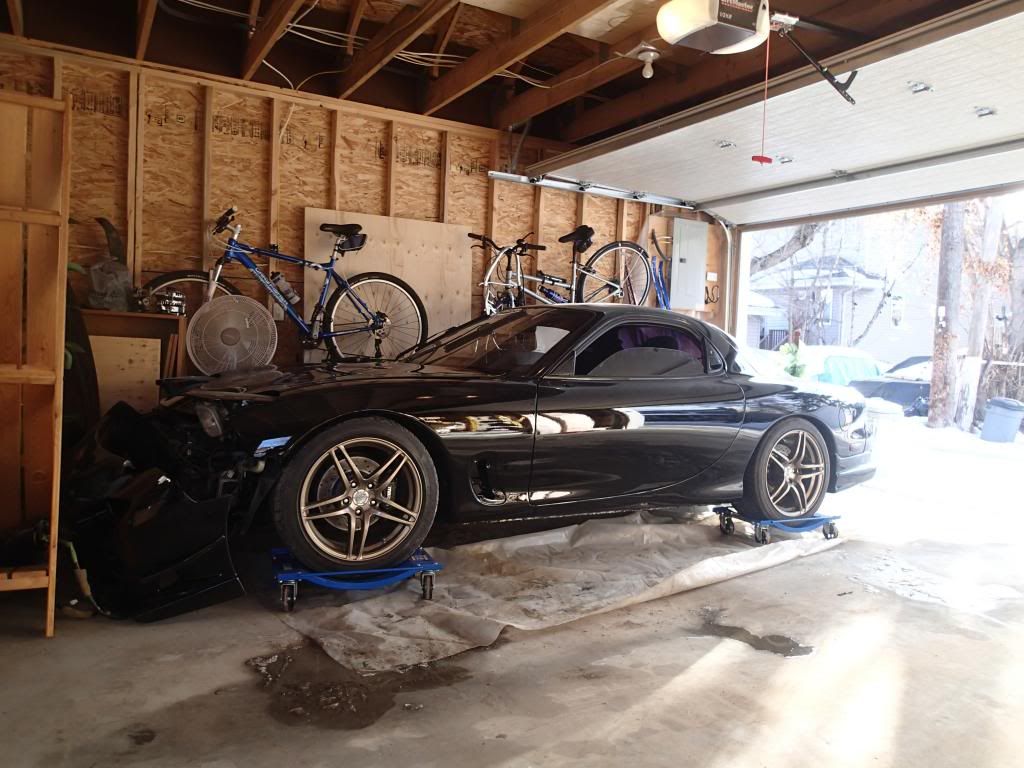 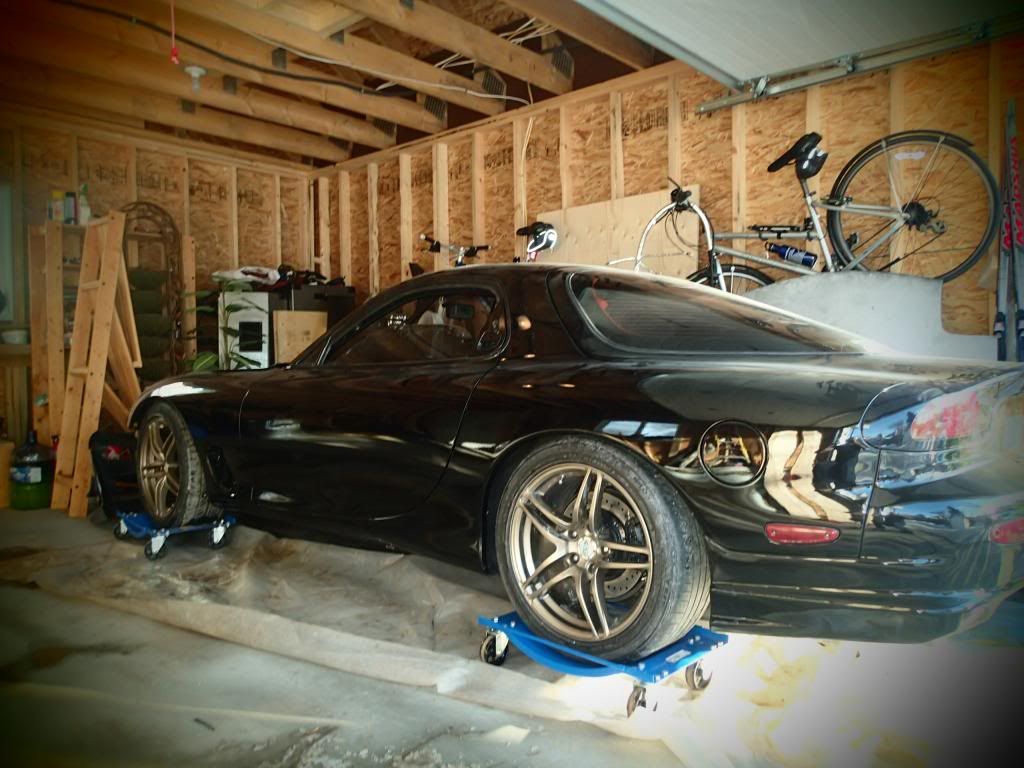 (i'll have you not the improved pictures )
__________________
|
|
|
|
|
03-11-2013, 07:41 PM
|
#44 |
|
Professional Stick Poker

Join Date: Feb 2011
Location: Stafford, Ks.
Posts: 1,016
Rep Power: 16 |
Dang. That's looking really nice, and black is such an unforgiving color. I'm not seeing any ripples in the bodywork at all.
__________________
1988 N/A SE 2+2, dead stock and staying that way. 1979 SA22C stock? Not so much. http://rotarycarclub.com/rotary_foru...ad.php?t=15585 |
|
|
|
|
03-11-2013, 08:33 PM
|
#45 | |
|
Rotary Fanatic
Join Date: Jun 2012
Location: Edmonton, AB
Posts: 179
Rep Power: 14 |
Quote:
There are a few dust specs that will we wet sanded and polished out, and there is a tiny clear coat run on the bottom of the spoiler. Thats pretty much all the flaws there are. Even where some holes were filled, the turn signals on the front fenders, the antenna and wiper.. can't even tell they were there.
__________________
|
|
|
|
|
 |
| Bookmarks |
|
|


 Linear Mode

