|
|||||||


| Show your rotary car build up. Show off your Rotary Car build! |
|
|
Thread Tools | Display Modes |
|
|||||||
| Show your rotary car build up. Show off your Rotary Car build! |
|
|
Thread Tools | Display Modes |
 11-09-2013, 11:22 PM
|
#1 |
|
IT'S ALIVE!

Join Date: Dec 2009
Location: Richmond, VA
Posts: 811
Rep Power: 17  |
Lighter = Faster (N/A build thread #2)
Picked up a pretty clean '86 Base model RX-7 yesterday from silver86. Quick photo while stopped to refuel:
 Moved into storage for the time being:   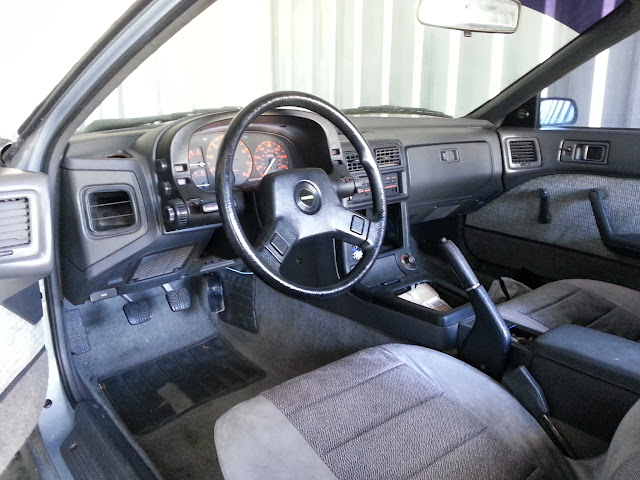 This build will pick up where the previous left off. I'll be swapping all the parts from the red car to the silver car and going from there. Because I prefer the look of the S5 cars I'll be swapping as many cosmetic parts as possible as well. It's amazing how light the '86 is compared to my '89 even with both missing an engine and transmission. If anyone's interested I will have a lot of S4 parts I'll be looking to get rid of as I swap the S5 parts over. |

|

|
| Bookmarks |
|
|


 Threaded Mode