|
|||||||


| Show your rotary car build up. Show off your Rotary Car build! |
 |
|
|
Thread Tools | Display Modes |
|
|||||||
| Show your rotary car build up. Show off your Rotary Car build! |
|
|
|
Thread Tools | Display Modes |
|
|
 05-04-2012, 10:30 AM
|
#1 |
|
Rotary Fan in Training
Join Date: Apr 2012
Posts: 78
Rep Power: 14  |
grats on start! Will be fun to see some numbers on this build

|

|

|
|
05-05-2012, 04:15 PM
|
#2 |
|
Rotary Fanatic
Join Date: May 2010
Posts: 138
Rep Power: 16 |
Awesome project! Way to see it through, now for that startup vid....
|
|
|
|
|
05-08-2012, 09:35 AM
|
#3 |
|
Rotary Fanatic
Join Date: Feb 2010
Posts: 183
Rep Power: 16 |
Started on the wiring. Moving all relay and fuse boxes to the rear bin. Also adding a fuse box and relay boxes for the ECU and auxiliary functions such as gauges, alarm, radar detector, etc...
Big piece of plastic (so I don't have to worry about using metal that could arc with any wires that get damaged (not that there should be any of those, but just in case). 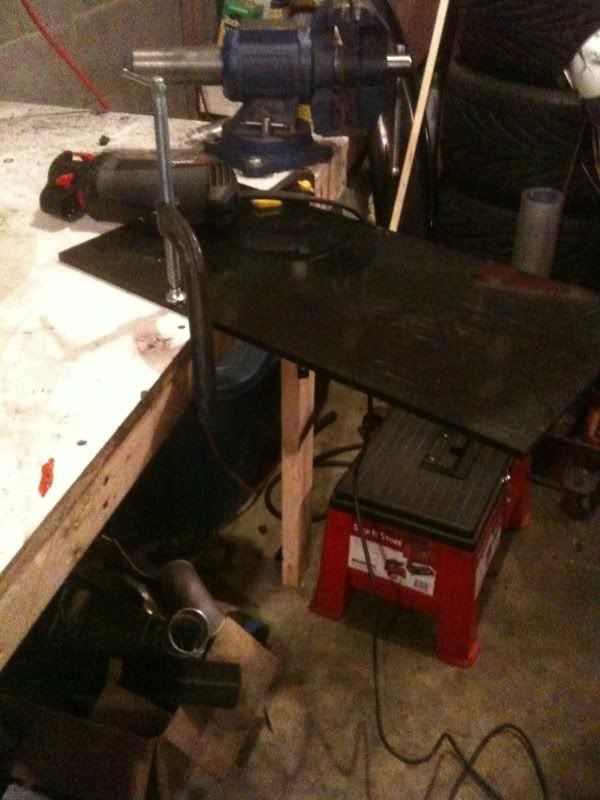 Trace the design, and cut:    Mount boxes: 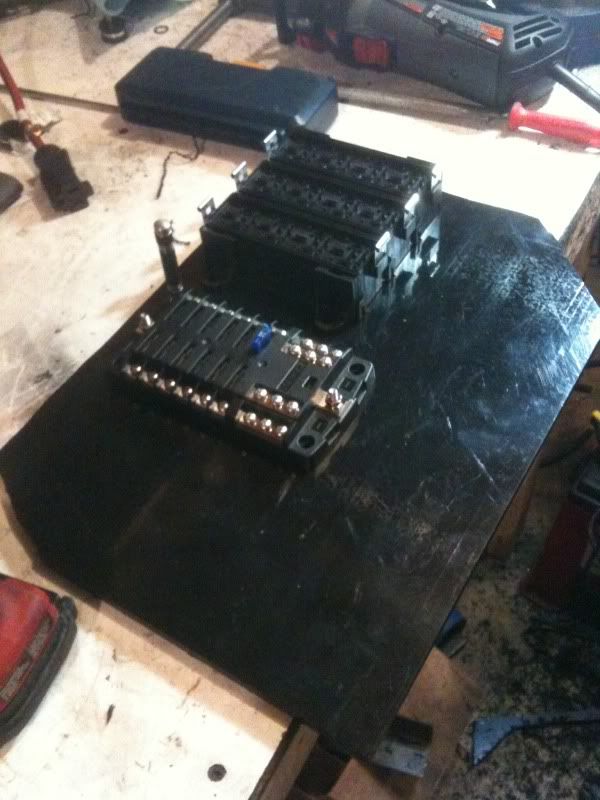 Mount inside the car, and make sure it clears the rear bins, so they can be reinstalled.  The dash is out of the car, and now I'm just running all the wires and connecting everything up. My driver side door lock actuator and Viper alarm system should be in this week. I'm also going to try to hook up an actuator to the trunk latch so I can use the auxiliary on the alarm remote to open it. |
|
|
|
|
05-11-2012, 12:31 PM
|
#4 |
|
Rotary Fanatic
Join Date: Feb 2010
Posts: 183
Rep Power: 16 |
I just sold my yellow top battery to try to save some space now that my battery will be in a box in the hatch instead of in the bin.
I'm thinking about this one: http://www.summitracing.com/parts/ODY-PC925MJT/ 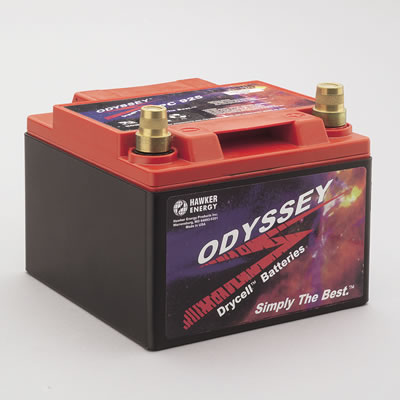 Is 380 cold cranking amps good enough for a street car? There is a cheaper version available with the same specs, but this one has a metal casing on it and better resistance to vibration (supposedly) Are there any other specs that I should pay attention to? I have a small amp and sub, but not any kind of crazy system or anything. My alternator has also been upgraded to 140amps by IRP. |
|
|
|
|
05-11-2012, 05:25 PM
|
#5 | |
|
Don Mega

Join Date: Dec 2008
Location: Utopia
Posts: 1,688
Rep Power: 18 |
Quote:
Much smaller, much lighter, much lower CCA, and it cranks it totally perfectly! I recently bought a spare battery and shipped here from USA to my door it was like $150Au. You can see the size of my battery in my car build up pics, it fits in my carbon battery tray along with 3 CDI units and integral holder. I love it, its the best battery I have ever used/owned. I found out about it through a local rally champion who was using the same unit.
__________________
www.riceracing.com.au Worlds best Apex Seals Coil on Plug Water Injection ECU Calibration |
|
|
|
|
|
05-11-2012, 03:11 PM
|
#6 |
|
IT'S ALIVE!

Join Date: Dec 2009
Location: Richmond, VA
Posts: 811
Rep Power: 16 |
Argh, over $200 for a battery! You may want to look into the ETX..L batteries. I picked up a Deka ETX18L for less than $90. 340 advertised CCA, 18 lbs, and 6" x 3" x 8".
|
|
|
|
|
05-28-2012, 09:03 AM
|
#7 |
|
Rotary Fanatic
Join Date: Feb 2010
Posts: 183
Rep Power: 16 |
Haven't had too much time to spend on the car lately, but am making some progress on the wiring.
I've got the interior stripped, and the stock harnesses just about completely modified and reinstalled. Now I've just got to add in the alarm and wiring for the ECU. New panel to hold the relay and fuse boxes in the rear bin:  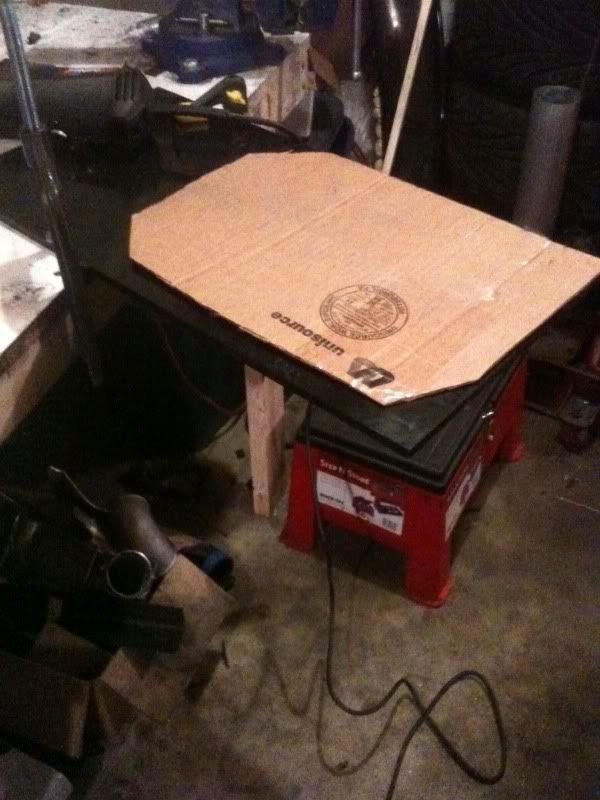 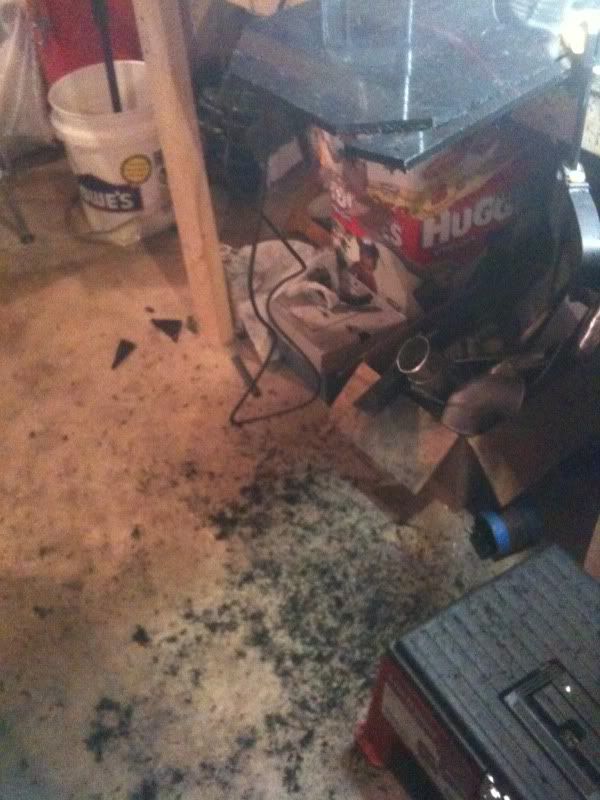 Here you can see the new fuse box and relay boxes for the ECU and auxiliary components  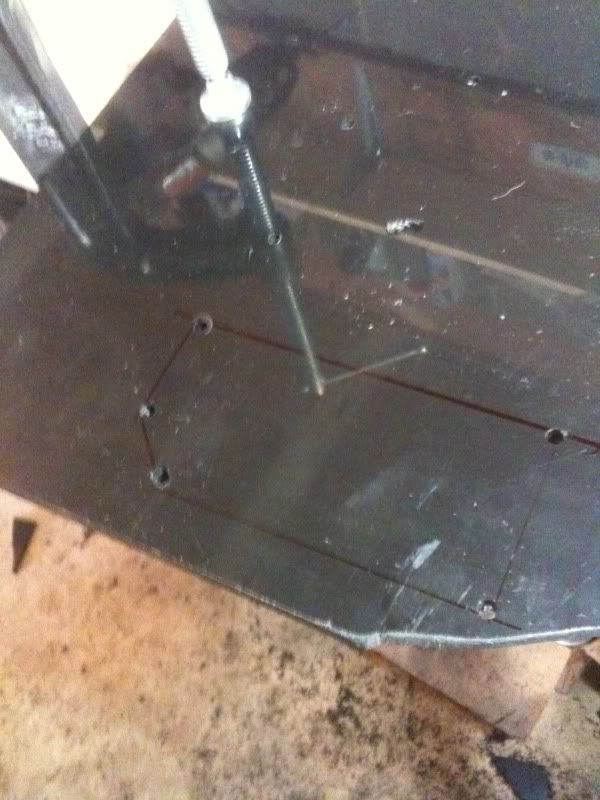 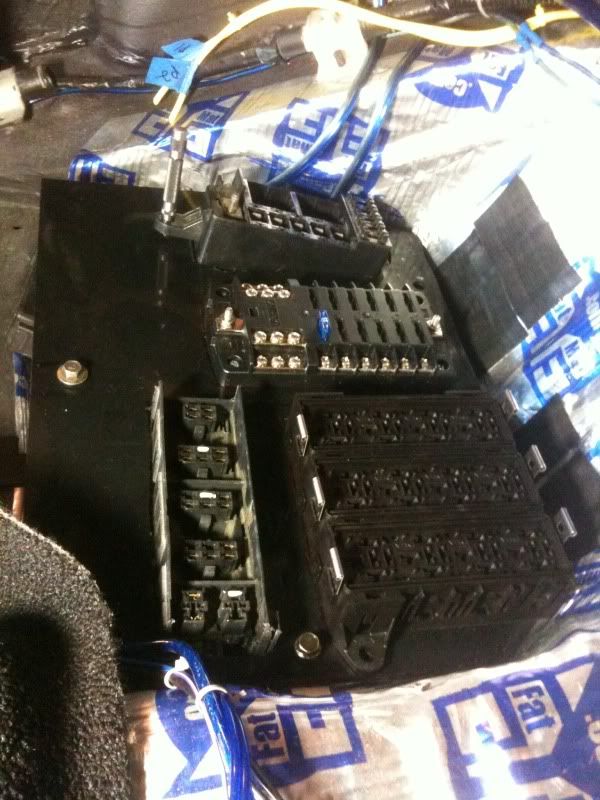 Best wire stripper I've ever owned. 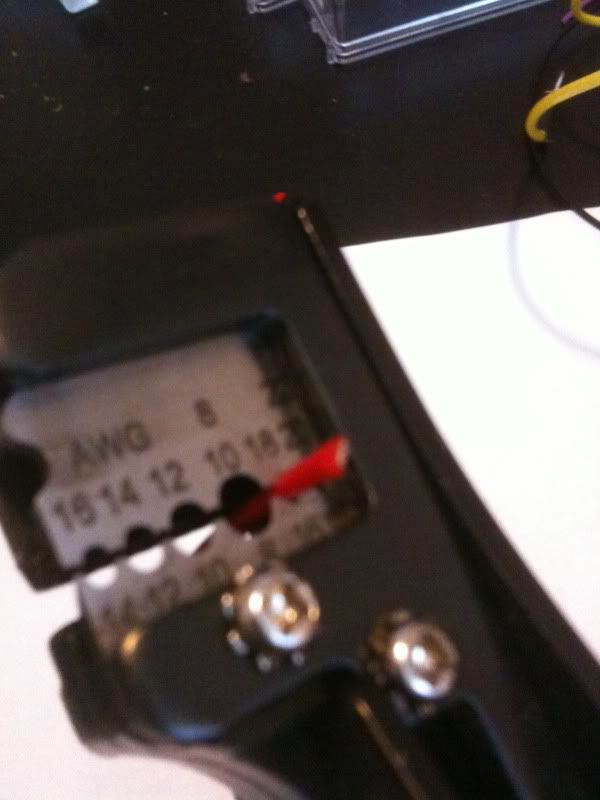 New crimper for weather/metri pack type connectors, here I'm crimping terminals for the wires that go to the relay boxes that will control outputs of the ecu (fuel pumps, coil +, injector +, supercharger, exhaust cutout, etc...) 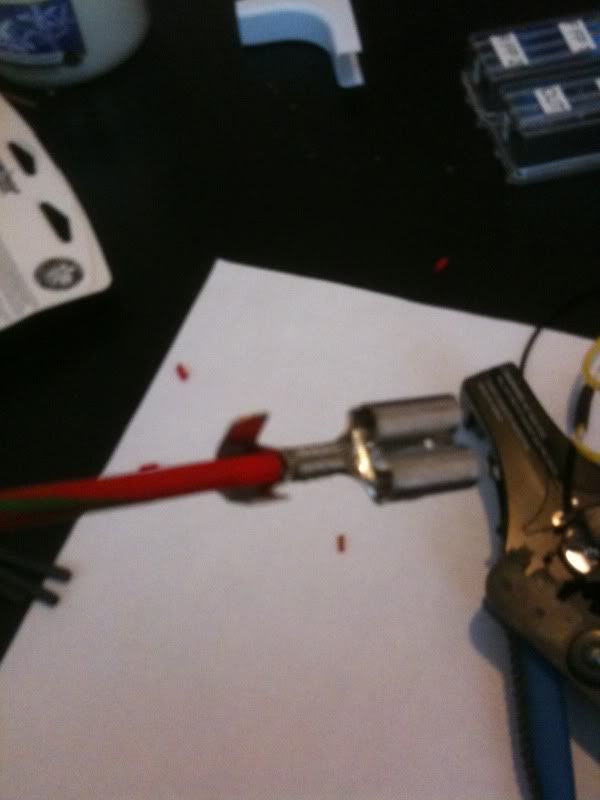 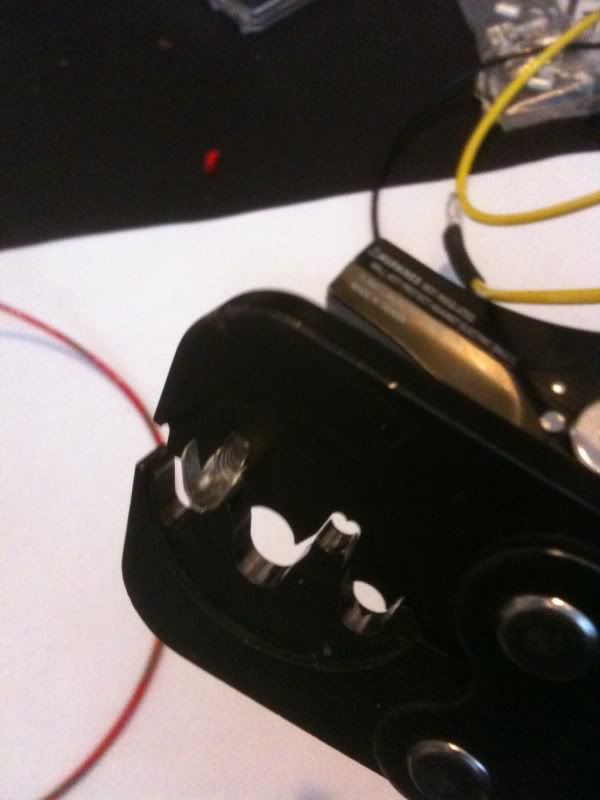 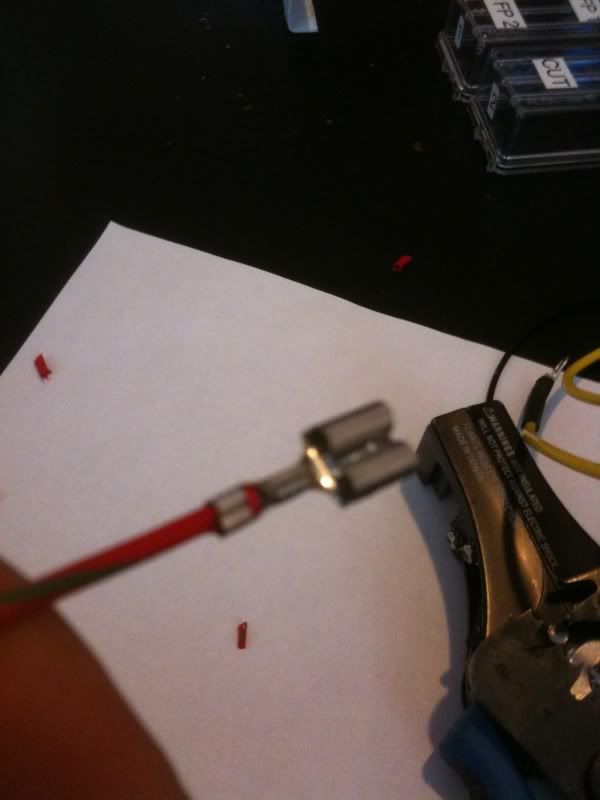 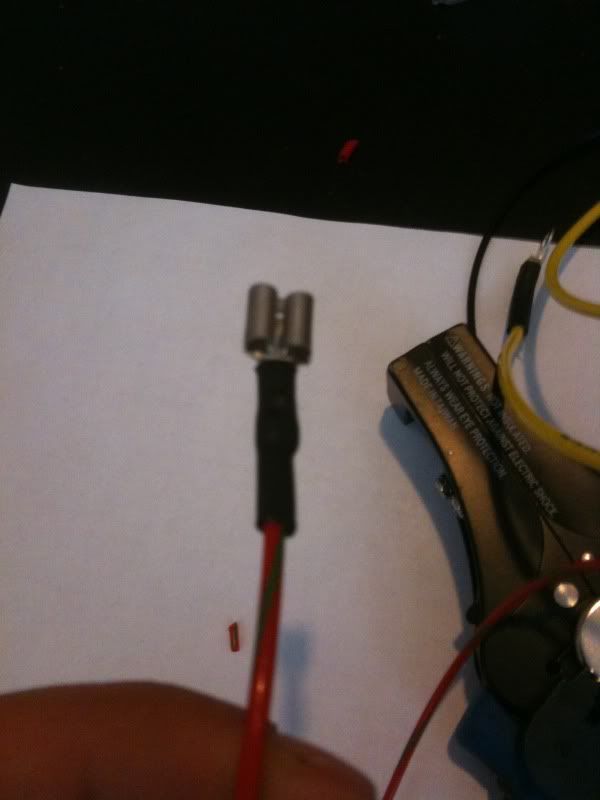
|
|
|
|
|
05-28-2012, 09:19 AM
|
#8 |
|
Rotary Fanatic
Join Date: Feb 2010
Posts: 183
Rep Power: 16 |
Part of the reason why I decided to rewire the ECU: (not very tidy)
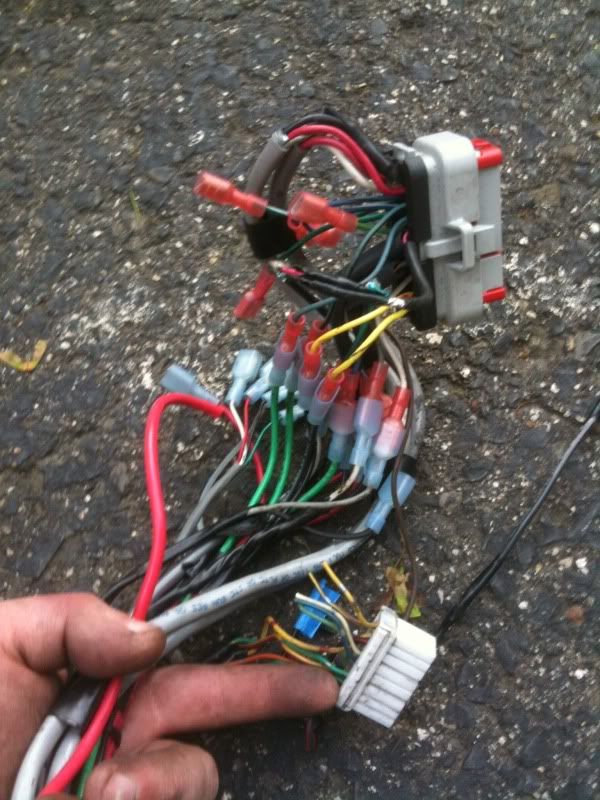 To tuck everything in the engine bay, I decided to put all relay and fuse boxes into the rear bin. To start, I took out the front body harness (the one that wraps from the driver side foot well, around the front of the car, and into the passenger side foot well). Identify the plugs you don't need in the engine bay and snip the wires, then snip the same wire at it's other end to delete the wire completely. For example, I'm deleting the fan relays and using my ecu to control the fans, so I snipped every wire at the relay, then I went and snipped the other end of the wires at the relay and fuse boxes and another other plugs they went to. Label each wire that you are keeping but relocating (all wires going to the relay box got an "R", all wires going to the Fuse box got an "F". There are other wires that go to the large Grey connectors next to the fuse box, I gave these all numbers. The last few wires left just run from the driver side foot well to the passenger side foot well. I labeled these all with a number as well. After snipping these off, I ended up with a driver side harness and a passenger side harness. There are barely any wires left on the passenger side. and the ones that connect to the driver will now be connected inside the car, instead of wrapping all the way around the front end. Stripped harness, being labeled and cut: 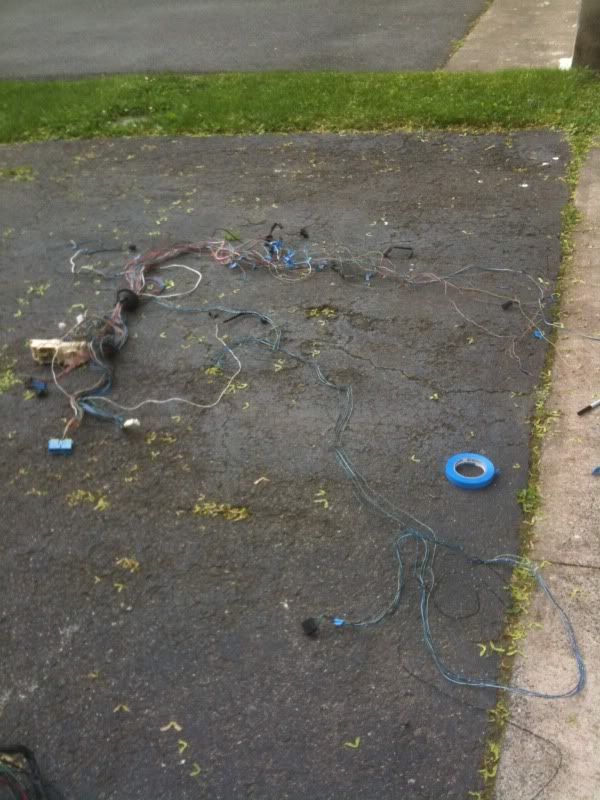 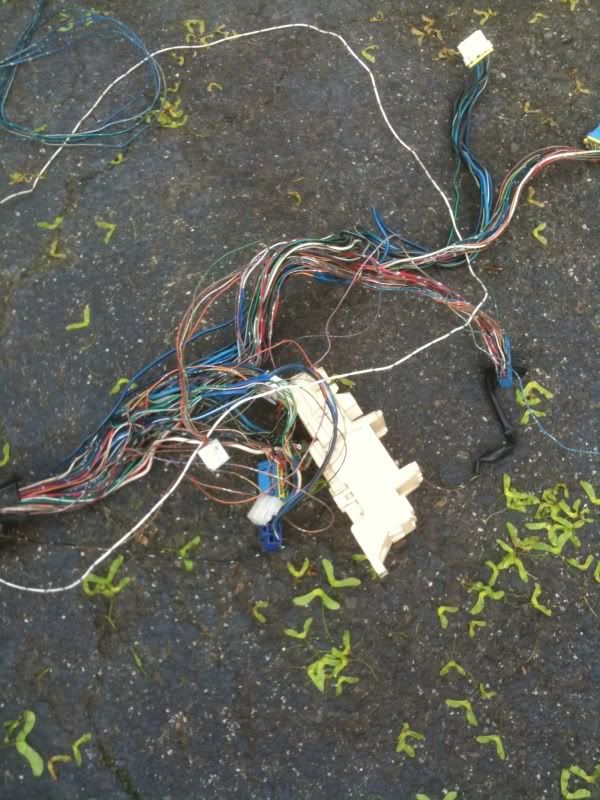 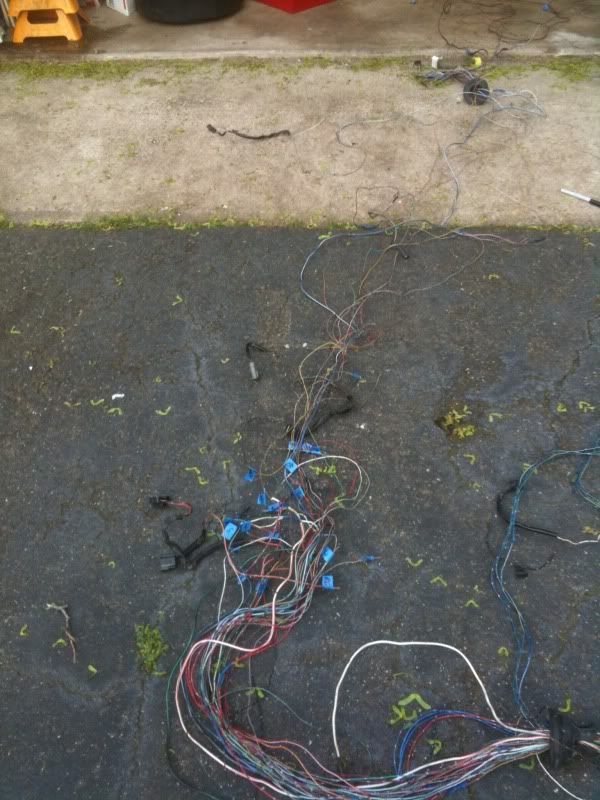 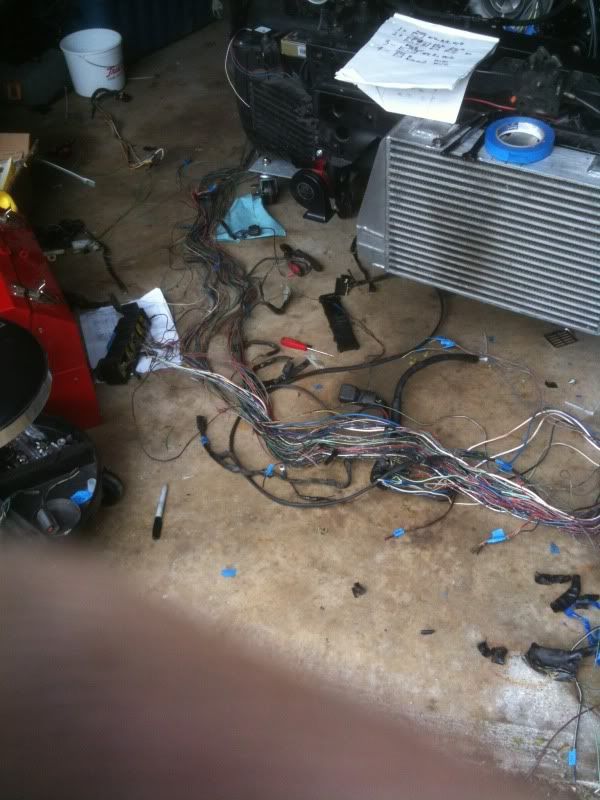 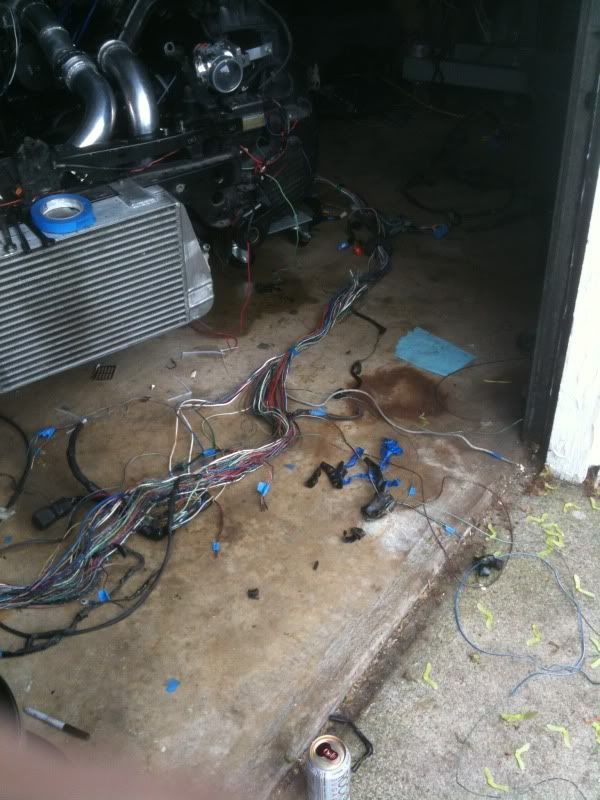 Everything cut except for the 6 remaining wires that just run from foot well to foot well: 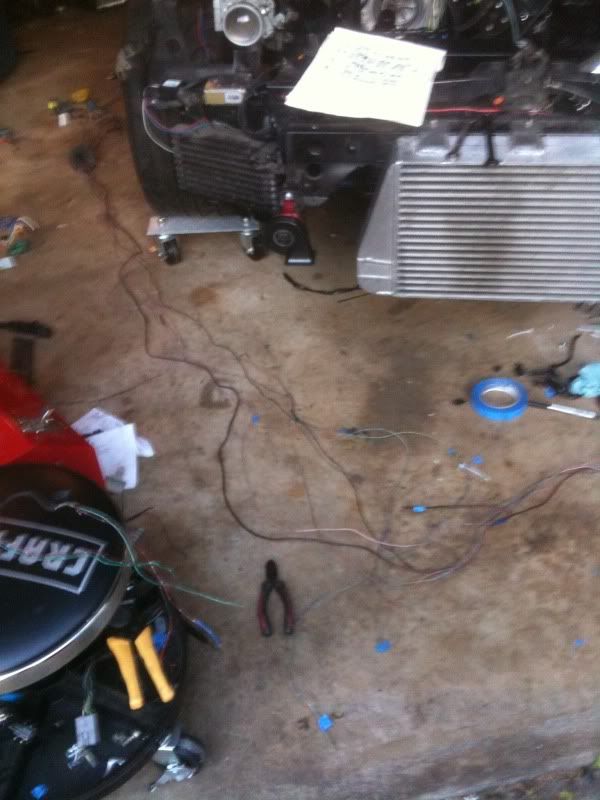 You can see the bulk of the wires end up on the driver side: 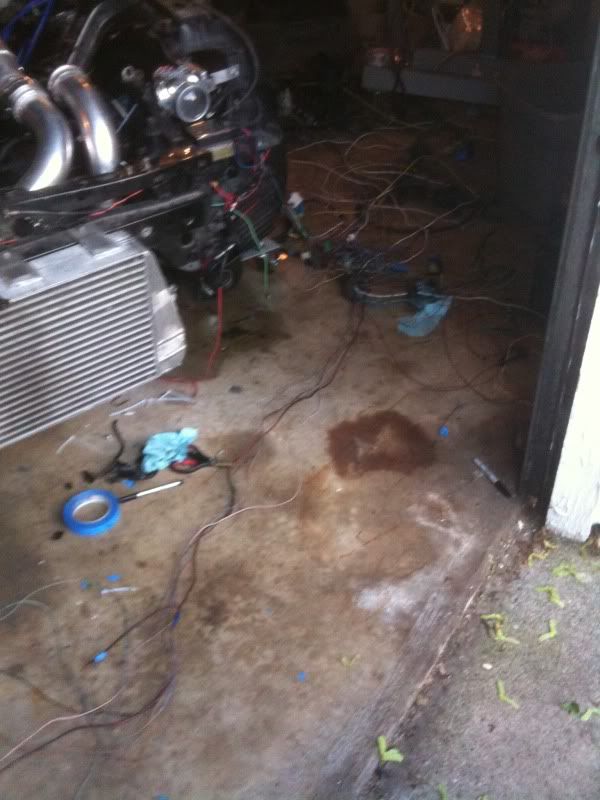 Once it's in two pieces, put it back in the car and connect the remaining connectors to the fuse box by the clutch pedal and all of the other connectors down there. Once you know where all the connectors go, tape it all off so that the it all fits nicely and each wire goes where it's needed. Then remove and completely wrap it. Driver side, wrapped up. Now the wires that run to the rear of the car for the relay and fuse boxes need to be extended and wrapped. 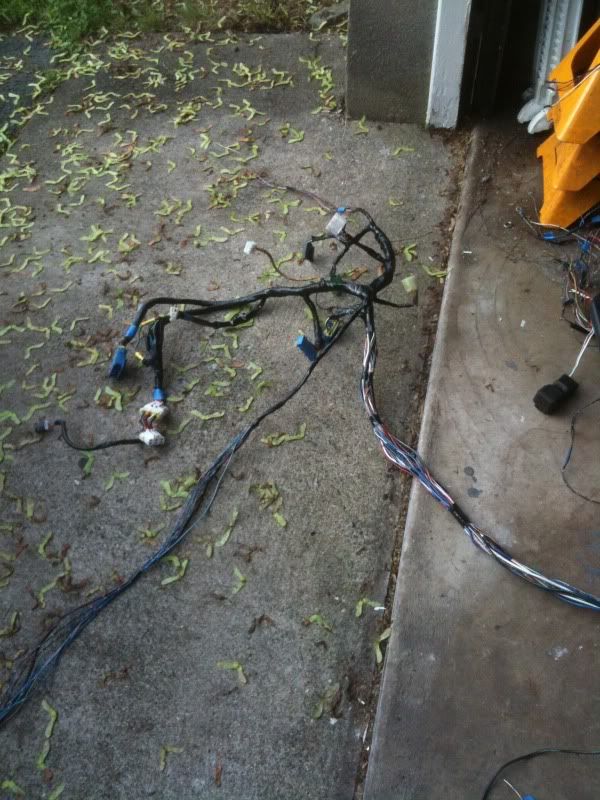 This is the hardest part, now I just need to run the new wires for the ECU and alarm system. |
|
|
|
|
07-22-2012, 10:11 PM
|
#9 |
|
Rotary Fanatic
Join Date: Feb 2010
Posts: 183
Rep Power: 16 |
Finally got all of the wires into the bulkhead.
Here is the engine bay side, took a while to braid everything, everything has been left long, I won't trim it down and cover it until I have it in the engine bay. 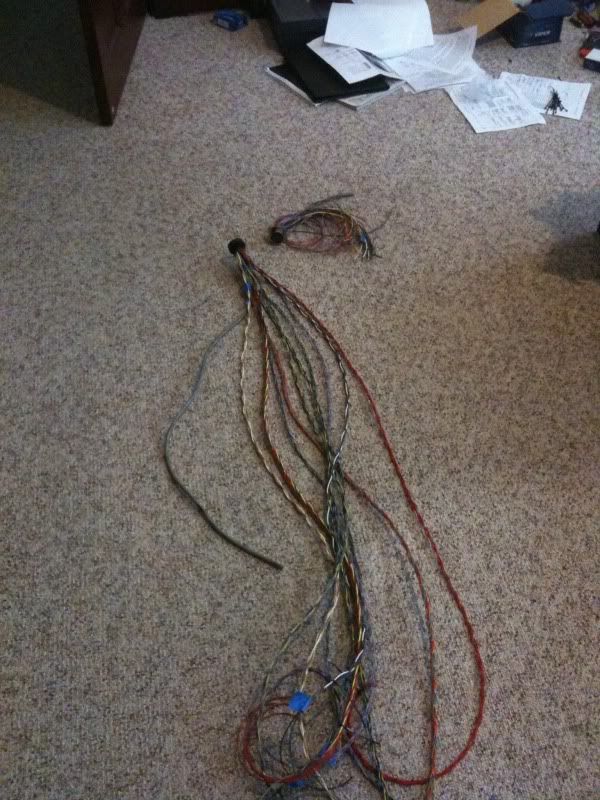 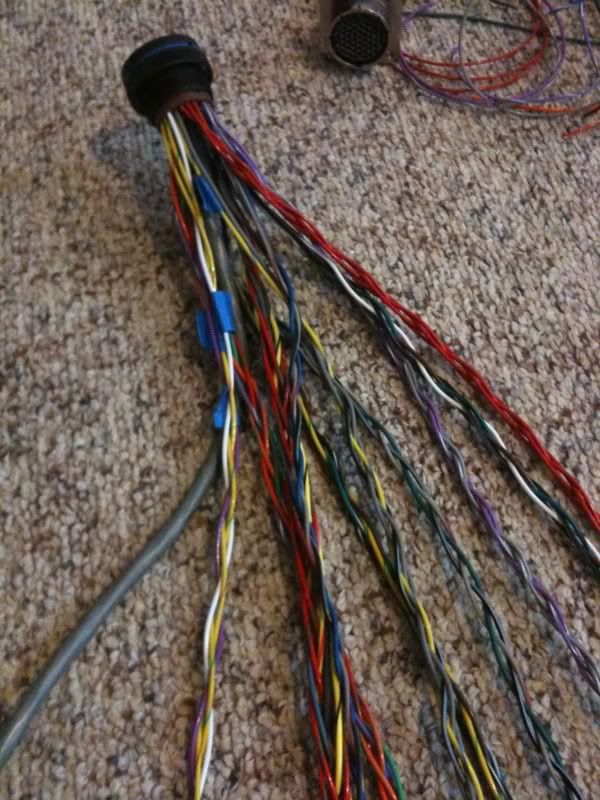 Yes, that is an 8 wire braid, I surprised myself on that one haha. 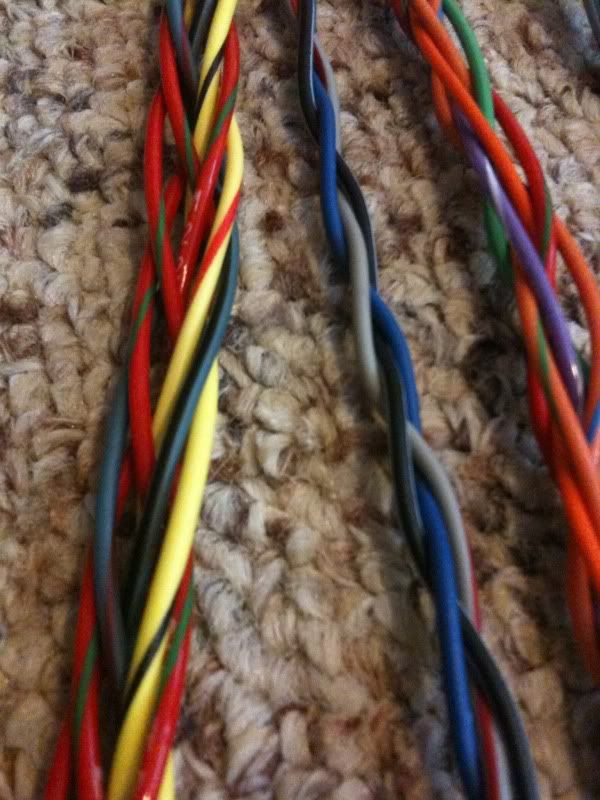 Used almost every terminal available 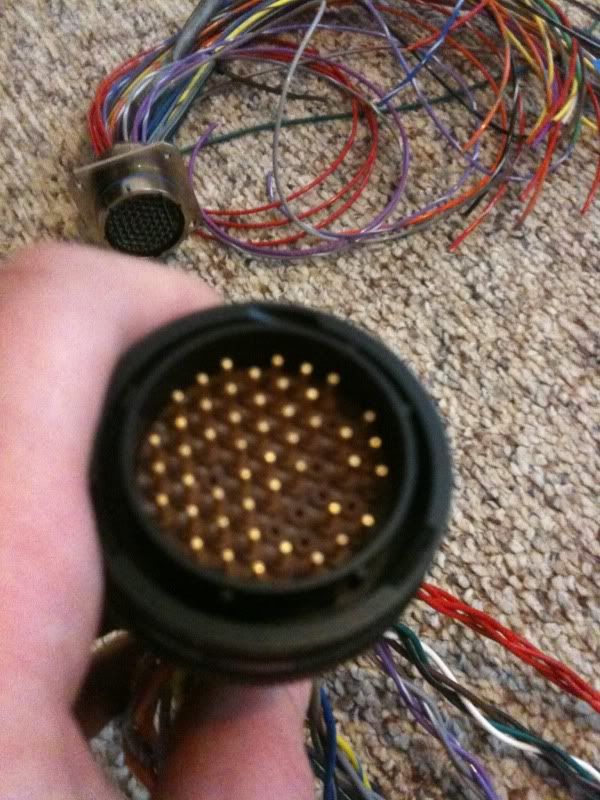 Here is the side that will sit inside the car. This will connect to the TEC GT ecu, plx gauges, stock gauges and indicator lights, and a few other wires on the stock body harness. 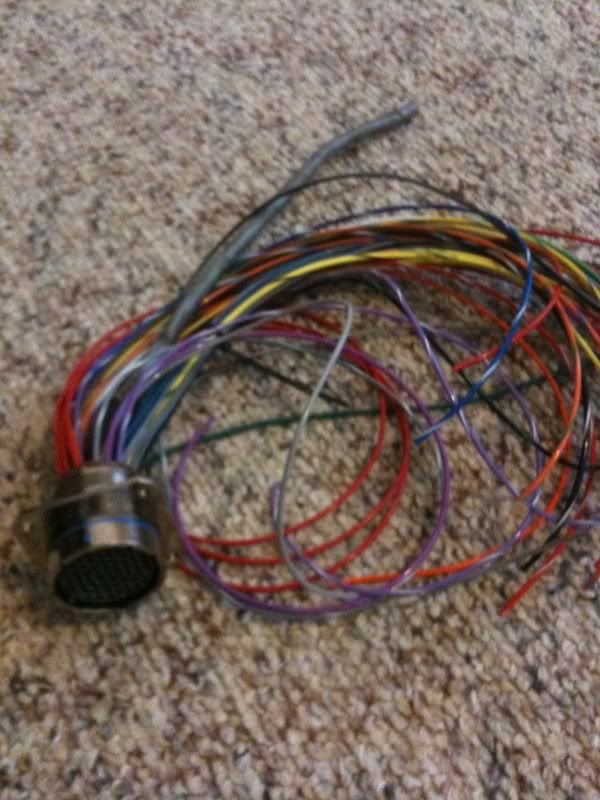 Now i just need to put the strain reliefs on, the Raychem, and then the connectors. Oh, and it's now wired for 8 injectors and 8 coils, just in case I ever save up for a 4 rotor haha. |
|
|
|
|
07-23-2012, 12:46 AM
|
#10 |
|
Rotary Fanatic

Join Date: Jun 2012
Location: Edmonton, AB
Posts: 179
Rep Power: 14 |
Nice job. clean wiring like that is so much easier to work with and looks hundreds of times better. Love the uniqueness of this build
__________________

|
|
|
|
|
08-14-2012, 10:57 AM
|
#11 | |
|
The Newbie
Join Date: Apr 2012
Posts: 10
Rep Power: 0 |
Easiest way to braid wires that I have found is to secure one end in a Vice and tape the other end to a drill, then its a simple as squeezing the trigger. It'll save your thumbs. I remember helping out with the wiring on a M&W ignition and using my Thumbs at the beginning really munged Buttox.
Good Stuff build wise man, massive undertaking. Hope it meets your expectations. Quote:
|
|
|
|
|
|
07-23-2012, 01:01 PM
|
#12 |
|
Rotary Fan in Training
Join Date: Mar 2008
Posts: 86
Rep Power: 18 |
Looking good!
Is that the same tool used for the weatherpack connectors? |
|
|
|
|
07-23-2012, 07:42 PM
|
#13 |
|
Rotary Fanatic
Join Date: Feb 2010
Posts: 183
Rep Power: 16 |
Yes, that's a GM/Weatherpack style crimper. That was used for the relay boxes, not the milspec bulkhead. The milspec pins are barrels that use a Deutsch style terminal. A special, expensive crimp tool is used for those (but I save $100 and got mine used on ebay for $70 and it works like a champ)
|
|
|
|
|
07-24-2012, 05:26 AM
|
#14 | |
|
Rotary Fan in Training
Join Date: Mar 2008
Posts: 86
Rep Power: 18 |
Quote:
|
|
|
|
|
|
07-27-2012, 02:49 PM
|
#15 |
|
Rotary Fanatic
Join Date: Feb 2010
Posts: 183
Rep Power: 16 |
Finally got my deutsch connectors in. Now I can finally finish the body harness and start hooking things up.
I wanted black ones, but then I cheaped out and went with the Grey, still cool though. 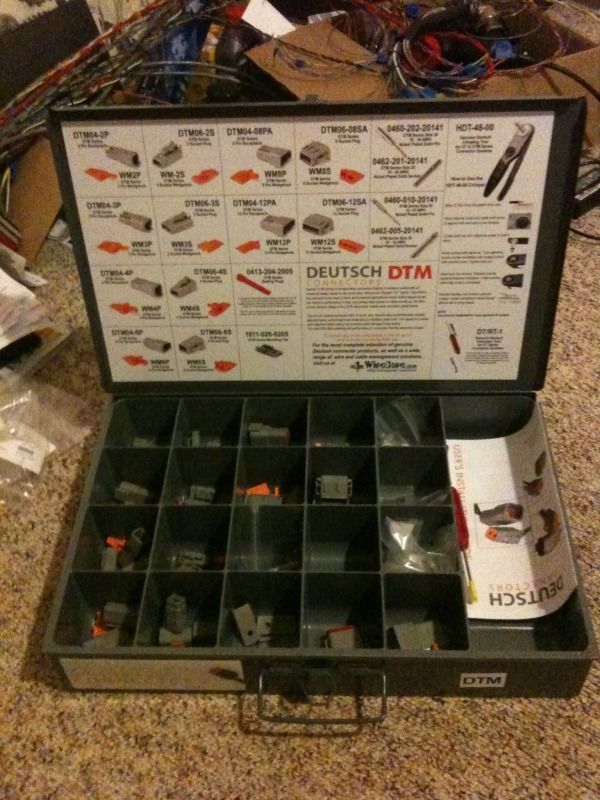 Milspec crimper, used for these connectors as well as the milspec bulkhead: 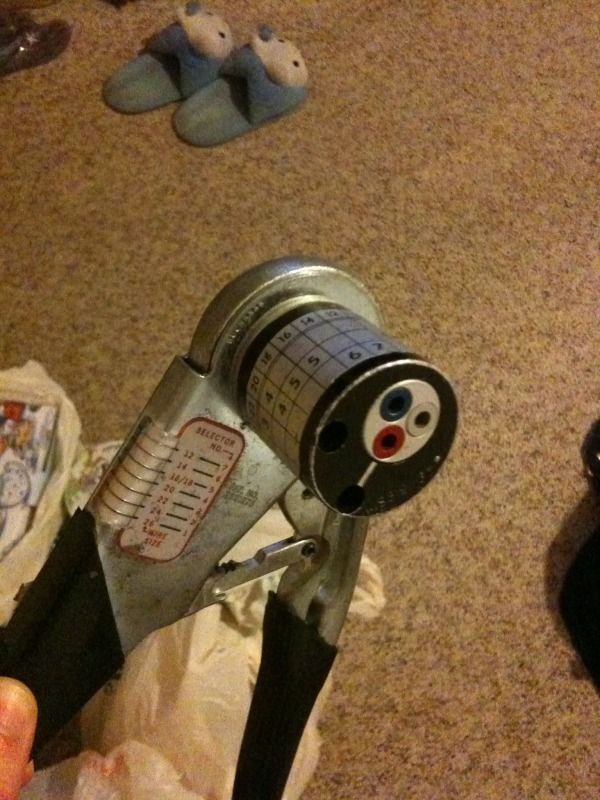 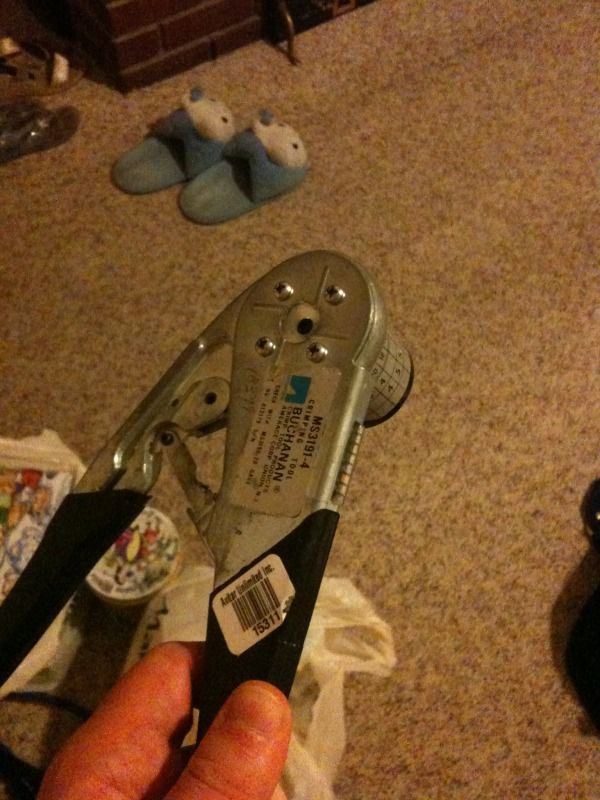
|
|
|
|
|
| Bookmarks |
| Thread Tools | |
| Display Modes | |
|
|


 Hybrid Mode
